How to Use the Insert Symbol Tool in DRAWings PRO XII
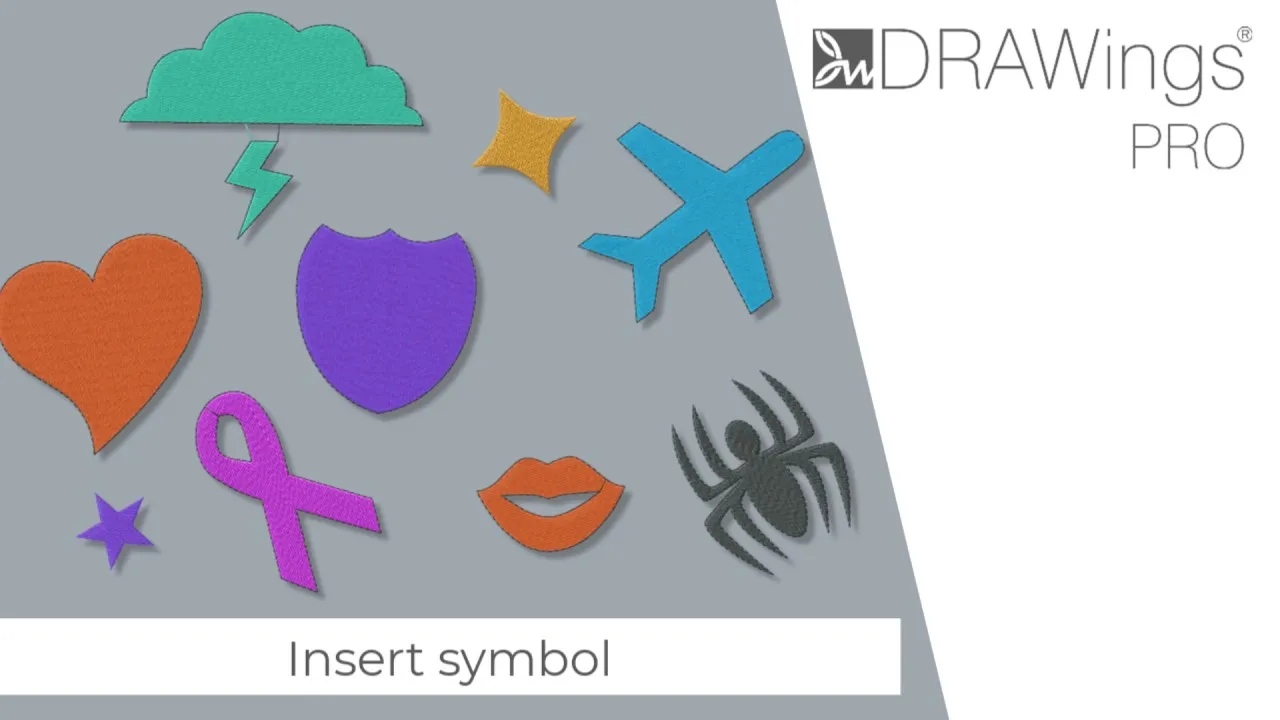
The Insert Symbol tool allows you to convert pre-installed computer font characters and dingbats directly into ready-to-stitch embroidery artwork. Because many system fonts contain decorative shapes, borders, and icons, this tool serves as a fast, built-in library for creating custom embroidery designs without needing to import external vector graphics.
Step-by-Step Guide
1.Open the Insert Symbol Tool:Shortcut: Ctrl + F11.
Navigate to the Tools menu on the top menu bar and select Insert Symbol, or press Ctrl + F11 on your keyboard to launch the dialog box directly.
2.Select a Font:
Click the Font dropdown menu to expand the list of fonts installed on your computer.
- Symbol Fonts: Fonts specifically designed as symbol libraries appear at the very top of the list and are marked with an S icon.
- Standard Fonts: Scroll down past the symbol fonts to view standard text fonts. While not all standard fonts include decorative artwork, many contain useful special characters and glyphs.
3.Browse and Choose a Symbol:
Select a font from the list to load its character set into the preview window. Scroll through the preview pane to inspect all available symbols, then click on the specific symbol you want to use to highlight it.
4.Insert and Place the Symbol on Your Workspace:
Click the Insert button. The dialog box will temporarily hide to give you an unobstructed view of your design area, and your mouse cursor will change into a crosshair (+).
- Click on the workspace where you want to anchor the symbol.
- Drag your mouse outward to dynamically define the symbol’s size, rotation angle, and position.
- Release the mouse button to finalize the placement and generate the stitches.
5.Add Additional Symbols or Finish:
Once you release the mouse button, the Insert Symbol dialog automatically reappears. You can immediately select and place additional symbols by repeating Steps 3 and 4. When you have finished adding elements to your workspace, click the Close (X) button on the dialog box.
Useful Tips & Best Practices
Adjust Preview Icon Size for Detailed Inspection
Some font symbols have intricate linework that is difficult to see at default resolution. Use the size control slider inside the Insert Symbol dialog to enlarge or shrink the preview icons, making it much easier to pick out fine details before placing them on your canvas.
- Build Complex Designs from Simple Shapes: A single symbol may look basic on its own, but you can duplicate, mirror, rotate, and overlap just two or three font symbols in DRAWings PRO XII to construct complex floral patterns, badges, borders, or monograms.
- Expand Your Artwork Library with Free Dingbat Fonts: Because DRAWings PRO XII reads your computer’s installed system fonts, installing new TrueType (
.ttf) or OpenType (.otf) dingbat or ornament fonts on your OS will automatically expand the artwork available inside the Insert Symbol tool. - Check Standard Fonts for Hidden Gems: Don’t limit your search to the S icon fonts at the top of the list. Many standard serif and sans-serif fonts house geometric shapes, arrows, and ornamental flourishes at the very bottom of their character maps.
DRAWings PRO Help Group
Happy crafting and don’t forget to share your creations with us in the
DRAWings PRO Help Group!
Related posts





Projects
How to Digitize a Freestanding Lace Spider Web
A spider web looks simple: a circle, some lines running out from the center, and a few curved lines connecting them. That simplicity is why it works well as a digitizing exercise in DRAWings PRO embroidery software.How to Modify Built-In Fonts into Custom Designs: Dripping Halloween Lettering
Every embroidery program ships with fonts that are already digitized. They stitch cleanly, and they are also the same fonts everyone else has.Digitizing a Knockout Layered Varsity Monogram with Nested Script Lettering
Layering script text over a bold collegiate letter is a staple in team apparel, varsity jackets, and custom fleece.