
How to Use Netfill for Freestanding Lace Embroidery
The Netfill type is a specialized embroidery fill option in DRAWings PRO XII that creates a geometric grid using two sets of intersecting scan lines made of parallel, equidistant running stitches. Because this structural grid forms an open net, it is the ideal choice for creating freestanding lace or filling open areas in cut fabric (cutwork) designs.
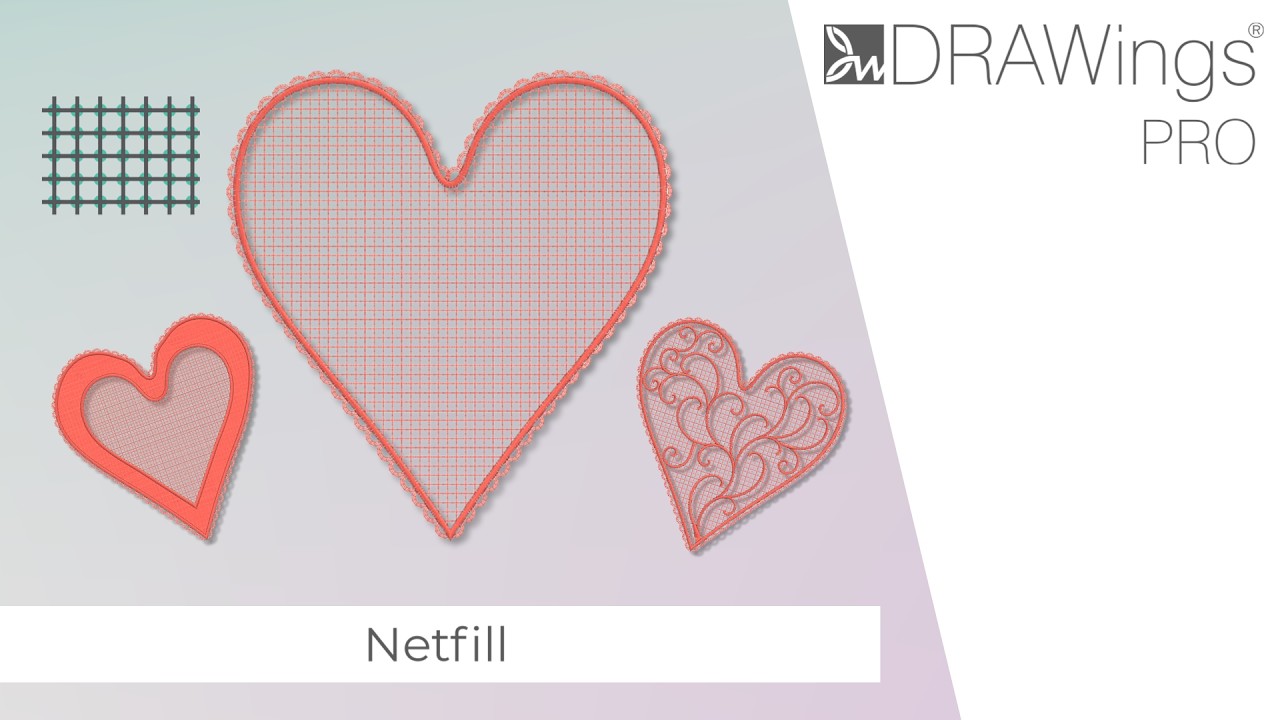
Here is how to apply and customize Netfill to achieve professional, high-quality embroidery results.
Step-by-Step: Applying and Customizing Netfill
1.Apply Netfill to Your Object:
Select any digitized object in your workspace. Navigate to the Embroidery Properties panel on the right side of the screen, find the fill type selection dropdown, and choose Netfill. The software will instantly replace the default fill with a standard grid pattern.
2.Configure the Cell Size:
Locate the Cell size option in the properties panel to adjust the density of your grid. This value determines the length of the sides for the squares that form the net. For example, setting the cell size to 2 mm creates a grid where every square measures exactly 2 mm by 2 mm.
3.Set the Design Offset:
Use the Offset property to expand or shrink the grid area relative to your original shape outline.
- Entering a positive value (e.g., 6 mm) expands the Netfill outward beyond the object’s boundary.
- Entering a negative value (e.g., -6 mm) pulls the Netfill inward, keeping it safely within the original outline.
4.Adjust the Grid Angle:
Modify the Angle property to change the alignment of the grid pattern. At 0 degrees, the grid aligns perfectly with the standard X and Y axes. Changing the value to 45 degrees rotates the entire Netfill grid 45 degrees counterclockwise, altering the structural direction to flow naturally with your shape.
Netfill Property Reference
| Property Panel Option | Value Range | Functional Impact |
| Cell Size | 0.5 mm to 9.9 mm | Controls grid density. Smaller values create tighter nets; larger values create more open space. |
| Offset | -15 mm to 15 mm | Shifts the fill boundary. Negative values contract the fill inside the vector; positive values extend it outward. |
| Angle | Variable (Degrees) | Rotates the grid alignment counterclockwise to match the contours or orientation of your design shape. |
Useful Tips for Best Embroidery Quality
Optimize Visibility with Stitch Points View: When fine-tuning your Netfill settings, turn on the Stitch Points View in your workspace toolbar. DRAWings PRO XII automatically generates an extra stitch point precisely in the middle between the intersecting scan lines. This automatic point distribution prevents long, loose strands and dramatically improves the structural stability of the embroidery.
Automatic Stitch Length Calibration: You do not need to manually recalculate your stitch settings when resizing. When you increase or decrease the Cell size, the software automatically scales and adjusts the underlying Stitch Length of the running stitches to keep your embroidery uniform.
Real-Time Previews: Every alteration you make to the Cell Size, Offset, or Angle fields updates instantly in the design viewport. Use this real-time rendering to preview your layout adjustments before sending the final design to your embroidery machine.
DRAWings PRO Help Group
Happy crafting and don’t forget to share your creations with us in the
DRAWings PRO Help Group!
Related posts





Projects
How to Modify Built-In Fonts into Custom Designs: Dripping Halloween Lettering
Every embroidery program ships with fonts that are already digitized. They stitch cleanly, and they are also the same fonts everyone else has.Digitizing a Knockout Layered Varsity Monogram with Nested Script Lettering
Layering script text over a bold collegiate letter is a staple in team apparel, varsity jackets, and custom fleece.How to Embroider a Photo onto a T-Shirt with PaintStitch™ and Sketch
A favorite vacation photo does not have to stay on your phone or disappear into a folder. With DRAWings PRO embroidery software, you can turn a photo into an embroidery design and stitch it onto a T-shirt as a wearable keepsake.










