
How to Use Zoom, Pan, and Other View Tools in Your Embroidery Software
Getting the perfect view of your embroidery design is essential for precise digitizing and editing. This guide will walk you through the various ways to zoom in, zoom out, and pan across your workspace.
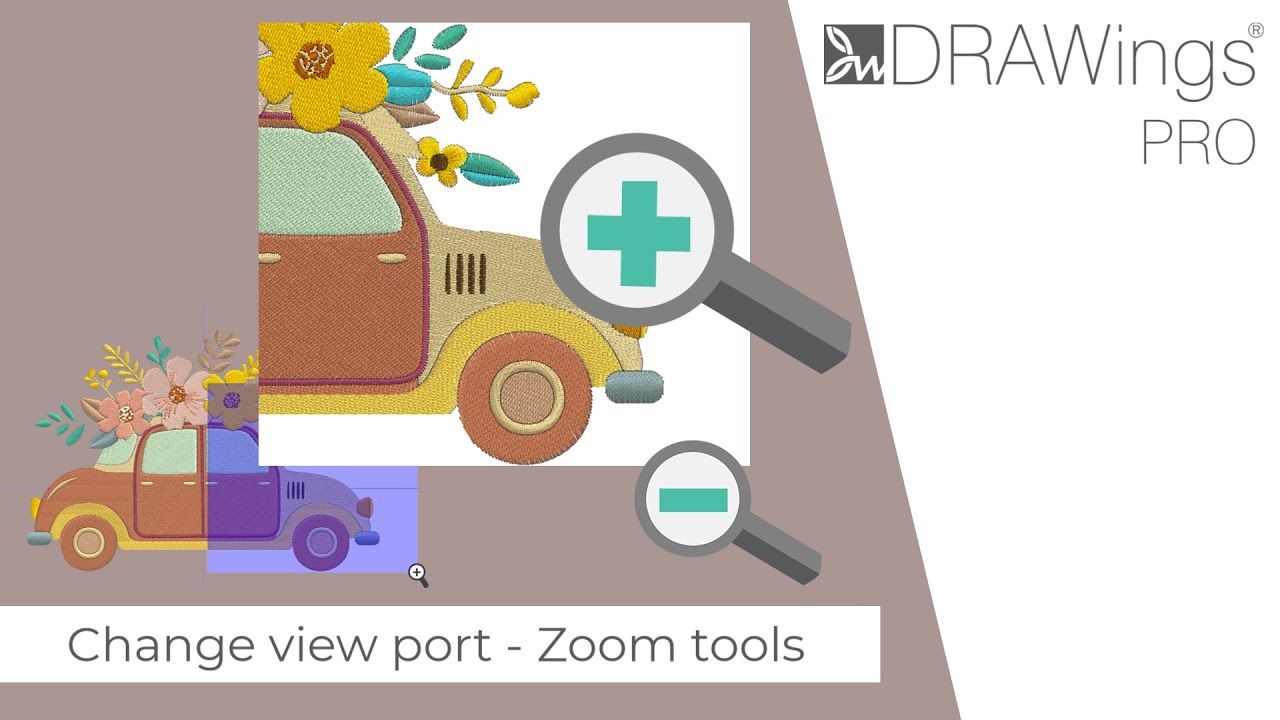
Method 1: Using the Mouse Wheel (The Quickest Way)
The easiest way to navigate your design is with your mouse wheel. The default behavior can be modified by holding down keys on your keyboard.
- Vertical Scrolling: Simply roll the mouse wheel up or down.
- Zoom In & Zoom Out: Hold down the Ctrl key while rolling the mouse wheel. Rolling forward (or up) zooms in, and rolling backward (or down) zooms out.
- 💡 Useful Tip: The software uses your mouse cursor’s position as the focal point for zooming. Place your cursor over the specific area you want to magnify before you start scrolling.
- Horizontal Scrolling (Pan): Hold down the Alt key while rolling the mouse wheel to move the view left or right.
Method 2: Using the Zoom Toolbar
For more specific view commands, use the dedicated Zoom tools located on the toolbar on the left side of the application window.
- Hover your mouse over the Zoom icon (a magnifying glass) to reveal a flyout menu with several options.
- Click on the desired tool to activate it.
Here’s what each tool does:
- Zoom In: Changes your cursor to a magnifying glass. Click and drag to draw a rectangle around the area you want to magnify. That area will then fill your screen. The tool then automatically switches back to selection mode. You can also activate this tool by pressing the Z key.
- Zoom Previous: Returns you to the previous view you had. This is useful for quickly jumping back after zooming in on a detail. The keyboard shortcut is F3.
- Zoom Design: Automatically adjusts the zoom level to fit the entire design perfectly within your design window. The keyboard shortcut is F4.
- Zoom All: Zooms out to show both your entire design and the selected hoop fitted into the screen. The keyboard shortcut is Shift + F4.
- Pan: Changes your cursor to a hand icon. Click and drag anywhere on the design area to move the view around, just like moving a piece of paper on your desk. The keyboard shortcut is H.
Method 3: Using the Magnification Dropdown List
At the bottom of the design area, you’ll find a dropdown list showing the current zoom percentage. You can use this for precise magnification control.
- Click the dropdown menu to select a preset zoom level (e.g., 50%, 200%).
- Selecting 100% will show you an actual size preview of your design.
- Choose values higher than 100% to zoom in or values lower than 100% to zoom out.
For Touch-Enabled Devices
If you are using a computer with a touchpad or a touch screen, you can use common touch gestures, such as pinch to zoom, to intuitively navigate your design.
DRAWings PRO Help Group
Happy crafting and don’t forget to share your creations with us in the
DRAWings PRO Help Group!
Related posts





Projects
How to Modify Built-In Fonts into Custom Designs: Dripping Halloween Lettering
Every embroidery program ships with fonts that are already digitized. They stitch cleanly, and they are also the same fonts everyone else has.Digitizing a Knockout Layered Varsity Monogram with Nested Script Lettering
Layering script text over a bold collegiate letter is a staple in team apparel, varsity jackets, and custom fleece.How to Embroider a Photo onto a T-Shirt with PaintStitch™ and Sketch
A favorite vacation photo does not have to stay on your phone or disappear into a folder. With DRAWings PRO embroidery software, you can turn a photo into an embroidery design and stitch it onto a T-shirt as a wearable keepsake.










