
How to Use Combine and Break Apart Tools
In this guide, we will explain how to utilize the Combine and Break Apart operations to manage object attributes, reduce embroidery production time, and create complex shapes with holes.
The Combine operation merges two or more separate objects into a single entity sharing common attributes (stitch type and color). This is essential for optimizing designs by reducing unnecessary color changes.
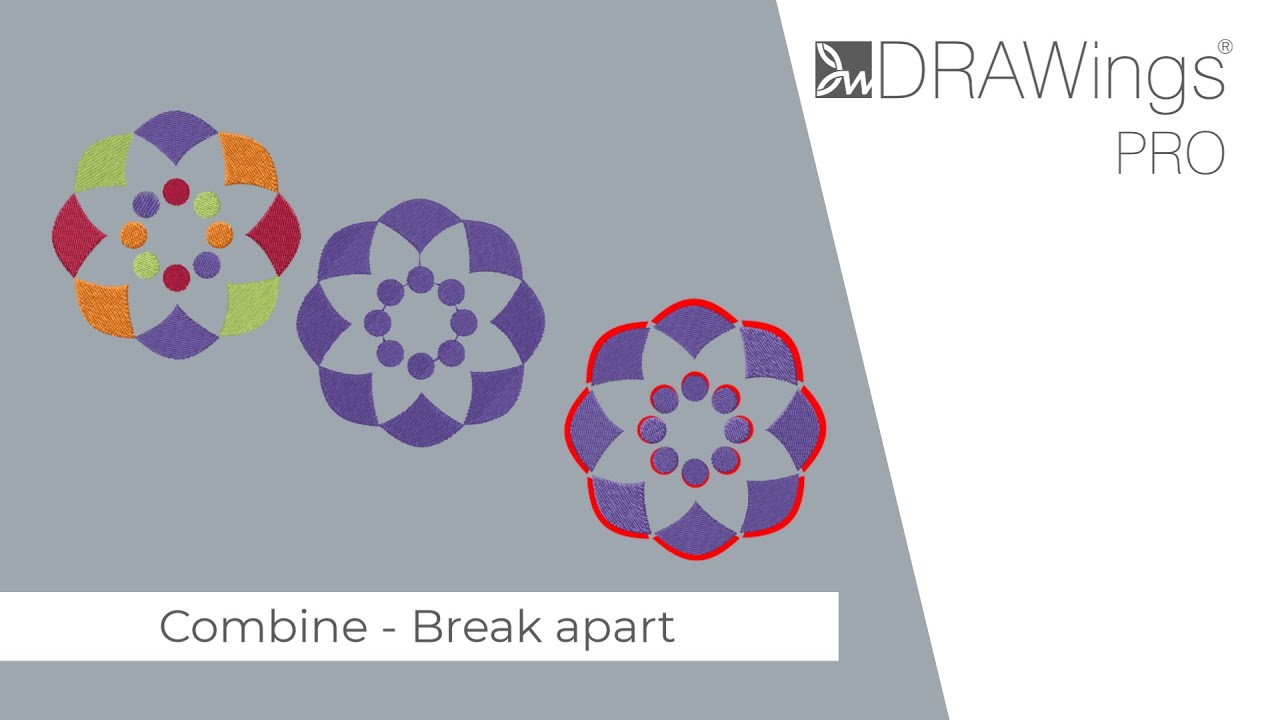
Part 1: Combine Objects
- Select Your Objects Click to select the multiple objects you wish to merge.
- Note: The order in which you select the objects matters (see the Tip below).
- Execute the Command Right-click on the selection and choose Combine from the context menu.
- Result The objects will merge into one. They will now share the same stitch type and color. If the objects are not touching, they will be connected by a Jump stitch.
Important Tip: Controlling Color and Stitch Type The combined object inherits the attributes (color and stitch type) of the last selected object (the one highlighted with a magenta outline).
- Example: If you select a dark green leaf first and a light green leaf last, the combined object will become light green.
Part 2: Creating Holes (Boolean Operations)
You can use the Combine tool to subtract shapes from one another to create holes.
- Overlap the Objects Place one object on top of another (e.g., a Star on top of a Circle).
- Combine Select both objects and use the Combine command.
- Result A hole is created in the place where the objects overlapped (the common part).
Part 3: separating Objects (Break Apart vs. Undo)
If you need to separate a combined object back into individual parts, you have two options. It is crucial to understand the difference between them:
Option A: Break Apart (Standard Method)
- Select the combined object.
- Right-click and select Break Apart.
- Result: The object separates into its sub-parts. However, these parts will retain the properties of the combined object (e.g., they will all stay light green), rather than reverting to their original colors.
Option B: Undo (Correction Method)
- If you combined objects by mistake and want them back exactly as they were (with original different colors/stitches), do not use Break Apart.
- Instead, use the Undo function immediately.
Part 4: Optimizing Jump Stitches and Trims
When objects are combined but not touching, the software places a Jump stitch between them. You can control whether the machine stitches this jump or trims the thread using the Optimizer options.
- Check the Jump Stitch Visually, you might see a long line connecting your combined parts.
- Adjust Trimming Distance Go to the Optimizer options. Look for the Trimming distance setting.
- Example: If the jump is 10mm, but your Trimming distance is set higher, the machine will jump.
- Set the Trimming distance to a lower value (e.g., 5mm).
- Result Any connection longer than 5mm will now trigger a thread trim instead of a long jump stitch.
Useful Tip: Visualizing the Final Stitch-out Even after optimizing, you may still see the jump line in the design view. This is normal. To verify that the trim will actually happen:
- Use the Slow Redraw tool.
- This simulates the actual machine production and confirms that the jump stitch will not be stitched out on the final fabric.
DRAWings PRO Help Group
Happy crafting and don’t forget to share your creations with us in the
DRAWings PRO Help Group!
Related posts





Projects
How to Modify Built-In Fonts into Custom Designs: Dripping Halloween Lettering
Every embroidery program ships with fonts that are already digitized. They stitch cleanly, and they are also the same fonts everyone else has.Digitizing a Knockout Layered Varsity Monogram with Nested Script Lettering
Layering script text over a bold collegiate letter is a staple in team apparel, varsity jackets, and custom fleece.How to Embroider a Photo onto a T-Shirt with PaintStitch™ and Sketch
A favorite vacation photo does not have to stay on your phone or disappear into a folder. With DRAWings PRO embroidery software, you can turn a photo into an embroidery design and stitch it onto a T-shirt as a wearable keepsake.










