
How to Create Custom Satin Stars Using Circular Arrays
This step-by-step guide walks you through the process of designing custom satin stars using the Circular Array tool in DRAWings PRO XII. By starting with a simple polygon and adjusting its nodes and stitch flow, you can easily create beautiful, multi-pointed stars for your machine embroidery projects.
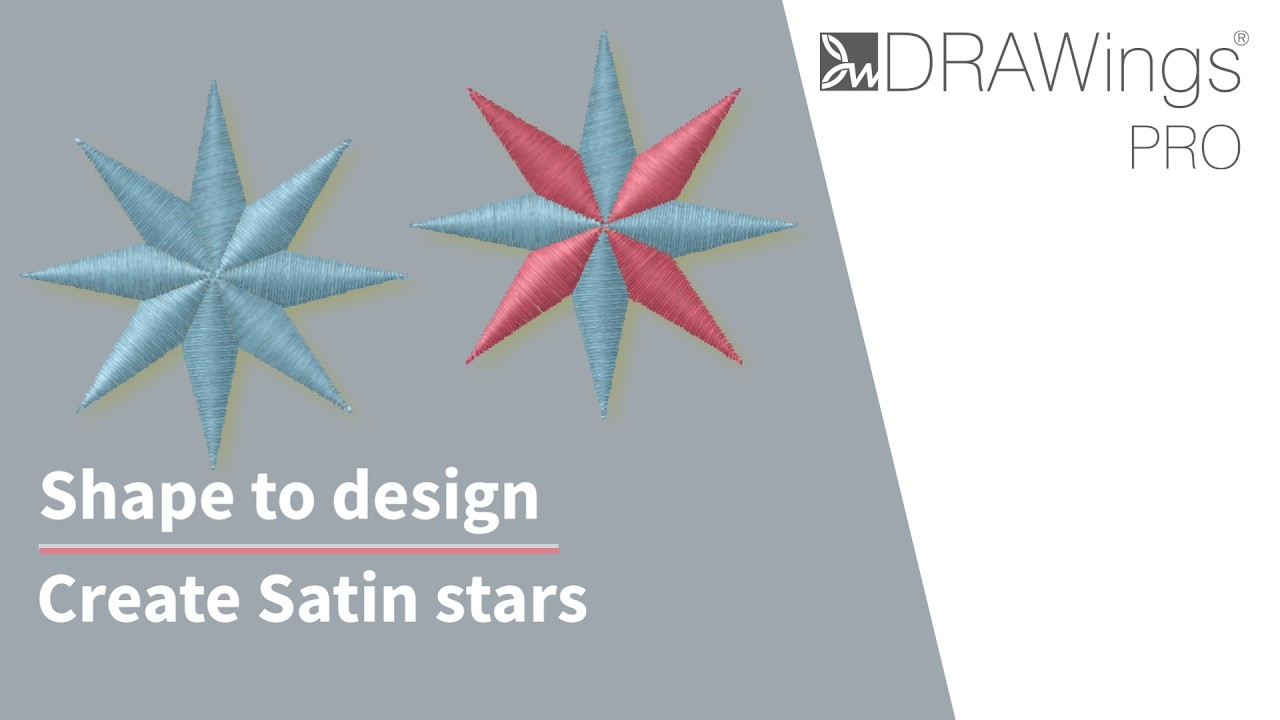
Phase 1: Preparing the Base Polygon
- Select the Polygon tool from your drawing tools.
- Set the number of sides to 4.
- Click and drag on your workspace to draw the shape.
- Remove the outline (as it is not needed for this design) and set the fill to any color you prefer.
- Set the shape’s X position to 0 to place it precisely on the center of the vertical axis.
- Right-click the polygon and select Convert to curve so you can fully edit its shape later.
- Set the stitch type to Satin.
Tip: Do not worry if the direction of the satin stitches looks incorrect right now. You will manually adjust the stitch flow for a professional finish at the end of the process.
Phase 2: Applying the Circular Array
- Select the polygon you just created.
- Click and drag the + handle (usually located at the center of the object) and move it to the center of the axis.
- Navigate to the Arrays tool and select Circular array.
- Set the Start and End angle to 90 degrees to configure a full circle.
- Set the Step count to the exact number of rays (points) you want your star to have.
- Use the handle on top of the green line to move the polygon’s corner to the center of the array.
- Click to Apply the array.
Tip: Do not fuss about perfecting the star’s shape while configuring the array parameters. You will easily adjust the overall look in the next step.
Phase 3: Fine-Tuning the Star Shape
- Activate the Node editor to make your arranged polygons look like a cohesive star.
- Select the nodes located in the middle of your shape.
- Move these nodes inwards, towards the center of the star.
- Fine-tune the nodes until you achieve your desired look.
- Select all the polygons together and adjust the overall dimensions to set the final size of the star.
Tip: Because these shapes were generated using an array, any node edit you make on one polygon will automatically update all the others, ensuring perfect symmetry!
Phase 4: Adjusting the Satin Stitch Flow
- Activate the Stitch flow tool from your toolbar.
- Click to select one of the individual polygons.
- Click and drag from one edge of the object to the other to define the exact direction of the satin stitches.
- Repeat this process for all the polygons that make up the star.
- Add more than one direction line inside a single polygon if you need to strictly control and adjust the flow around corners.
Tip: Once your base star is ready, you can create endless variations in just a few clicks by editing the outer nodes, adjusting the stitch flow angles, or changing the thread colors!
DRAWings PRO Help Group
Happy crafting and don’t forget to share your creations with us in the
DRAWings PRO Help Group!
Related posts





Projects
How to Modify Built-In Fonts into Custom Designs: Dripping Halloween Lettering
Every embroidery program ships with fonts that are already digitized. They stitch cleanly, and they are also the same fonts everyone else has.Digitizing a Knockout Layered Varsity Monogram with Nested Script Lettering
Layering script text over a bold collegiate letter is a staple in team apparel, varsity jackets, and custom fleece.How to Embroider a Photo onto a T-Shirt with PaintStitch™ and Sketch
A favorite vacation photo does not have to stay on your phone or disappear into a folder. With DRAWings PRO embroidery software, you can turn a photo into an embroidery design and stitch it onto a T-shirt as a wearable keepsake.










