
How to Import and Convert Vector Graphics for Embroidery
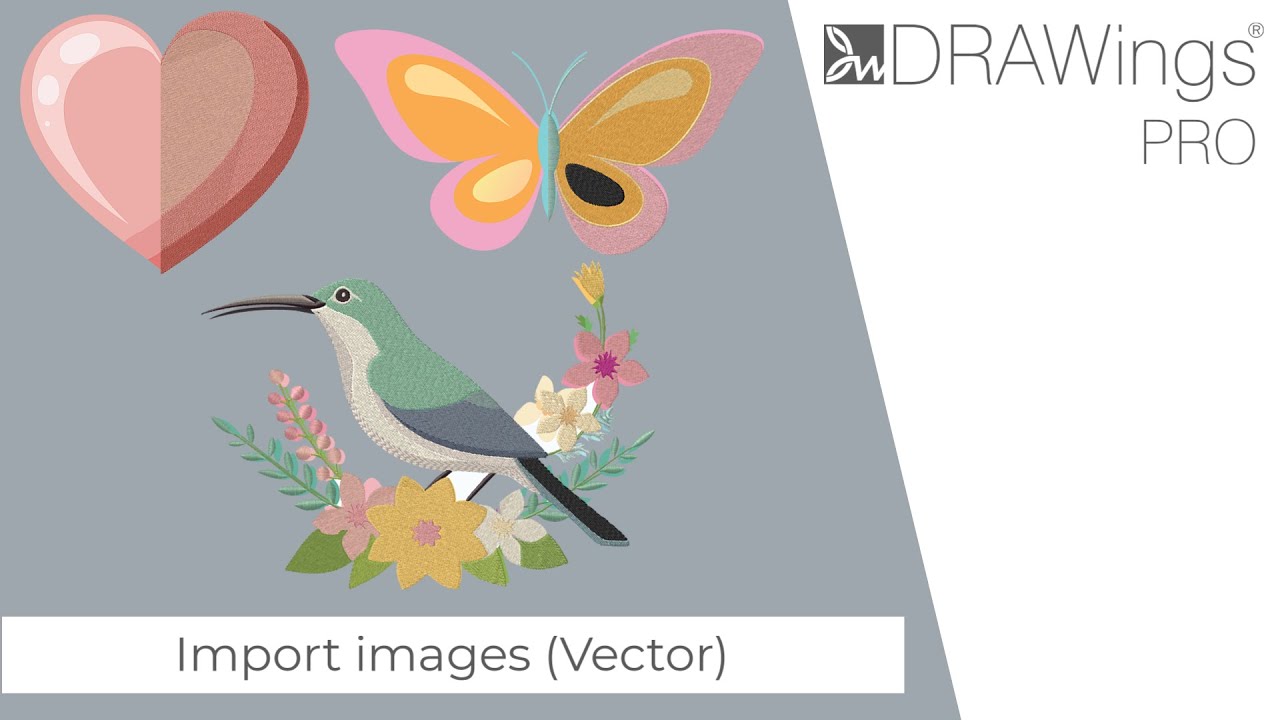
DRAWings® PRO XII offers a powerful and incredibly fast way to create embroidery designs directly from artwork. The most efficient method is to start with a vector image, which the software can convert to stitches automatically.
This guide will walk you through the process of importing vector files and explain how the software instantly transforms them into ready-to-sew embroidery designs.
Understanding Vector vs. Bitmap Images
Before you begin, it’s helpful to know the difference between the two main types of images:
- Vector Images: These are created using mathematical expressions to draw shapes, lines, and curves. Because they are not made of pixels, they can be scaled to any size without losing quality. This clean structure is perfect for embroidery, as the software can easily trace the paths and apply stitches. Common vector formats include CMX, AI, EPS, and SVG.
- Bitmap Images: These are made from a grid of tiny dots called pixels. Photographs and most images found online are bitmaps (e.g., JPG, PNG, GIF, BMP). Importing these requires a different process, which is covered in a separate guide.
Step-by-Step Guide to Importing Vector Artwork
Follow these steps to import a vector file and have the software digitize it for you.
Step 1: Choose Your Import Method
First, decide if you want to create a brand-new design from your artwork or add the artwork to a design you already have open.
- To import artwork into a new, blank design, navigate to the File menu and select Open.
- To add artwork to your currently open design, navigate to the Tools menu and select Import > From file….
![Image placeholder for menu options]
Step 2: Locate Your Artwork File
After choosing an import method, a browse dialog box will appear. Use this to navigate through your computer’s folders to find the vector file you wish to use.
Useful Tip: The browser automatically filters the view to show only file types that DRAWings® can open. You won’t see unsupported files, which makes finding your compatible artwork much easier.
Step 3: Preview and Filter Your Files (Optional)
The file browser includes helpful tools to find and preview your images.
- Preview: For many files, you will see a thumbnail automatically. If a thumbnail isn’t visible, simply click once on the file name to generate a preview in the panel on the right.
- Filter: To narrow your search, use the file type dropdown list at the bottom of the dialog. Selecting “All artwork” is a great way to see all compatible vector and bitmap image files in a folder.
![Image placeholder for file browser with preview and filter options]
Step 4: Select and Open the Vector Image
Once you have located your desired vector file (for example, a .cmx file provided with the software), select it and click the Open button.
Step 5: Instant Conversion to Embroidery!
This is where the power of DRAWings® becomes clear. The software will automatically:
- Read the mathematical data in the vector file.
- Identify all the individual shapes and parts.
- Convert those shapes into embroidery objects.
- Apply the appropriate stitch types (e.g., Satin or Step fill) to each object.
In just a few moments, your vector artwork becomes a complete embroidery design on your workspace. It is now ready for any final adjustments, color changes, or saving to your embroidery machine’s format.
DRAWings PRO Help Group
Happy crafting and don’t forget to share your creations with us in the
DRAWings PRO Help Group!
Related posts





Projects
How to Modify Built-In Fonts into Custom Designs: Dripping Halloween Lettering
Every embroidery program ships with fonts that are already digitized. They stitch cleanly, and they are also the same fonts everyone else has.Digitizing a Knockout Layered Varsity Monogram with Nested Script Lettering
Layering script text over a bold collegiate letter is a staple in team apparel, varsity jackets, and custom fleece.How to Embroider a Photo onto a T-Shirt with PaintStitch™ and Sketch
A favorite vacation photo does not have to stay on your phone or disappear into a folder. With DRAWings PRO embroidery software, you can turn a photo into an embroidery design and stitch it onto a T-shirt as a wearable keepsake.










