
How to Insert and Customize Ready-Made Shapes
This guide will walk you through the process of using the ready-made Shape tools in DRAWings PRO XII. These tools allow you to quickly create perfect geometric shapes like circles, rectangles, and stars, which form the foundation of many embroidery designs.
1. Locating and Selecting a Shape Tool
The ready-made shape tools are conveniently located in the “Shapes” section of the main Tools bar.
- Find the “Shapes” section on the Tools bar. The icon displayed will be the last shape tool that was used.
- To use the displayed tool, simply click on its icon to activate it.
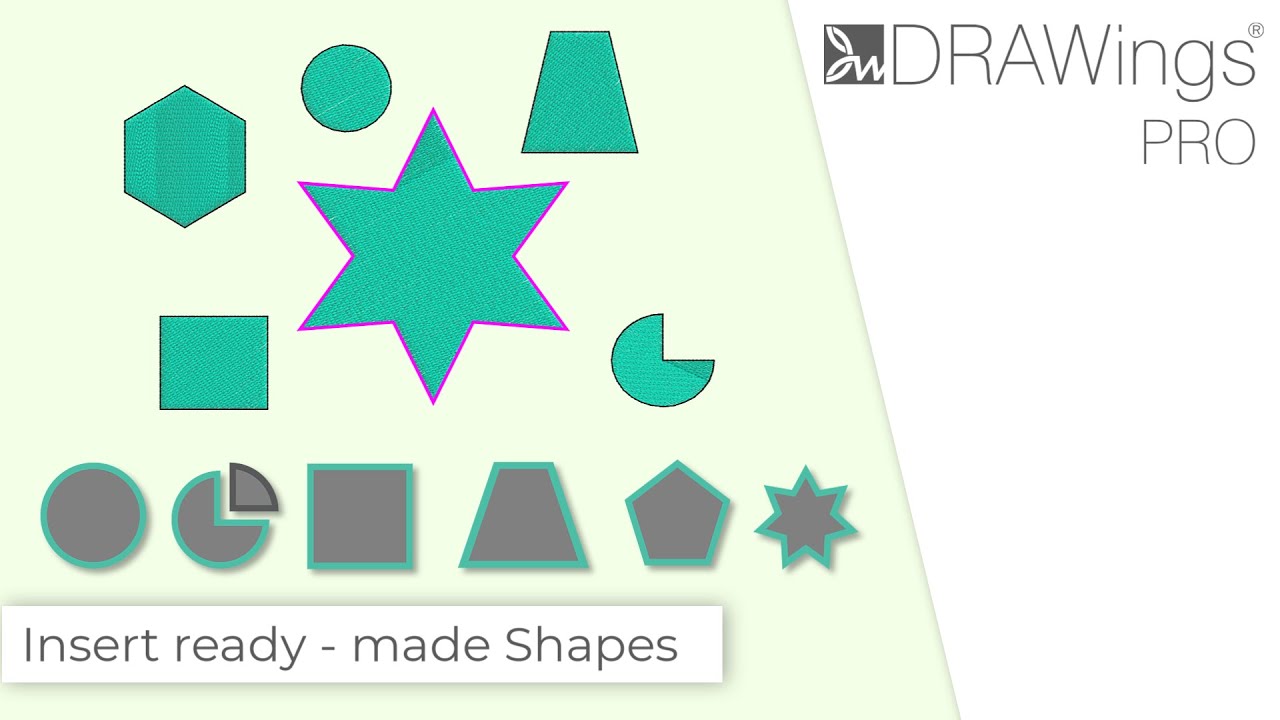
- To select a different shape, hover your mouse cursor over the “Shapes” section icon. A flyout menu will appear, showing all available shapes: Ellipse, Pie, Rectangle, Trapezoid/Parallelogram, Polygon, and Star.
- Click on the desired shape from the menu to activate it. The icon on the Tools bar will update to your current selection for easy re-use.
2. Inserting a Shape
Once a shape tool is activated, you can place it on the design canvas.
- Move your cursor to the desired starting position on the canvas.
- Click and hold the left mouse button.
- Drag your mouse to define the size and dimensions of the shape. You will see a live, virtual preview of the shape as you drag.
- When the shape is the desired size, release the mouse button. The shape will be finalized and placed on your design.
- The shape tool remains active, allowing you to continue adding more shapes of the same type. To deactivate the tool, simply right-click anywhere on the canvas or select the Rectangle Selection tool.
3. Customizing Shape Properties
You can adjust the properties of a shape either before or after you place it.
- Before Placement: After selecting a shape tool but before you click and drag to draw it, look at the Tools Options bar. Here you will find properties specific to that shape.
- Example: If you select the Pie tool, you can set the Start and Stop Angle on the Tools Options bar to create a specific wedge from the start.
- After Placement: You can also select and modify a shape after it has been created using its object properties or node editing tools.
4. Using Keyboard Shortcuts for Precision
Use keyboard keys while dragging to create a shape for greater control over its size and placement.
- Hold
Ctrlfor Proportional Shapes: To maintain an equal width and height, hold down theCtrlkey while dragging. This is essential for creating perfect circles (with the Ellipse tool) or perfect squares (with the Rectangle tool). - Hold
Altfor Grid Snapping: To align your shape perfectly with the design grid, hold down theAltkey while dragging.Useful Tip: TheAltkey acts as a temporary toggle for the Snap to Grid function. If you have “Snap to Grid” permanently enabled in the View menu, holdingAltwill temporarily disable snapping. If snapping is off, holdingAltwill temporarily enable it. - Hold
Shiftto Draw from the Center: To draw a shape from its center point outwards (instead of from corner to corner), hold down theShiftkey while dragging.
5. Combining Keyboard Shortcuts
You can combine these keys for even more powerful control.
- Example: To create a perfect circle that is drawn from its center, hold down both the
CtrlandShiftkeys simultaneously while dragging the Ellipse tool.
By mastering these tools and shortcuts, you can create precise and complex vector artwork for your embroidery designs with greater speed and efficiency.
DRAWings PRO Help Group
Happy crafting and don’t forget to share your creations with us in the
DRAWings PRO Help Group!
Related posts





Projects
How to Modify Built-In Fonts into Custom Designs: Dripping Halloween Lettering
Every embroidery program ships with fonts that are already digitized. They stitch cleanly, and they are also the same fonts everyone else has.Digitizing a Knockout Layered Varsity Monogram with Nested Script Lettering
Layering script text over a bold collegiate letter is a staple in team apparel, varsity jackets, and custom fleece.How to Embroider a Photo onto a T-Shirt with PaintStitch™ and Sketch
A favorite vacation photo does not have to stay on your phone or disappear into a folder. With DRAWings PRO embroidery software, you can turn a photo into an embroidery design and stitch it onto a T-shirt as a wearable keepsake.










