
How to Use the Sequence Manager: A Complete Guide to Managing Design Order
The Sequence Manager is an essential tool in DRAWings PRO XII that provides a visual representation of your embroidery design’s stitching order. Located on the upper right edge of the design area, it allows you to easily view, customize, and optimize the sequence of your design parts to ensure an efficient sew-out.
Below is a complete guide to mastering the Sequence Manager and its functionalities.
Understanding the Sequence Manager Layout
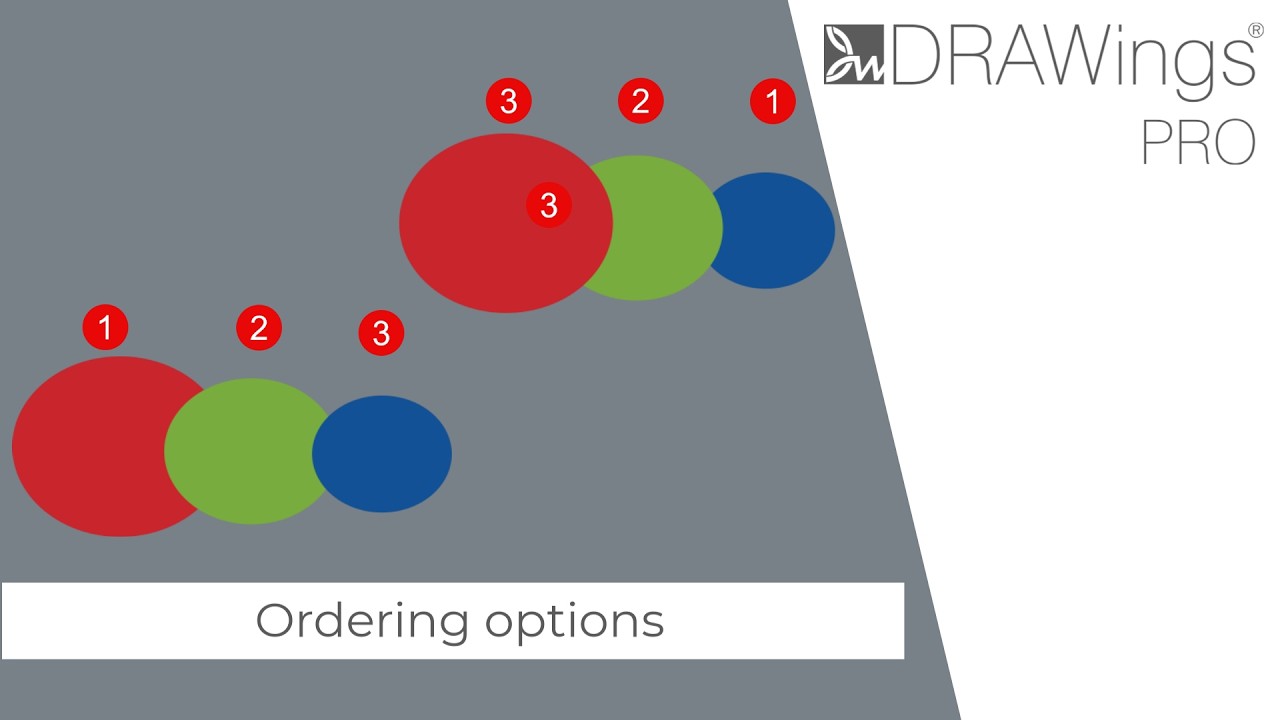
- Position Indicator: Next to each sequence icon is a numeric value representing its position in the stitching order. Objects placed higher in the Sequence Manager will be embroidered first.
- Object Type: The icons visually distinguish whether a design part is a Fill or an Outline shape.
- Scrolling: You can simply scroll through the manager to view all the different shapes that make up your design.
Manual vs. Auto-Sequence Mode
By default, the software operates in Manual mode, giving you full control over the stitching order. However, you can leverage the software’s intelligence to optimize the design automatically.
Manual Sequence Adjustments
To manually change the sequence, simply click on any icon and drag it to your desired position.
Using Auto-Sequence
- Locate the Auto-sequence button on the top toolbar.
- Click the button to allow the software to intelligently determine the sequence based on its built-in Optimization Strategy.
- Set your specific rules in the “Optimization Strategy” section (e.g., selecting “Large to Small” will force the software to embroider larger objects first).
- Switch to Slow Redraw to preview the new sequence and verify the changes.
Important Note: The Auto-sequence tool applies to the design once per click. After application, the software immediately returns to Manual mode, allowing you to make further custom adjustments.
Useful Tip on Trimming: Check your Optimizer options before using Auto-sequence. If Auto-trim overlapping objects is checked, overlapping parts may be permanently trimmed on the Sequence Manager to achieve the desired result based on your strategy. If you want to auto-sequence without automatically trimming objects, disable this feature before clicking Auto-sequence.
Selecting Objects in the Sequence Manager
Efficient selection is key to speeding up your digitizing workflow. When you delete a selected object, the software automatically selects the next object in the sequence to keep your focus on the current position.
Here are the primary selection shortcuts:
| Command | Action |
| Click | Selects a single shape. |
| Ctrl + Click | Adds multiple non-sequential icons to your selection, or removes specific icons from an existing selection. |
| Shift + Click | Selects all items between the first icon you click and the last icon you click. |
| Ctrl + Shift + Click | Allows you to select a sequential range (using Shift) and then add/remove individual icons outside of that range (using Ctrl). |
Right-Click Menu Options
Right-clicking on an object (or a group of selected objects) opens a context menu with powerful editing tools.
- Select All / Select None: Quickly grab every object in the design or clear your current selection entirely.
- Inverse Selection: Selects all objects except the ones you currently have highlighted.
- Move Before / Move After: Ideal for designs with too many parts to easily drag and drop. Scroll to your target destination, right-click the target icon, and choose one of these options to drop your previously selected items exactly where you want them.
- Join Together: Select multiple non-sequential icons, right-click one of them, and select this option to group them consecutively. They will move directly next to the item you right-clicked.
- Reverse: Select two or more objects and choose this to completely flip their stitching order.
- Hide/Show Item: Temporarily hide specific objects. This is incredibly helpful when working with multi-layered designs, allowing you to clearly see and edit underlying shapes.
Applying Special Machine Functions
You can directly instruct your embroidery machine to perform specific actions from the Sequence Manager.
- Right-click on a specific object in the Sequence Manager.
- Locate the Special function commands in the menu.
- Choose either Trim or Stop.
- Set the function to Auto (default), On (force the action), or Off (disable the action).
Grouping Objects by Color
To condense the Sequence Manager and make large designs easier to read, you can group objects by their thread color.
- Locate the grouping icon at the top of the Sequence Manager (it looks like a painter’s palette when activated).
- Click the icon to group all sequential objects of the same color into a single block.
- Notice that a series of numeric values will appear next to the grouped icon, representing the included design parts.
- Click the button again to toggle back to viewing all objects as separate icons.
Note: The “Group by color” function is smart enough to keep Fill and Outline shapes separate. It will not group a Fill and an Outline together, even if they share the exact same thread color.
Managing the Sequence Window
The Sequence Manager is a permanent fixture in your workspace and cannot be closed completely, but it can be adjusted to fit your needs.
- Resize: Hover your mouse over the left edge of the Sequence window until a double arrow appears. Click and drag left or right to make the panel larger or smaller. (Shrinking it too much will hide the sequence numbers and colors).
- Minimize/Maximize: Click the pointing arrow icon on the header of the Sequence Manager to minimize it to the side. Click the same icon (now pointing the opposite way) to expand it back to full size.
DRAWings PRO Help Group
Happy crafting and don’t forget to share your creations with us in the
DRAWings PRO Help Group!
Related posts





Projects
How to Modify Built-In Fonts into Custom Designs: Dripping Halloween Lettering
Every embroidery program ships with fonts that are already digitized. They stitch cleanly, and they are also the same fonts everyone else has.Digitizing a Knockout Layered Varsity Monogram with Nested Script Lettering
Layering script text over a bold collegiate letter is a staple in team apparel, varsity jackets, and custom fleece.How to Embroider a Photo onto a T-Shirt with PaintStitch™ and Sketch
A favorite vacation photo does not have to stay on your phone or disappear into a folder. With DRAWings PRO embroidery software, you can turn a photo into an embroidery design and stitch it onto a T-shirt as a wearable keepsake.










