
How to Group – Ungroup Design Parts for Efficient Embroidery Layouts
When working with complex embroidery designs containing numerous individual objects, selecting and transforming specific sections can be difficult. The Group functionality allows you to combine multiple design parts into a single manageable unit. This makes layout, scaling, and coloring significantly faster and more precise.
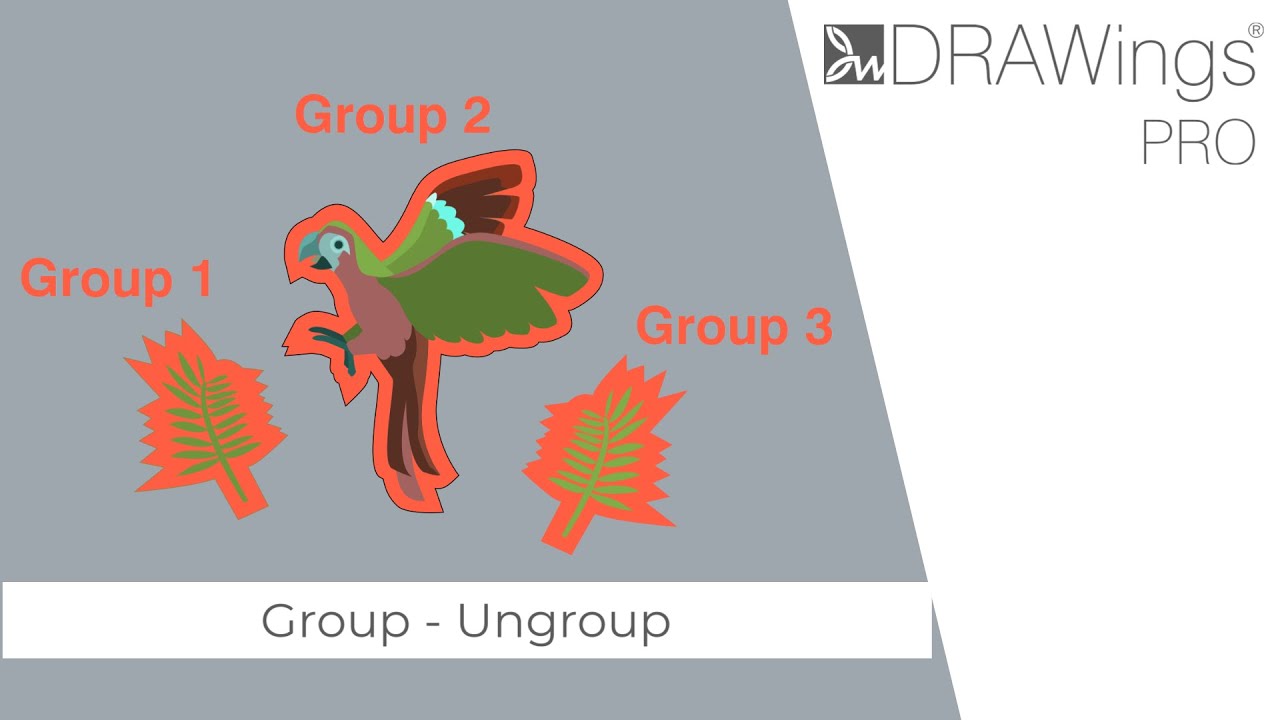
1. How to Create a Group
To manage specific sections of a design together (for example, the parts of a parrot or a cluster of leaves):
- Select all the individual design parts you wish to combine.
- Right-click on the selection to open the context menu.
- Select the Group option.
Useful Tip: You can also use the keyboard shortcut Ctrl + G to instantly group selected items.
2. Editing and Transforming Groups
Once a group is created, it behaves as a single object:
- Selection: Clicking on any single part of the group will automatically select the entire group.
- Transformation: You can Move, Scale, or Rotate the group just as you would a single object. All stitch types within the group remain intact during these transformations.
- Global Changes: You can apply changes to the whole group at once. For example, if you group a set of leaves, you can apply a new color to the group to change all the leaves simultaneously.
3. Adding Objects to an Existing Group
You do not need to ungroup items to add new parts to them.
- Select the existing Group.
- Hold the Shift or Ctrl key and select the new object(s) you wish to add.
- Right-click and select Group (or press Ctrl + G) again.
- The new objects are now fused into the existing group structure.
4. Working with Nested Groups and Alignment
You can create groups made up of other groups (Nested Groups). This is helpful for organizing major sections of a design.
- Select Group A and Group B (e.g., a parrot group and a leaves group).
- Use the alignment tools to position them relative to each other (e.g., Center Horizontally).
- With both groups selected, use the Group command again.
- These two groups are now combined into one larger “Master Group.”
5. How to Ungroup (Separate) Objects
You can revert groups back to their individual components at any time.
- Select the group you wish to separate.
- Right-click and select Ungroup (or the Separate command).
Note on Nested Groups: If you ungroup a “Master Group” that consists of smaller subgroups, the software will first break it down into those original subgroups. You must perform the Ungroup action a second time on the subgroups to access the individual design objects.
Summary of Benefits
- Efficiency: Laying out groups of objects is much faster than positioning individual parts.
- Safety: Prevents accidental movement of single stitches or parts within a complex character.
- Organization: Keeps your design workspace clean and logical.
DRAWings PRO Help Group
Happy crafting and don’t forget to share your creations with us in the
DRAWings PRO Help Group!
Related posts





Projects
How to Modify Built-In Fonts into Custom Designs: Dripping Halloween Lettering
Every embroidery program ships with fonts that are already digitized. They stitch cleanly, and they are also the same fonts everyone else has.Digitizing a Knockout Layered Varsity Monogram with Nested Script Lettering
Layering script text over a bold collegiate letter is a staple in team apparel, varsity jackets, and custom fleece.How to Embroider a Photo onto a T-Shirt with PaintStitch™ and Sketch
A favorite vacation photo does not have to stay on your phone or disappear into a folder. With DRAWings PRO embroidery software, you can turn a photo into an embroidery design and stitch it onto a T-shirt as a wearable keepsake.










