
How to Use and Customize the Satin Serial Outline Type in DRAWings PRO XII
Overview
By default, when you create an object in DRAWings PRO XII, it is assigned both a fill and an outline. The Satin Serial outline type applies zigzag stitches along the border of your object, making it a highly versatile tool for borders, text, and decorative finishing.
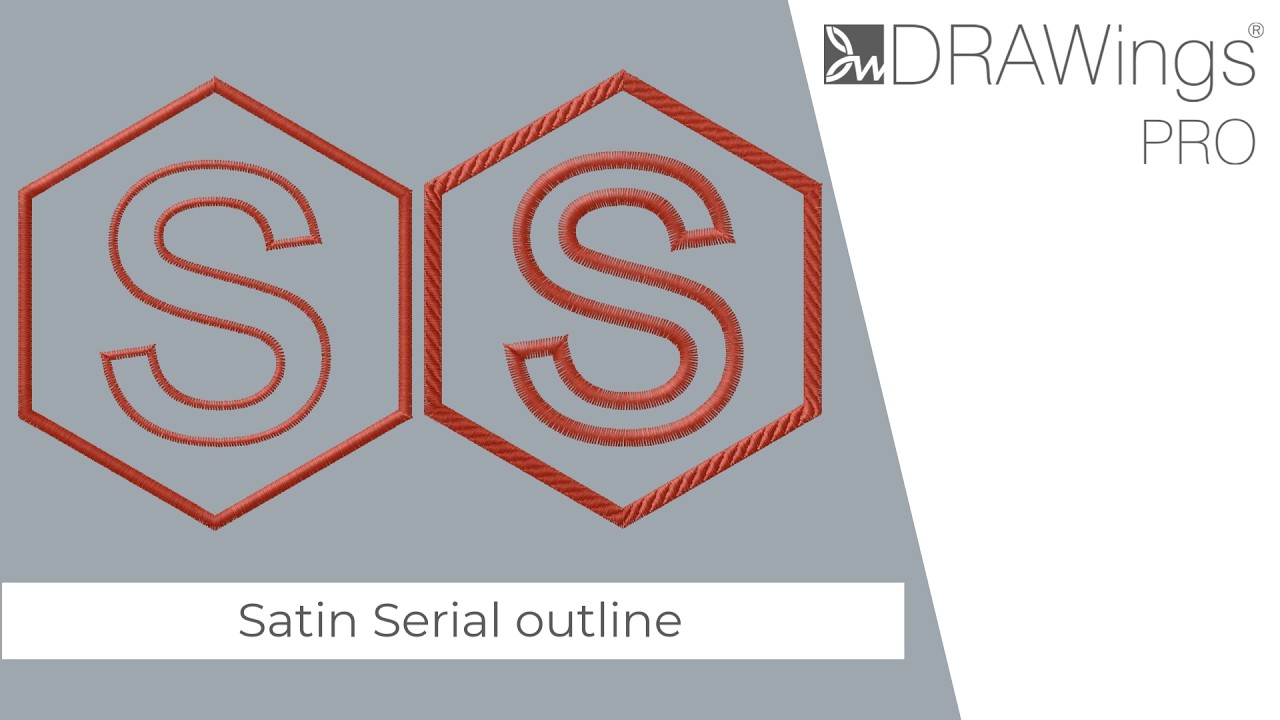
This guide will walk you through applying, customizing, and perfecting the Satin Serial outline.
Pro Tip: Before you begin, you may want to temporarily remove your object’s fill color. This makes it much easier to see and adjust your outline properties without visual distractions.
Step 1: Applying the Satin Serial Outline
The software uses a smart auto-adjustment feature, but you can also set the outline manually.
Method A: Automatic Application (Based on Width)
- Select your object.
- Navigate to the Outline Width setting. By default, outline width is set to 0.4mm (the actual width of a single thread), applying a standard Running stitch.
- Increase the width. At 0.8mm, the software automatically adds a double pass to make the running line thicker.
- Once you increase the width to more than 1.0mm, the software will automatically convert the outline to Satin Serial.
Method B: Manual Application
- Select your object.
- Go to the Outline section in your properties panel.
- Click on the icon of the currently selected outline type to expand the dropdown menu.
- Click on the Satin Serial icon to apply it instantly.
Step 2: Customizing the Width and Applying Patterns
Satin serial stitches can be made wider or thinner simply by adjusting the outline width value.
If you are creating an extra-wide satin bar, you may want to apply a pattern to secure the stitches:
- With your Satin Serial object selected, choose a Pattern from the properties.
- Applying a pattern adds internal stitches to the satin bar, preventing long, loose threads from snagging.
- Once a pattern is selected, a new Length option will appear. Type a value here to adjust the length of the decorative pattern.
Important Tip: Patterns are generally not recommended for standard-width satin bars. Applying them to thin outlines will add unnecessary stitches and drastically increase your stitch count.
Step 3: Adjusting Advanced Parameters
DRAWings PRO XII gives you ultimate control over how your Satin Serial stitches behave on the fabric. In the properties panel, you can adjust the following:
- Handmade Corners: Toggle this on or off to change the cornering method, giving your designs a unique, handcrafted look and feel.
- Outline Offset: Move the satin line inside or outside the shape.
- Positive values move the outline outward. (e.g., Add a 1mm offset if the fill object has heavy stitching, to prevent a gap caused by fabric shrinkage. Or, use a 3mm offset to create a deliberate decorative gap between the fill and outline).
- Negative values move the outline inward.
- Density: This determines the distance between the zigzags. Check the Density box to take manual control.
- Lowering the value brings the stitches closer together (denser).
- Increasing the value pushes the stitches further apart (lighter).
- Pull Compensation: Fabric shrinking depends on the material, thread tension, and machine speed. Increase this value if you anticipate the fabric will pull and cause gaps.
- Note: Compensation adjustments can only be viewed using the Slow Redraw tool or on the exported machine file.
Step 4: Selecting the Right Underlay
Underlay stitches are laid down first to stabilize the fabric and support the top stitches. This is a critical factor for embroidery quality. (Note: You can preview underlay stitches using the Slow Redraw tool).
Depending on your design needs, choose from the following underlay options:
- Double Line (Default): The auto-selected standard underlay.
- Single Line: Use this for a lighter, softer satin bar.
- Netting: Adds a double line plus an additional net before the satin stitches. Ideal for heavier, wider bars.
- 3D Underlays: These specialized underlays add multiple layers of narrow satin stitches underneath, creating a plump, prominent, 3D “puff” effect without needing actual craft foam.
Step 5: Creating Random Edge Effects
If you want to create a textured, fur-like, or jagged border, you can utilize the Random feature.
- Locate the Random percentage value in the properties. This defines the variance between the random stitches and the original outline (values range from 0% to 90%).
- Once a percentage is defined, select a Random Side option:
- Side A: Random stitches appear only on one side of the outline.
- Side B: Random stitches appear on the opposite side.
- Symmetric: The stitch length remains exactly the same, but the entire stitch shifts randomly across both sides of the center line.
- Both: Random stitches are applied independently to both sides, with random lengths and directions.
DRAWings PRO Help Group
Happy crafting and don’t forget to share your creations with us in the
DRAWings PRO Help Group!
Related posts





Projects
How to Modify Built-In Fonts into Custom Designs: Dripping Halloween Lettering
Every embroidery program ships with fonts that are already digitized. They stitch cleanly, and they are also the same fonts everyone else has.Digitizing a Knockout Layered Varsity Monogram with Nested Script Lettering
Layering script text over a bold collegiate letter is a staple in team apparel, varsity jackets, and custom fleece.How to Embroider a Photo onto a T-Shirt with PaintStitch™ and Sketch
A favorite vacation photo does not have to stay on your phone or disappear into a folder. With DRAWings PRO embroidery software, you can turn a photo into an embroidery design and stitch it onto a T-shirt as a wearable keepsake.










