
How to Manual Trace an Image to Create a Custom Embroidery File
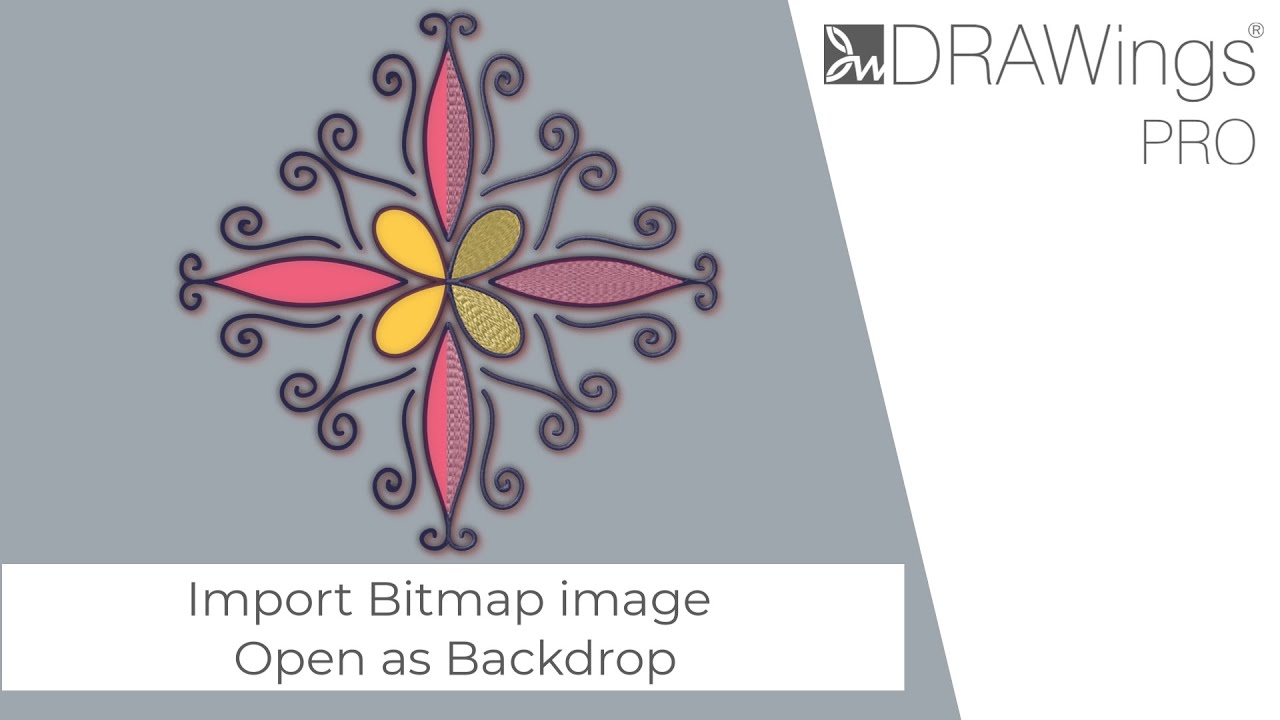
Using a backdrop image is a fantastic way to trace a photograph, sketch, or logo, or simply to use it as inspiration for your embroidery design. This guide will walk you through importing a bitmap image and placing it behind the design area as a backdrop.
Part 1: Importing the Image as a Backdrop
Follow these simple steps to load your image.
- Click the From file icon on the main toolbar to begin the import process.
- Your system’s file browser will open. Locate the bitmap image you wish to use (e.g., a JPG, PNG, BMP file) and click Open.
- After selecting your image, a dialog box will appear, showing a preview of the image and several handling options.
- From the available options, select Open as Backdrop and proceed.
The image will now be placed behind your design area, ready for you to work on top of it.
A useful tip: While the software presents multiple ways to handle an imported image, the ‘Open as Backdrop’ option is specifically for creating a non-editable reference layer to draw over.
Part 2: Adjusting the Backdrop Properties
Before you start designing, you will likely need to adjust the image to fit your needs. You can easily scale, rotate, and change other properties of the backdrop.
- Navigate to the View menu at the top of the screen.
- Select Backdrop properties from the dropdown menu.
- A control panel will appear, giving you access to the following tools:
- Scale: Adjust the size of the image. This is particularly useful for fitting the reference image within your selected hoop.
- Rotate: Rotate the image to the desired angle.
- Straighten: Use this tool to correct the alignment of a crooked image.
- View Options: Change the visibility or appearance of the backdrop (e.g., dimming the image to make your new vector lines more visible).
- Remove: Completely delete the backdrop image from the design area.
Part 3: Designing on Top of the Backdrop
With your backdrop in place and properly adjusted, you can begin creating your design.
- Select a drawing tool, such as the Outline tool, from the toolbar.
- Begin tracing or drawing your desired shapes directly on top of the image.
- Once a shape is created, you can select it and choose a fill or outline color from the color palette.
- Continue building your design by using any of the software’s powerful tools, like the Circular Array to easily duplicate parts in a pattern.
This method allows you to accurately and creatively transform any image into a unique embroidery design.
Important Note: One Backdrop per Design
DRAWings® PRO XII allows only one backdrop image per design file. If you wish to use a different image as a backdrop, you must first remove the current one by navigating to View > Backdrop properties and clicking the Remove button.
DRAWings PRO Help Group
Happy crafting and don’t forget to share your creations with us in the
DRAWings PRO Help Group!
Related posts





Projects
How to Modify Built-In Fonts into Custom Designs: Dripping Halloween Lettering
Every embroidery program ships with fonts that are already digitized. They stitch cleanly, and they are also the same fonts everyone else has.Digitizing a Knockout Layered Varsity Monogram with Nested Script Lettering
Layering script text over a bold collegiate letter is a staple in team apparel, varsity jackets, and custom fleece.How to Embroider a Photo onto a T-Shirt with PaintStitch™ and Sketch
A favorite vacation photo does not have to stay on your phone or disappear into a folder. With DRAWings PRO embroidery software, you can turn a photo into an embroidery design and stitch it onto a T-shirt as a wearable keepsake.










