
How to Use the Auto Border Tool in DRAWings PRO XII
The Auto Border tool in DRAWings PRO XII is a powerful feature that automatically creates a new object based on the outline of a selected design. This tool saves time when digitizing and provides precise control over border placement, stitch types, and spacing.
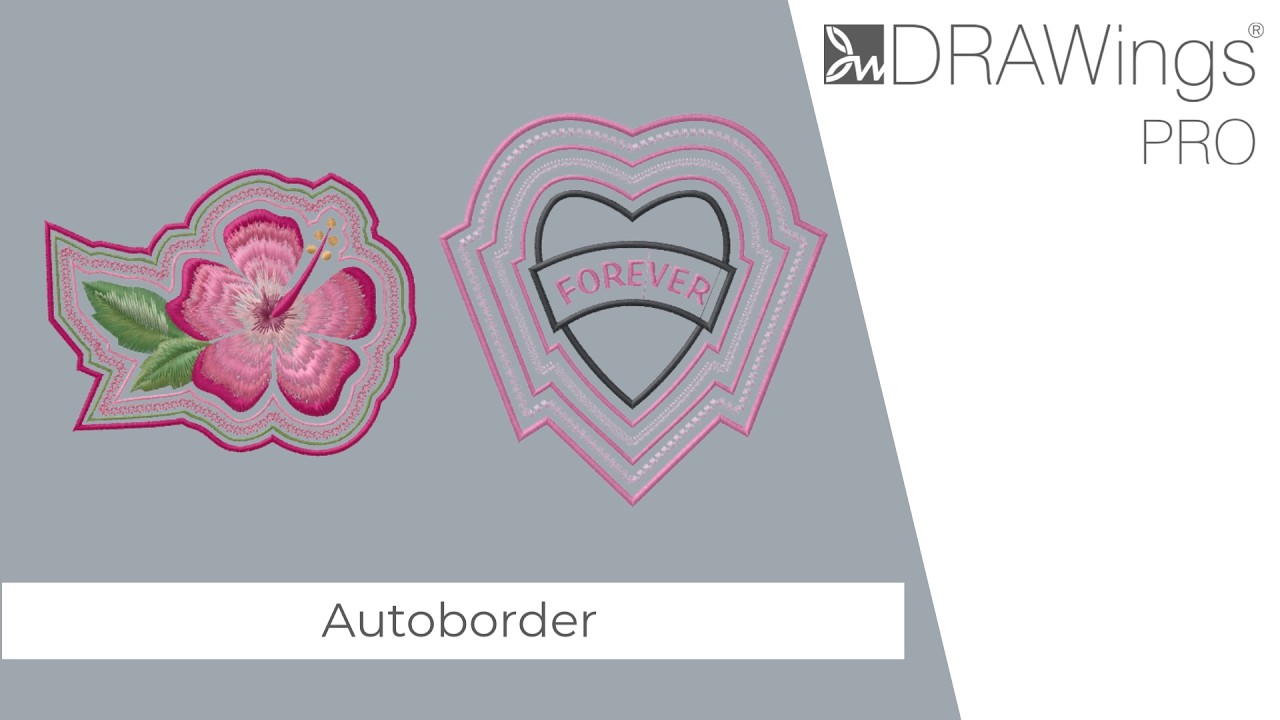
Here is a step-by-step guide to using the Auto Border tool effectively.
Step-by-Step Instructions
1. Select Your Design Begin by selecting the specific design or the portion of the design where you want to add a border.
2. Activate the Auto Border Tool There are two easy ways to access the tool:
- Method A: Right-click directly on your selection and choose Autoborder from the context menu.
- Method B: Click on the Convert icon located in the horizontal toolbar at the top of your workspace.
3. Configure the Auto Border Settings Once activated, the Auto Border dialog box will appear. Here, you will adjust the parameters to fit your project:
- Placement: Choose whether the border should be generated on the Outside or the Inside of your selected shape.
- Distance: Define how far away the border should be from the original shape.
- Repeats: Set the number of times you want the border outline to repeat.
- Stitch Type: Select your preferred stitch style for the border. Standard options include Running stitch or Satin Serial. If you choose Satin Serial, you will also be prompted to define the width of the satin stitch.
Useful Tip: If you set the Distance to 0, the new border object will be placed exactly on top of the initial object’s outline. This is highly recommended when you want to create a crisp, defining edge directly over a filled shape.
4. Handle Complex Shapes with Holes If your selected shape has an empty space or “hole” in the middle (like a donut), the standard auto border might generate outlines around the interior holes as well, which may not be the ideal result.
- Check the Remove holes option in the dialog box. This will ignore the interior paths, removing the inside parts and leaving only the clean, outermost border.
5. Apply and Generate Once your settings are configured, press OK. The autoborder will instantly generate around your selected shape.
Decorating and Alternative Techniques
Once your auto border is created, it acts as a brand-new object. You can easily decorate these new boundary lines with different styles to create unique, custom effects for your embroidery project.
Using Non-Embroidery Techniques DRAWings PRO XII is versatile. If your project utilizes techniques other than standard embroidery, the Auto Border tool will adapt to offer specific border types suited to your medium:
- Paint Technique: Choose between Paint Zigzag or Paint Lines.
- Cut Technique: Generate a clean Cut Line for your cutter.
- Stencil Technique: Automatically create a Stencil Autoborder.
Useful Tip: Mixing techniques can yield stunning mixed-media projects. Try generating a standard embroidery design and using the Auto Border tool to create a perfectly aligned cut line for appliqué fabrics!
DRAWings PRO Help Group
Happy crafting and don’t forget to share your creations with us in the
DRAWings PRO Help Group!
Related posts





Projects
How to Modify Built-In Fonts into Custom Designs: Dripping Halloween Lettering
Every embroidery program ships with fonts that are already digitized. They stitch cleanly, and they are also the same fonts everyone else has.Digitizing a Knockout Layered Varsity Monogram with Nested Script Lettering
Layering script text over a bold collegiate letter is a staple in team apparel, varsity jackets, and custom fleece.How to Embroider a Photo onto a T-Shirt with PaintStitch™ and Sketch
A favorite vacation photo does not have to stay on your phone or disappear into a folder. With DRAWings PRO embroidery software, you can turn a photo into an embroidery design and stitch it onto a T-shirt as a wearable keepsake.










