
How to Add and Customize Trapezoid Shapes
This guide will walk you through the process of adding and customizing trapezoid shapes using the tools in DRAWings PRO XII.
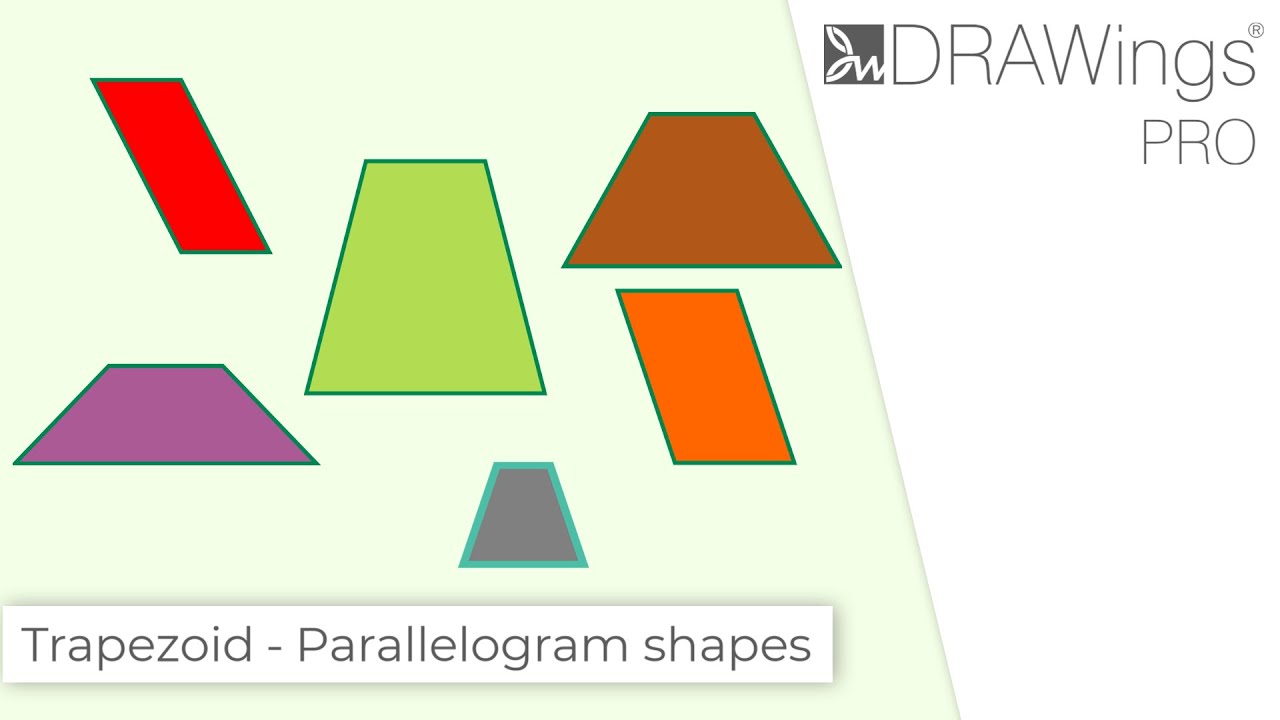
1. How to Add a Trapezoid Shape
- All ready-made shapes are located in the Shapes section of the toolbar.
- Tip: The icon of the last used shape will be visible. To find the trapezoid, place your mouse cursor over the Shapes section icon to expand the full list and click on the Trapezoid shape.
- Once the trapezoid tool is selected, you can see and adjust its options (like slant percentage) in the properties panel before you draw the shape.
- Click and drag on the design area to define the position and size of your trapezoid.
- Release the mouse button to finalize the shape. The tool remains active, allowing you to add as many trapezoid shapes as you need.
- When you are finished drawing, right-click to release the tool, or click on the Rectangle Selection tool.
2. Editing a Trapezoid Shape
After the shape is created, you can edit it using the Properties panel or the Node Editor.
Editing via the Properties Panel
Select the inserted trapezoid shape at any time to modify its options from the properties panel.
- Adjust Slant: You can adjust the Slant Percentage. As you increase the percentage, the angle of the trapezoid’s sides increases.
- Switch to Parallelogram: You can switch the shape to a Parallelogram.
- Tip: When you switch to parallelogram mode, the “slant angle” option now controls the inside angle of the parallelogram.
Editing via the Node Editor
For more direct, on-screen editing, select the shape and switch to the Node Editor. A smart shape like the trapezoid has special nodes for quick customization:
- Slant Node: This node allows you to click and drag to visually adjust the slant percentage.
- Size/Proportion Node: This node (typically at a corner) lets you change the overall size and proportion, just as when you first drew it.
- Mode Node: This node is used to switch the shape between a Trapezoid and a Parallelogram.
- Center Node: The node at the center of the shape allows you to click and drag to reposition the entire shape.
3. Converting to Curves for Manual Editing
If you want to manually edit the individual points of the shape (for example, to make one side curved or move a single corner), you must first convert the object into curves.
- Select the trapezoid shape.
- Right-click on it and select Convert to Curves.
Important Tip: After you convert the shape to curves, it is no longer a “smart shape.” The special nodes for slant, proportion, and mode will disappear and be replaced by standard nodes at each corner. You can now edit these points freely as you would any other vector object.
DRAWings PRO Help Group
Happy crafting and don’t forget to share your creations with us in the
DRAWings PRO Help Group!
Related posts





Projects
How to Modify Built-In Fonts into Custom Designs: Dripping Halloween Lettering
Every embroidery program ships with fonts that are already digitized. They stitch cleanly, and they are also the same fonts everyone else has.Digitizing a Knockout Layered Varsity Monogram with Nested Script Lettering
Layering script text over a bold collegiate letter is a staple in team apparel, varsity jackets, and custom fleece.How to Embroider a Photo onto a T-Shirt with PaintStitch™ and Sketch
A favorite vacation photo does not have to stay on your phone or disappear into a folder. With DRAWings PRO embroidery software, you can turn a photo into an embroidery design and stitch it onto a T-shirt as a wearable keepsake.










