
How to Import and Edit Existing Embroidery Designs
Existing embroidery files, whether from previous projects or purchased online, are a valuable resource for creating new designs. This guide will walk you through the process of importing these files and the various ways you can edit them within the software.
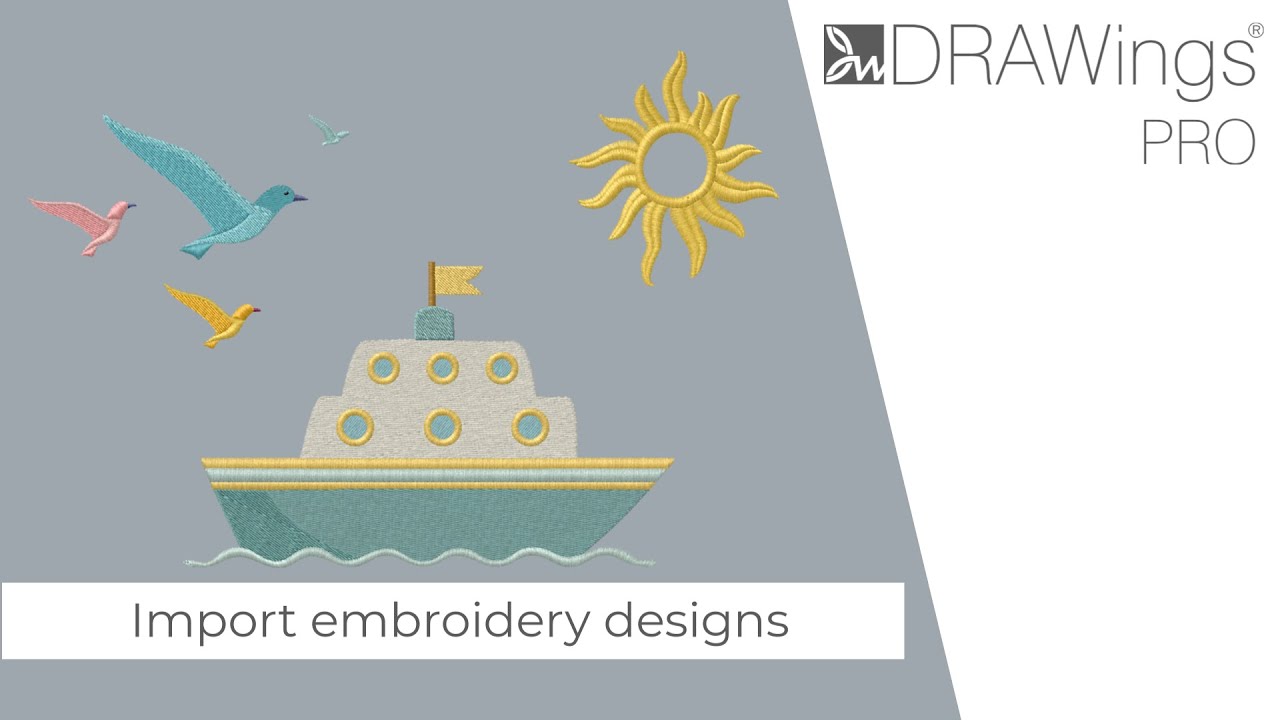
Step 1: Importing an Embroidery File
There are two primary methods to import an embroidery design:
- Using the ‘From Files’ Icon:
- Click the ‘From files’ icon on the toolbar. A browse dialog box will open, allowing you to navigate through your computer’s folders.
- To make finding your file easier, use the file type dropdown list to filter the view. For example, select “.jeff files” to only see files in that format.
- Click on a file to see a preview before opening it.
- Using the Design Browser:
- Open the Design Browser to get a visual overview of your embroidery files with previews.
- You can disable the view of image files to focus solely on embroidery designs.
- Once you find the design you wish to use, simply double-click it to import it into a new design canvas.
Step 2: Understanding “Raw” Objects
When you import a stitch file, it is not brought in as a standard, editable object. Instead, each part of the design is imported as a “Raw” type object.
- Limitations: Raw objects do not have editable stitch properties (like stitch type or density) and their shapes cannot be modified using the node editor.
- Benefits: You can still add new elements, like text or other shapes, to the design alongside the imported raw objects.
Step 3: Performing Basic Edits on Raw Objects
While raw objects are limited, you can still perform basic transformations on them:
- Rotate: Change the orientation of the object.
- Slant: Skew the object horizontally.
- Resize: Scale the object up or down.
Useful Tip: When resizing, pay attention to the “Auto density adjust” option.
- Enabled (Default): The software will automatically add or remove stitches to maintain the original density in the new size.
- Disabled: The object will be resized, but the total stitch count will remain the same, which can make the stitching appear too dense (if scaled down) or too sparse (if scaled up).
Step 4: Converting Raw Objects to Curves for Full Editing
To unlock the full editing potential of an imported design, you must convert the raw objects into vector shapes.
- Select the raw object you want to edit.
- Use the ‘Convert to Curves’ option, which can be found in the main toolbar or by right-clicking on the object.
- This process analyzes the stitch coordinates and converts them into an editable vector outline.
Step 5: Editing the Converted Design
Once an object has been converted to curves, it behaves like any other object created directly in DRAWings PRO XII. You can now:
- Change the stitch type (e.g., from Satin to Step fill).
- Apply creative STYLE stitches.
- Use the node editor to completely change the shape of the object.
Useful Tip: The ‘Convert to Curves’ function can sometimes create shapes with more nodes than necessary. After converting, you can enter the node editor and remove any redundant nodes to simplify and improve the quality of the artwork.
By following these steps, you can easily import, modify, and repurpose any embroidery file, giving new life to old designs and expanding your creative possibilities. All you need is a little inspiration!
DRAWings PRO Help Group
Happy crafting and don’t forget to share your creations with us in the
DRAWings PRO Help Group!
Related posts





Projects
How to Modify Built-In Fonts into Custom Designs: Dripping Halloween Lettering
Every embroidery program ships with fonts that are already digitized. They stitch cleanly, and they are also the same fonts everyone else has.Digitizing a Knockout Layered Varsity Monogram with Nested Script Lettering
Layering script text over a bold collegiate letter is a staple in team apparel, varsity jackets, and custom fleece.How to Embroider a Photo onto a T-Shirt with PaintStitch™ and Sketch
A favorite vacation photo does not have to stay on your phone or disappear into a folder. With DRAWings PRO embroidery software, you can turn a photo into an embroidery design and stitch it onto a T-shirt as a wearable keepsake.










