
How to Use the Stippling Fill Tool for Machine Embroidery
The Stippling fill type generates a continuous, meandering stitch path that perfectly adapts to the contours of your selected shapes. While primarily used for decorative purposes, it is also an excellent practical tool for quilting, allowing you to create a secure, decorative net to hold different fabric layers together.
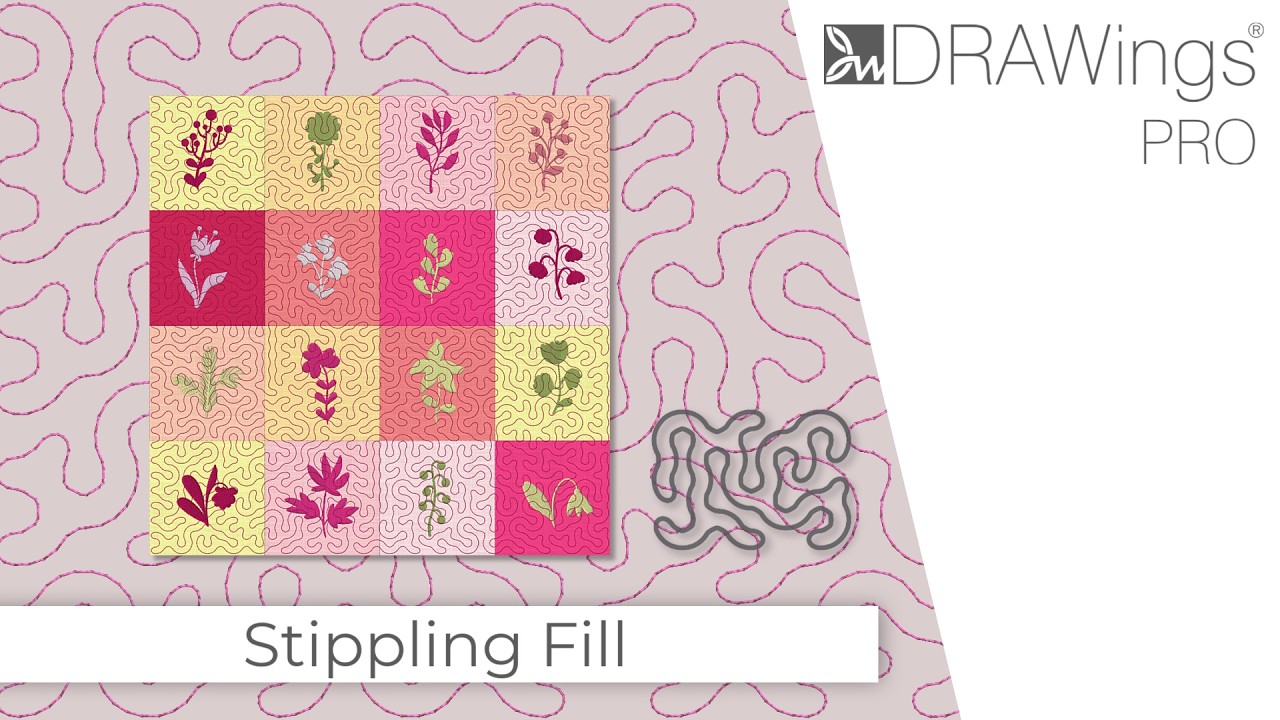
Applying a Stippling Fill
Applying a stippling effect to any new or existing shape requires just a few clicks.
- Select your object:
Click on the vector shape or existing embroidery object you want to modify. - Apply the fill type:
Navigate to your object properties and change the fill type to Stippling. - Allow automatic generation:
DRAWings PRO XII will automatically generate the stippling pattern, filling the object perfectly based on its boundaries.
Pro Tip: Don’t limit stippling to new creations! You can easily modernize older designs by selecting their background shapes and replacing standard fills with Stippling for a completely fresh, textured look.
Customizing Stippling Settings
Once your stippling is applied, you can fine-tune its appearance and behavior using the properties panel. These settings can be adjusted in any order:
- Density: Controls how tightly packed the pattern is. Adjusting this value changes the distance between the individual lines of the stippling path.
- Length: Defines the maximum distance between needle penetration points.
- Stitch Style: You can swap out the standard running stitch for any decorative stitch style. To remove an applied style and revert to a basic line, simply click the X button in the style properties.
- Offset: Allows you to shift the entire stippling pattern inward or outward from the object’s original boundary.
Digitizing Tip (Stitch Length): If you zoom in and use the Measuring tool, you might notice that some stitches are shorter than your designated Length setting. This is intentional! The software automatically calculates the optimum stitch length required to navigate the curves smoothly without creating jagged edges.
Digitizing Tip (Offset): Use a positive offset (moving the pattern outside the boundary) to compensate for the natural pull of the embroidery on the fabric. Conversely, use a negative offset (moving it inside) to ensure the stippling remains strictly inside a delicate border.
Advanced Editing Techniques
If you need total control over how the stippling flows or need it to interact with other design elements, you can manually alter the generated patterns.
Dividing Fills with the Knife Tool
If you need to split a stippled area into sections, you do not need to redraw the stippling.
- Activate the Knife tool:
Select your stippled object and click the Knife tool. - Slice the object:
Draw a cut line through your shape to divide it into two or more distinct parts. - Review the regeneration:
The software will automatically recalculate and regenerate independent stippling paths to seamlessly fit inside each of the newly created shapes.
Freehand Editing with Nodes
Sometimes an auto-generated path needs a manual touch-up for absolute perfection.
- Break the pattern apart:
Select your stippled object and apply the Break Apart command. This permanently converts the dynamic, auto-generated stippling into a standard line pattern. - Activate the Node Editor:
With the pattern broken into sub-parts, switch to the Node Editor tool. - Adjust the path:
Click and drag individual nodes or bezier handles to freely reshape the curves and edit the exact path of the stippling lines.
DRAWings PRO Help Group
Happy crafting and don’t forget to share your creations with us in the
DRAWings PRO Help Group!
Related posts





Projects
How to Modify Built-In Fonts into Custom Designs: Dripping Halloween Lettering
Every embroidery program ships with fonts that are already digitized. They stitch cleanly, and they are also the same fonts everyone else has.Digitizing a Knockout Layered Varsity Monogram with Nested Script Lettering
Layering script text over a bold collegiate letter is a staple in team apparel, varsity jackets, and custom fleece.How to Embroider a Photo onto a T-Shirt with PaintStitch™ and Sketch
A favorite vacation photo does not have to stay on your phone or disappear into a folder. With DRAWings PRO embroidery software, you can turn a photo into an embroidery design and stitch it onto a T-shirt as a wearable keepsake.










