
How to Add and Customize Pie Shapes
Reading Time: 3 minutes
This guide will walk you through the process of adding pie shapes to your design, customizing their properties using the tool options, and performing advanced edits with the node editor.
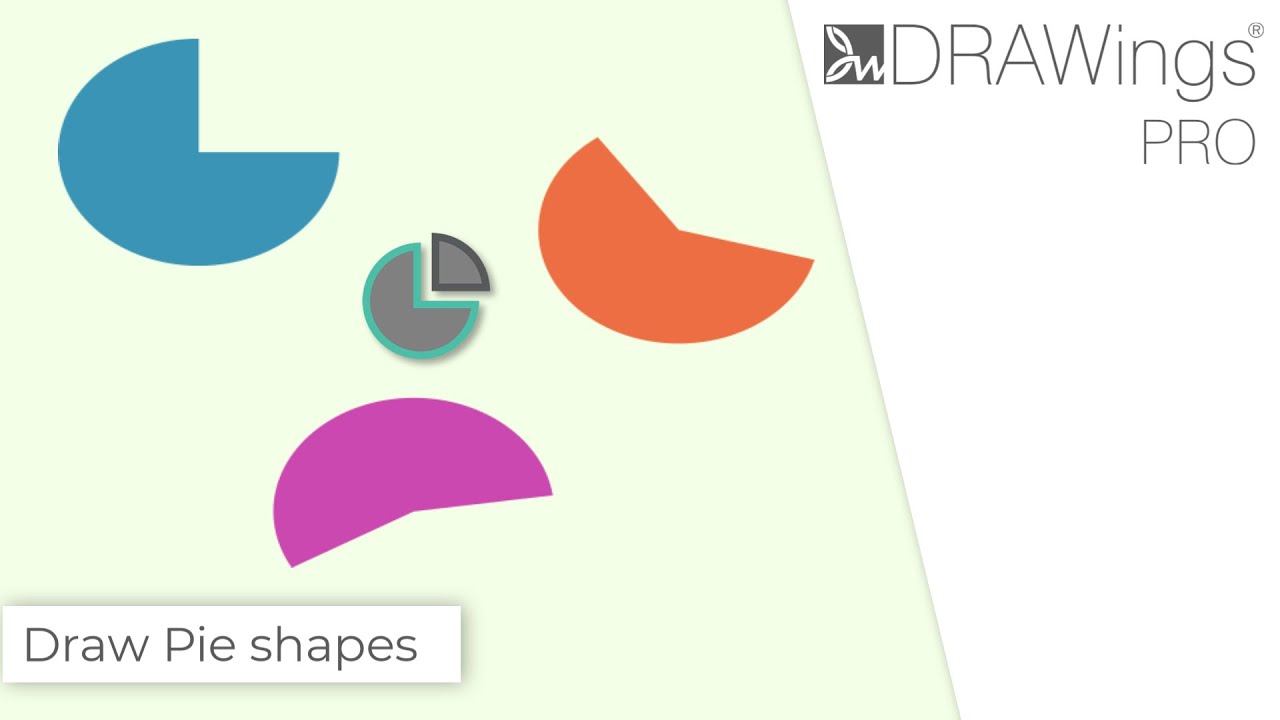
Adding a Pie Shape
- Locate the Shapes Section: All readymade shapes, including the pie, are located in the “Shapes” section on your tool panel.
- Tip: The icon visible on the “Shapes” section is always the last shape tool you used.
- Select the Pie Shape Tool: Place your mouse cursor over the “Shapes” section to expand the list of available shapes. Click on the “Pie Shape” icon to activate the tool.
- Draw the Pie: Click and hold the left mouse button on the design area. Drag the mouse to define the desired position and size of your pie shape.
- Finalize the Shape: Once you release the mouse button, the pie shape is created. The tool will remain active, allowing you to add more pie shapes immediately.
- Release the Tool: When you are finished adding pie shapes, right-click on the design area or click on the “Rectangle Selection” tool to exit the pie shape tool.
Customizing a Pie Shape
You can customize the properties of a pie shape either before you draw it or after it has been created.
- Customizing Before Drawing: With the pie shape tool active, look at the Tool Options Bar. You can set the Start Angle and End Angle values here, and all subsequent pie shapes you draw will have these properties.
- Customizing After Drawing:
- Select an existing pie shape on your design.
- The Tool Options Bar will display the properties for the selected shape.
- You can adjust the Start Angle and End Angle values, and the selected pie shape will update in real-time.
Editing with the Node Editor
For more direct and visual adjustments, you can use the node editor.
- Select the pie shape you wish to edit.
- Activate the “Node Editor” tool.
- You will see several special nodes on the pie shape:
- Start Angle Node: Drag this node to visually adjust the starting point of the pie arc.
- End Angle Node: Drag this node to visually adjust the ending point of the pie arc.
- Radius/Proportion Node: This node on the outer edge allows you to change the size and proportion (width/height) of the pie, just as you did when first drawing it.
- Center Node: Click and drag this node to re-position the entire pie shape.
Converting to Curves (Advanced Edit)
If you need to manually edit the outline of the pie beyond what the special nodes allow, you must convert it into a standard vector object.
- Select the pie shape.
- Use the “Convert to Curves” command (often found by right-clicking or in an “Arrange” menu).
- The shape is now a standard object, and you can edit its individual nodes (corners, curves) as you would any other shape.
- Important: After you convert a pie to curves, the special nodes for adjusting angles and radius will no longer be available. This action is permanent for that object.
DRAWings PRO Help Group
Happy crafting and don’t forget to share your creations with us in the
DRAWings PRO Help Group!
Related posts





Projects
How to Modify Built-In Fonts into Custom Designs: Dripping Halloween Lettering
Every embroidery program ships with fonts that are already digitized. They stitch cleanly, and they are also the same fonts everyone else has.Digitizing a Knockout Layered Varsity Monogram with Nested Script Lettering
Layering script text over a bold collegiate letter is a staple in team apparel, varsity jackets, and custom fleece.How to Embroider a Photo onto a T-Shirt with PaintStitch™ and Sketch
A favorite vacation photo does not have to stay on your phone or disappear into a folder. With DRAWings PRO embroidery software, you can turn a photo into an embroidery design and stitch it onto a T-shirt as a wearable keepsake.










