How to Digitize Satin Stitches: Density, Underlay, and Stitch Flow
Satin Fill is designed for narrow shapes, borders, and lettering, creating a smooth, glossy surface by running stitches closely across an object’s contours.
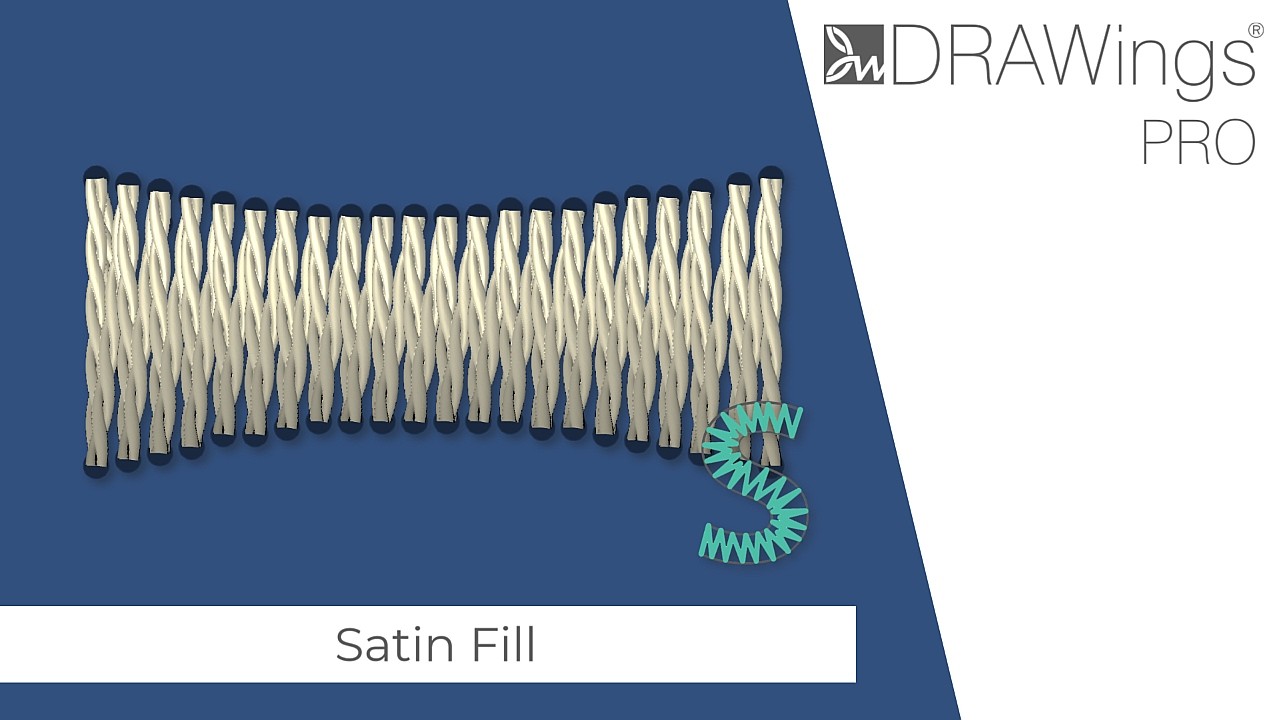
1. Applying Satin Fill to an Object
DRAWings PRO XII automatically assigns fill types based on the geometry of your shape (such as Step fill for larger surface areas and Satin for narrower sections). You can manually convert any digitized shape to Satin:
- Click on the object in the design area to select it.
- Open the Embroidery Properties panel.
- Select Satin from the fill type dropdown.
Tip: Use Satin stitches primarily on elements narrower than 8–10 mm. For very wide areas, consider Step fill or patterned Satin to avoid overly long, loose thread floats that can snag.
2. Applying Decorative Styles and Patterns
You can modify standard Satin stitches into decorative textures without altering the shape outline.
- Decorative Styles: In the Embroidery Properties panel, expand the Stitches list and click any decorative style. To restore standard smooth Satin, click the X button next to the style icon.
- Pattern Fills: In the Patterns section, select a pattern to add structural needle penetrations across wider satin sections.
- Adjust Pattern Length: Enter a numeric value in the Length field to scale the pattern repeat along the fill.
- Inspect Stitch Placement: Toggle Stitch Point View to inspect the exact needle penetration points across the object.
3. Adjusting Density and Pull Compensation
Density and compensation automatically calculate based on your selected fabric recipe, but can be customized manually for specific design needs.
Stitch Density
- Lower Density Values: Places stitches closer together for heavier thread coverage.
- Higher Density Values: Increases spacing between stitches, which reduces thread buildup and prevents puckering on delicate or stretchy fabrics.
- Resetting: Uncheck the custom density box to restore the default value calculated for your active fabric.
Pull Compensation
- Enable Manual Mode in the compensation settings to make adjustments visible.
- Enter a width adjustment value to slightly widen the satin column, compensating for fabric pull along the stitch direction during embroidery.
Tip: Increase pull compensation on loose knits, pique, and high-pile fabrics (like fleece or terry cloth) where stitches tend to pull inward and sink.
4. Setting Underlays and 3D Effects
Underlay stitches run beneath the top Satin layer to stabilize the fabric and prevent sinking.
- In the Properties panel, click the Underlay dropdown.
- Choose an underlay style suited to your stitch width and fabric type.
- Dimensional 3D Underlay: Select options from 3D 1 through 3D 5 to create elevated embroidery. Options 3D-2 and 3D-3 build solid thread bases beneath the top satin layer.
- Preview Underlay: Use the Slow Redraw simulator to view underlay sequencing before exporting the design.
5. Balancing Thread Density with “Add Short/Long”
When satin columns make sharp turns or narrow significantly, thread can bunch up along the inner edge.
- Select the Satin object.
- Enable the Add short/long option in Embroidery Properties.
- The software alternates shorter stitches with longer ones around curves and narrow turns, maintaining coverage without packing excessive needle penetrations into tight areas.
6. Creating Organic Textures with the Random Property
The Random property generates jagged, uneven edges useful for rendering fur, feathers, grass, and weathered borders.
- Enable the Random property on the selected Satin object.
- Set a percentage variance between 0% and 90% (higher percentages produce deeper jagged spikes).
- Select the target edge in the Random Side dropdown:
- Side A: Applies ragged edges exclusively to one side, leaving the opposing side smooth.
- Side B: Applies ragged edges to the opposite side only.
- Symmetric: Keeps stitch length uniform while shifting the entire stitch randomly across both sides.
- Both: Randomizes both the stitch lengths and directions independently across both edges.
7. Directing Angles with Stitch Flow Tools
To control the path and orientation of your satin stitches across curved or multi-directional shapes:
- Select the Satin object to reveal the Stitch Flow controls on the top toolbar.
- Divide Lines: Insert a divide line to split the object into distinct directional zones. Click and drag the line to add curvature to the stitch flow.
- Segment Angles: Assign unique stitch angle lines to each divided segment for multi-directional satin paths.
- Point Directions: Apply a Point Direction to make stitches radiate inward from the perimeter toward a central focal point.
DRAWings PRO Help Group
Happy crafting and don’t forget to share your creations with us in the
DRAWings PRO Help Group!
Related posts





Projects
How to Digitize a Freestanding Lace Spider Web
A spider web looks simple: a circle, some lines running out from the center, and a few curved lines connecting them. That simplicity is why it works well as a digitizing exercise in DRAWings PRO embroidery software.How to Modify Built-In Fonts into Custom Designs: Dripping Halloween Lettering
Every embroidery program ships with fonts that are already digitized. They stitch cleanly, and they are also the same fonts everyone else has.Digitizing a Knockout Layered Varsity Monogram with Nested Script Lettering
Layering script text over a bold collegiate letter is a staple in team apparel, varsity jackets, and custom fleece.