
How to Use the Freehand Shapes Tool
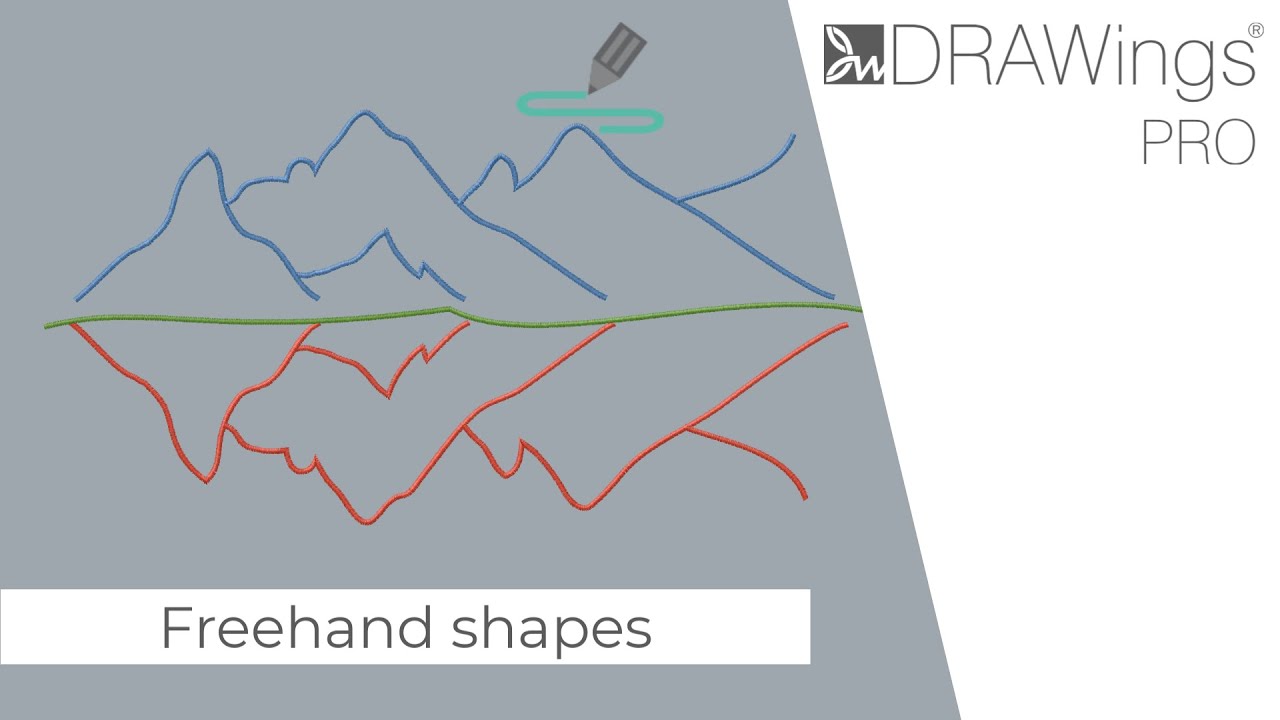
The Freehand Shapes tool in DRAWings PRO XII allows you to digitize designs intuitively, similar to drawing with a pen on paper. This tool is versatile, allowing for organic curves, straight lines, and complex multi-section objects.
1. Locating the Tool
- Navigate to the Digitize section on the Tools bar (usually on the left side of the interface).
- If the icon is not immediately visible, place your mouse cursor over the section to expand it and reveal all available tools.
- Select the Freehand shapes tool.
2. Drawing in Freehand Mode
Once the tool is active, it functions like a pen:
- Click and hold the Left mouse button.
- Move your mouse to draw the shape.
- Release the mouse button to finish that specific section.
- Note: When you release the mouse, the specific section closes, but the tool remains active on the same object.
- You can continue drawing new sections. As long as you do not right-click, all new sections will belong to the same object and will be embroidered together with connecting stitches.
3. Creating Straight Lines
You can combine freehand curves with straight lines:
- Click once to define the starting point.
- Click once again to define the second point.
- The software will automatically create a straight line between these two points.
4. Continuing and Closing Shapes
You can extend an existing open shape or close a shape to create a solid object:
- Hover your mouse over the starting or ending point of a shape you just drew.
- The cursor icon will change, indicating you can continue the path.
- To continue:
- Click once: Extends the path with a straight line.
- Click and drag: Extends the path with a freehand curve.
- To close a shape: Draw until your starting node meets the end node. A closed shape is automatically created.
5. Finalizing the Object
- To finish an object: Right-click once. The sections you created become a single embroidery object.
- To exit the tool: Right-click again.
- To start a new object: After right-clicking once to finalize the previous object, simply start drawing again. This will create a completely separate object.
Tip: If you accidentally created multiple sections in one object that you intended to be separate, right-click the object and select Break Apart.
6. Using Grid Snapping
Precision drawing is easier with the Grid view enabled.
- Enable Snapping: If “Snap to Grid” is enabled, your cursor will magnetically snap to grid points while drawing.
- The Alt Key Toggle:
- If Snapping is Enabled: Hold the
Altkey to temporarily disable it while drawing. - If Snapping is Disabled: Hold the
Altkey to temporarily enable it while drawing.
- If Snapping is Enabled: Hold the
7. Adjusting Smoothness
You can control how many nodes are generated and how smooth your curves appear. The Smoothness level ranges from 0 to 10.
- How to adjust: Use the Up/Down arrow keys on your keyboard or enter a value manually in the tool options.
- Value closer to 10: The drawing becomes smoother with fewer nodes.
- Value closer to 0: The drawing follows your hand movement exactly, resulting in a rougher curve with many nodes.
Useful Tip: To create smoother curves on the fly without changing settings, hold down the Shift key while drawing.
8. Creating Holes
You can easily create “holes” or negative space within your embroidery design:
- Draw a base shape.
- While the object is still active (before finalization), draw a closed shape section directly on top of the previous shape.
- The overlapping area will become a hole.
Troubleshooting
Issue: I drew a shape inside another shape, but it didn’t create a hole.
- Cause 1: The inner shape might not be closed. Ensure you connected the start and end nodes of the inner shape.
- Cause 2: You might have right-clicked (finalized the object) before drawing the inner shape.
- Solution: The hole must be drawn while the main object is still active (before you right-click to finish). If you have already finalized the object, select the main object, re-activate the Freehand tool, and then draw the hole.
Issue: My lines look jagged and have too many nodes.
- Cause: The smoothness level is set too low (close to 0).
- Solution: Press the Up Arrow key on your keyboard to increase the smoothness value, or hold the Shift key while drawing to force smoother line generation.
Issue: I cannot separate two shapes I drew.
- Cause: You drew both shapes without right-clicking in between, so the software sees them as one single object.
- Solution: Right-click on the object to select it, then choose the “Break Apart” option from the context menu. This will split the sections into individual objects.
Issue: The cursor isn’t snapping to the grid.
- Cause: “Snap to Grid” is disabled, or you are holding the Alt key.
- Solution: Check if the Snapping icon is active on the toolbar. Remember that the Alt key reverses the current state—so if Snapping is On, holding Alt turns it Off, and vice versa.
DRAWings PRO Help Group
Happy crafting and don’t forget to share your creations with us in the
DRAWings PRO Help Group!
Related posts





Projects
How to Modify Built-In Fonts into Custom Designs: Dripping Halloween Lettering
Every embroidery program ships with fonts that are already digitized. They stitch cleanly, and they are also the same fonts everyone else has.Digitizing a Knockout Layered Varsity Monogram with Nested Script Lettering
Layering script text over a bold collegiate letter is a staple in team apparel, varsity jackets, and custom fleece.How to Embroider a Photo onto a T-Shirt with PaintStitch™ and Sketch
A favorite vacation photo does not have to stay on your phone or disappear into a folder. With DRAWings PRO embroidery software, you can turn a photo into an embroidery design and stitch it onto a T-shirt as a wearable keepsake.










