How to Use Step Fill Stitches: Density, Styles, Underlay, and Gradient Blending
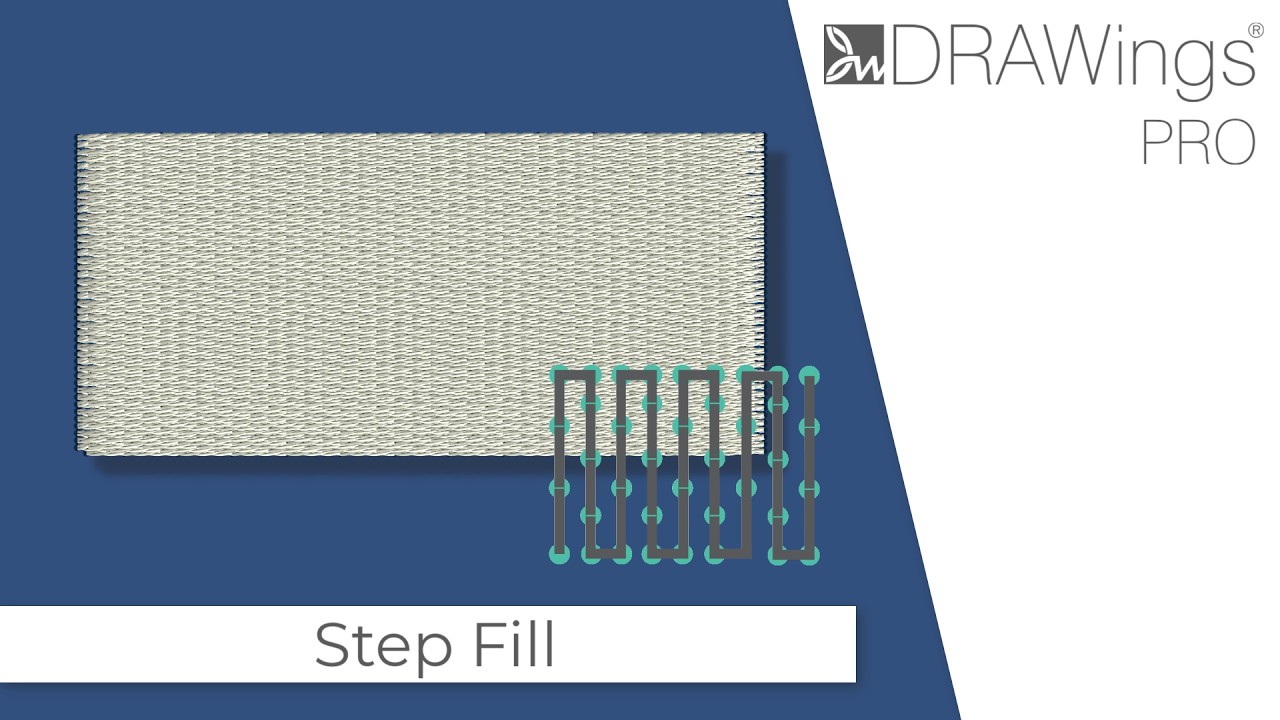
Step Fill is the standard fill type in DRAWings PRO XII for large digitized shapes. It constructs a solid, uniform foundation using parallel, equidistant stitch lines.
1. Applying Step Fill to an Object
- Select the digitized object on the workspace using the Selection tool.
- Navigate to the Embroidery Properties panel on the right dock.
- Select Step from the fill type options.
- (Optional) Adjust the global stitch direction using the direction handles on the design canvas.
2. Applying Decorative Stitch Styles and Patterns
You can replace standard uniform stitching with decorative texture styles or structural patterns:
- In the Embroidery Properties panel, expand the Stitches dropdown list to view the decorative library.
- Click any decorative style to apply it instantly. To revert to standard fill, click the X icon next to the style selection.
- Fine-tune the style dimensions:
- Density: Controls the vertical spacing between the centers of repeated stitch rows.
- Length: Controls the horizontal width between the first and last needle point in a row. Adjusting Length automatically recalculates Density to maintain design proportions.
- To apply a structural pattern instead, right-click the Step icon and choose Reset to defaults. Then, expand the Pattern list and select a preset to alter needle penetration placements without altering line structure.
Tip: Multi-Frame Stitch Styles
Styles displaying a film reel icon contain multiple sequential frames. These create dynamic, multi-layered textures across larger stitch fields. Note that decorative styles have a built-in minimum length (typically 5 mm); reducing the parameter below this threshold will not reduce the pattern size further.
3. Adjusting Fabric Settings (Density, Length, and Compensation)
While DRAWings PRO XII automatically calculates stitch values based on your selected fabric recipe, you can override these parameters manually:
- Density: Sets the distance between consecutive parallel stitch lines.
- Lower values: Yield tighter stitching and higher thread coverage (recommended for heavy, dense fabrics like twill or canvas).
- Higher values: Produce lighter coverage to prevent puckering on lightweight materials.
- Length: Sets the distance between needle penetration points along each stitch row.
- Shorter lengths: Deliver tighter control around tight curves and narrow sections.
- Longer lengths: Create a smoother, glossier surface sheen with fewer overall needle penetrations.
- Compensation: Counteracts the natural push-and-pull distortion of needle penetration by extending stitches past the vector boundary. Switch to Manual Mode to view and modify this field.
Tip: Balancing Pull Compensation
Set lower compensation values for stable, heavy fabrics such as denim. Increase compensation for elastic, knitted, or stretchy fabrics to prevent gaps between adjacent fills and outlines.
4. Selecting the Right Underlay Structure
Underlay stitches run prior to the top Step fill, anchoring the fabric to the stabilizer. To preview underlay paths, activate Slow Redraw.
To assign an underlay manually, open the Underlay property dropdown:
- Tacking: Generates only essential connecting/travel stitches with no structural foundation; use only on pre-stabilized, non-shift fabrics.
- Edging: Places running stitches along the perimeter of the shape to define sharp borders.
- Packing: Runs perpendicular to the Step fill angle to prevent the top stitches from sinking.
- Netting: Lays down a dual-diagonal grid at 45° and -45° angles for maximum structural support.
- Packing + / Netting +: Combines the respective fill underlay with an outer Edging border for heavy-duty stabilization.
5. Creating Gradients and Two-Color Blends
The Gradient parameter dynamically alters stitch density across a single object, transitioning from dense to open coverage.
- Locate the Gradient property in the Embroidery Properties panel.
- Enter a percentage value between -500% and 500%. Positive values increase density toward the end of the shape, while negative values invert the direction.
- To create a two-color blend:
- Select the Stitch Flow tool from the toolbar to adjust the angle of the gradient or curve the stitch flow paths for organic transition effects.
DRAWings PRO Help Group
Happy crafting and don’t forget to share your creations with us in the
DRAWings PRO Help Group!
Related posts





Projects
Digitizing a Knockout Layered Varsity Monogram with Nested Script Lettering
Layering script text over a bold collegiate letter is a staple in team apparel, varsity jackets, and custom fleece.How to Embroider a Photo onto a T-Shirt with PaintStitch™ and Sketch
A favorite vacation photo does not have to stay on your phone or disappear into a folder. With DRAWings PRO embroidery software, you can turn a photo into an embroidery design and stitch it onto a T-shirt as a wearable keepsake.How to Digitize an Optical Illusion Monogram Design for a Tote Bag
Learn how to design and stitch a stunning Optical Art-inspired monogram design using advanced embroidery digitizing software.