
How to Create Embroidery Designs from Any Image: Auto-Digitize (Trace)
This guide will walk you through the process of importing a bitmap image (like a .JPG, .PNG, or .BMP) and converting it into an embroidery design using the powerful Auto-Digitize (Trace) feature in DRAWings PRO XII.
Step 1: Open and Select Your Image
First, you need to bring your image into the software.
- Navigate to the File menu and select Open, or click the “Open” folder icon in the main toolbar.
- Locate the bitmap image file on your computer and open it.
- An import dialog box will appear, showing a preview of your image.
💡 Useful Tip: You don’t have to import the entire image. In the preview window, you can click and drag your mouse to draw a box around the specific portion of the image you want to work with. You can then move or resize this selection box as needed. If you want to start over, click the circular reset icon.
Step 2: Set Image Properties and Resolution
Before tracing, you can set the size of the imported image.
- In the import dialog, locate the “Resolution” options at the bottom.
- You can adjust the “width”, “height”, or “dpi” (dots per inch) of the image. Changing one value will proportionally adjust the others to maintain the image’s aspect ratio.
💡 Useful Tip: DRAWings has a default “backdrop size limit” of 29.5cm (11.6 inches). If your image is larger than this, the software will automatically scale it down to fit, adjusting the width, height, and dpi values for you.
Step 3: Configure the Auto-Trace Settings
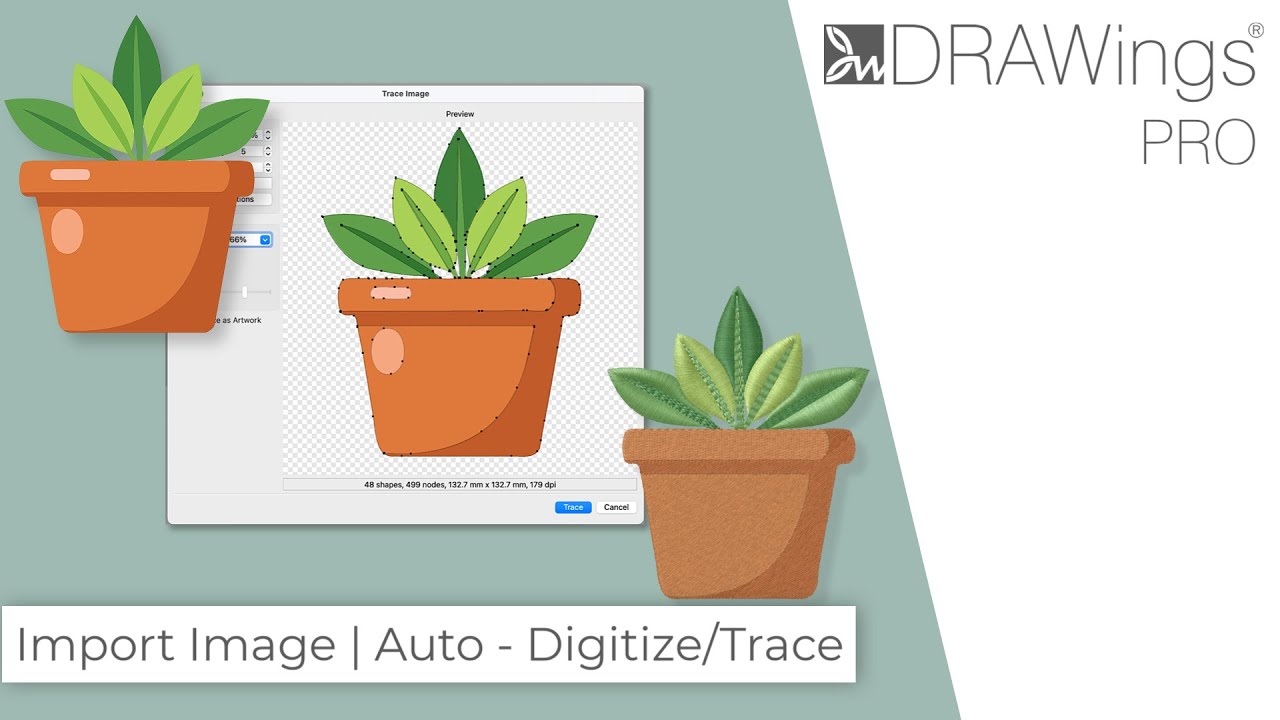
After confirming the import properties, select “Auto-digitize / Trace to outline”. This opens the trace dialog, where the magic happens. This tool analyzes your image and creates vector shapes from it.
- Scale: If you need the final design to fit a specific area, like a 140x140mm hoop, you can scale the design down here before tracing.
- Accuracy: This slider (from 1 to 8, with a default of 5) controls how closely the trace follows the details of the original image.
💡 Useful Tip: Higher accuracy is not always better! For high-quality, crisp images, a higher accuracy can capture fine details. However, for lower-quality or “noisy” images, a high accuracy setting can create a messy design with too many control points (nodes). Often, the default value of 5 provides the cleanest result.
- Color Limit: Use this to define the number of colors in the final design. If your image has many shades of a single color (e.g., light blue and dark blue), reducing the color limit will merge those shades into one basic color. This creates a cleaner design with fewer, more defined shapes.
- Background: This option allows you to remove a color from the image entirely. Simply select the eyedropper and click on the color in the preview (like a white background) that you wish to remove.
Step 4: Use the Preview Tools to Inspect the Trace
The trace dialog includes several tools to help you see exactly what your result will look like.
- Zoom and Pan: Use your mouse wheel to zoom in and out, or select a zoom percentage from the dropdown list. You can also click and drag with the “hand” tool to pan across the image.
- Toggle Views: You can turn the visibility of the traced nodes and outlines on or off to check the quality of the vector shapes.
- Original Image Blend: You can hide the original image to see only the traced artwork, or use the blending slider to adjust its transparency. This is perfect for comparing your trace to the original source.
Step 5: Finalize the Conversion
Once you are satisfied with the settings, you have one final choice.
- Convert to Artwork: By default, the software will apply automatic stitch types. However, if you enable the option to convert the image into Artwork objects, no embroidery types will be applied. The result will be a design made of clean vector shapes.
💡 Useful Tip: The “Convert to Artwork” option is ideal for users who want complete creative control. You can auto-trace the shapes and then manually decide which parts should have Fill or Outline stitches, and exactly which type (e.g., Satin, Step, Piping).
Press the “Trace” button to perform the conversion and bring the design into your workspace.
Step 6: Edit Your New Embroidery Design
Your auto-digitized design is now fully editable, just as if you had drawn it from scratch. You can now refine it:
- Combine objects of the same color to ensure they sew out efficiently.
- Select objects and change their stitch types. For example, change a default Fill to a Piping outline or a Satin fill.
- Adjust the direction of stitches on objects like leaves to make them look more natural and dynamic.
By using these steps and tips, you can take almost any bitmap image and transform it into a beautiful, high-quality embroidery design with DRAWings PRO XII embroidery software.
DRAWings PRO Help Group
Happy crafting and don’t forget to share your creations with us in the
DRAWings PRO Help Group!
Related posts





Projects
How to Modify Built-In Fonts into Custom Designs: Dripping Halloween Lettering
Every embroidery program ships with fonts that are already digitized. They stitch cleanly, and they are also the same fonts everyone else has.Digitizing a Knockout Layered Varsity Monogram with Nested Script Lettering
Layering script text over a bold collegiate letter is a staple in team apparel, varsity jackets, and custom fleece.How to Embroider a Photo onto a T-Shirt with PaintStitch™ and Sketch
A favorite vacation photo does not have to stay on your phone or disappear into a folder. With DRAWings PRO embroidery software, you can turn a photo into an embroidery design and stitch it onto a T-shirt as a wearable keepsake.










