
How to Use the Piping Fill Type in Embroidery Digitizing: Properties and Settings
The Piping fill type is a specialized feature in DRAWings PRO XII that scans the shape of your digitized object and generates inner contour lines. This creates a natural, flowing, and lighter texture, making it the perfect choice for covering organic shapes like petals, leaves, or feathers.
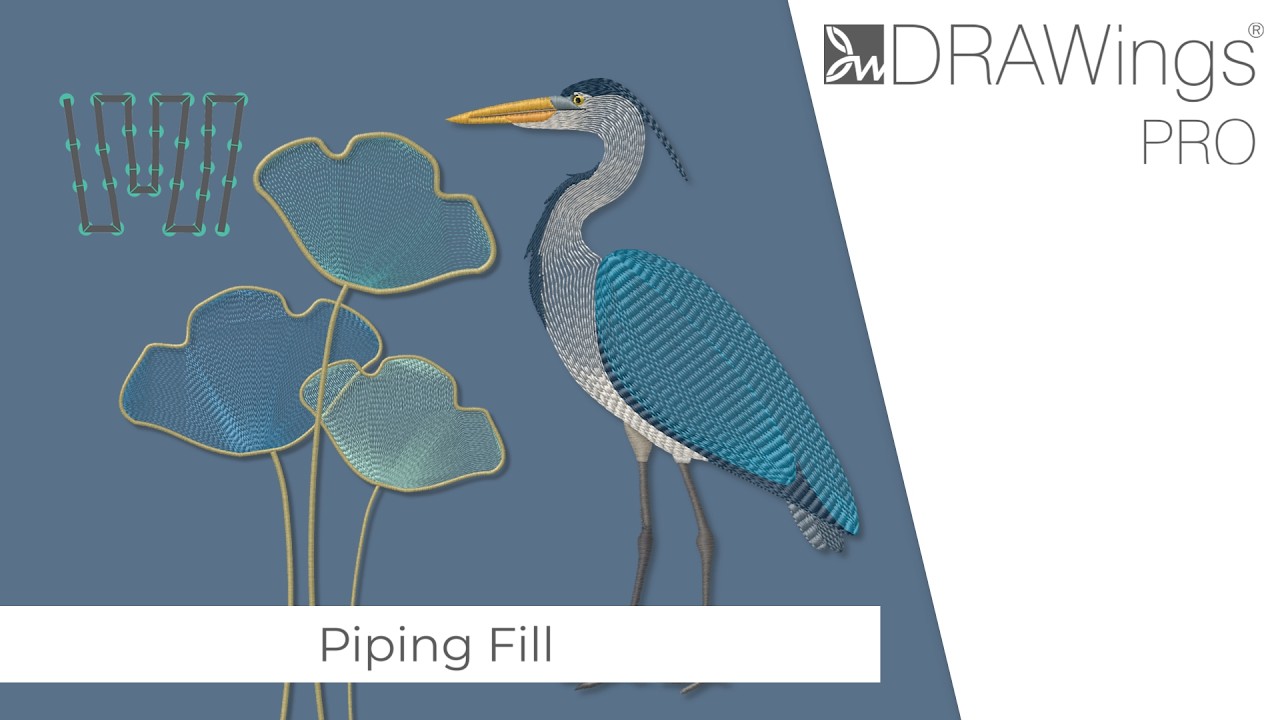
Follow this step-by-step guide to master the Piping fill type and elevate your embroidery designs.
1. Apply the Piping Fill
Converting an existing shape to a Piping fill is incredibly straightforward.
- Select the digitized object you want to modify on your workspace.
- Navigate to the Properties panel.
- Select Piping from the available Fill types.
Pro Tip: The properties of your Piping fill (like Density and Length) are inherently tied to your chosen fabric. If you change the fabric type in your software, these properties will automatically adjust to ensure the best stitch out.
2. Customize Basic Properties
Once Piping is applied, you can fine-tune the stitch out using the Density and Length properties. Adjusting these settings allows you to create beautiful textures and highlight specific areas of your design while keeping the overall stitch count low.
| Property | Definition | Visual Effect |
| Density | The distance between two consecutive stitch lines moving in the same direction. | Lower values create tighter stitching and fuller coverage. Higher values yield a lighter, more open texture. |
| Length | The distance between the needle penetration points along each individual stitch row. | Determines how long each individual stitch is within the contour line. |
3. Manage Irregular Shapes
Piping is highly adaptable for irregular shapes that feature both wide and narrow sections.
- Locate the Short/Long option in your Piping properties.
- Leave this setting enabled (default) to allow the software to automatically add shorter lines in wider areas. This prevents excessive, bulky stitching in the narrow parts of your shape.
- Disable the Short/Long setting if you want the stitch lines to run continuously from one side of the shape to the other.
Pro Tip for 3D Effects: You can create a highly realistic 3D effect on many shapes by increasing the Density value (tighter stitches) and disabling the Short/Long option. Use the Slow Redraw tool to preview how these continuous lines will stitch out.
4. Control the Stitch Flow
For precise control over how the inner contour lines behave, utilize the Stitch Flow tool.
- Select the Stitch Flow tool while your Piping object is highlighted.
- Add multiple Divide and Direction lines to manually control the flow of stitches within different sections of the same object.
- Assign individual stitch directions to each divided area for highly precise, custom results.
Pro Tip: You can easily generate a dynamic spiral layout inside a closed shape by adding point directions directly at the center of the object.
5. Enhance with Decorative Styles and Patterns
You can easily transform a standard Piping fill into a highly decorative element using Style Stitches and Patterns.
- Expand the Stitches list in the Properties panel to reveal a large collection of decorative styles.
- Click on any style to apply it instantly. The software will apply this style using its default size (imagine the style as a rectangular block repeating along the contour).
- Expand the Patterns list to apply a specialized pattern fill with a single click.
- Combine different Stitches and Patterns to create entirely unique embroidery textures.
- Click the x next to the style or pattern name to remove it.
Understanding Style Proportions:
When a decorative Style is applied, the basic properties adapt slightly:
- Density now defines the distance between the centers of every two rows of the repeated styles.
- Length now defines the distance between the first and last needle point of each stitch style block in a row.
- If you adjust the Length, the Density value updates automatically to maintain the design’s proportions.
- Styles have a minimum length (e.g., 5 mm). Reducing the length below this minimum will not visually change the result on your screen.
Resetting to Defaults
If you have experimented with the settings and want to start over, you can revert everything to the software’s optimal base settings.
- Right-click on the Piping icon in the Properties panel.
- Select Reset from the drop-down menu.
DRAWings PRO Help Group
Happy crafting and don’t forget to share your creations with us in the
DRAWings PRO Help Group!
Related posts





Projects
How to Modify Built-In Fonts into Custom Designs: Dripping Halloween Lettering
Every embroidery program ships with fonts that are already digitized. They stitch cleanly, and they are also the same fonts everyone else has.Digitizing a Knockout Layered Varsity Monogram with Nested Script Lettering
Layering script text over a bold collegiate letter is a staple in team apparel, varsity jackets, and custom fleece.How to Embroider a Photo onto a T-Shirt with PaintStitch™ and Sketch
A favorite vacation photo does not have to stay on your phone or disappear into a folder. With DRAWings PRO embroidery software, you can turn a photo into an embroidery design and stitch it onto a T-shirt as a wearable keepsake.










