
How to Create Patterns with the Rectangular Array Tool
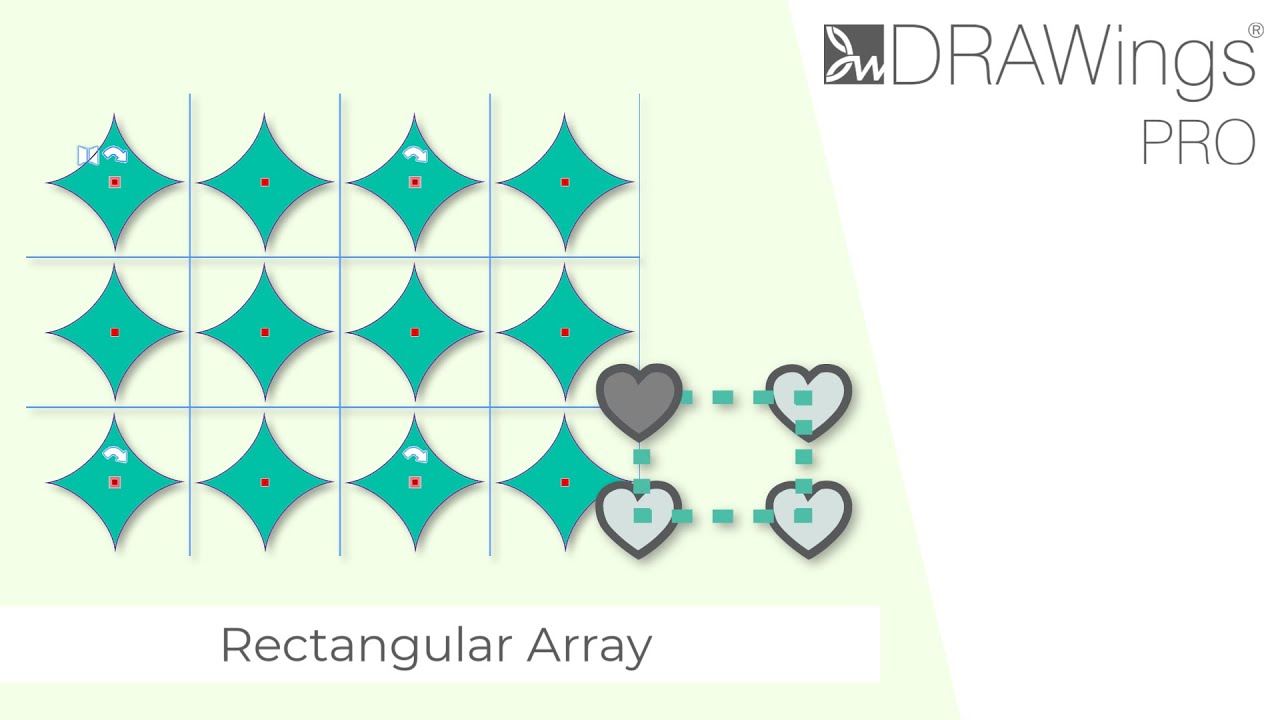
The Rectangular Array tool is a powerful feature in DRAWings PRO XII that allows you to quickly duplicate any selected object into a precise, grid-based pattern. This is perfect for creating backgrounds, fills, and complex repetitive embroidery designs.
This guide will walk you through how to use the tool, from basic setup to advanced transformations.
Getting Started
Before you can create an array, you need a base object.
- Select Your Object: On the design canvas, click to select the shape or design you wish to duplicate.
- Activate the Tool: Navigate to the Tools Bar on the left. In the Arrays section, click on the Rectangular Array icon. The software will immediately generate a default grid pattern from your selected object.
Making Adjustments to Your Array
Once the initial array is created, you can customize it using either the options bar or the interactive on-screen handles.
Method 1: Using the Tool Options Bar (Numeric Control)
For precise adjustments, use the options that appear in the tool options bar at the top of the screen.
- Copies: Set the exact number of horizontal and vertical copies you want in your grid.
- Spacing: Define the precise distance between each copy, both horizontally and vertically.
Method 2: Using On-Screen Handles (Visual Control)
For a more intuitive, hands-on approach, you can click and drag the interactive handles directly on the design.
- Move the Entire Array: Click and drag the handle on your original object to reposition the whole grid.
- Adjust Spacing: Drag any of the handles on the top row or first column to change the horizontal or vertical spacing respectively.
- Adjust Both Spacings at Once: Drag any handle that is not in the first row or column to adjust both horizontal and vertical spacing simultaneously.
💡 Useful Tip: For perfectly uniform spacing, hold down the Alt key while dragging a handle. This will lock the horizontal and vertical spacing to be equal.
✨ Pro Tip: To dynamically add or remove copies while maintaining the current spacing, hold down the Shift key and drag away from or towards the array. This is a quick way to fill an area visually.
Applying Transformations
You can go beyond a simple grid by rotating and mirroring the objects within the array.
- Rotate the Entire Array: Use the dedicated rotation handle that extends from the array to rotate the entire grid as one unit.
- Rotate or Mirror Individual Copies: Hover your mouse over any handle in the array. You will see a rotate icon and a mirror icon. Clicking these will apply the transformation to every other row and column, creating interesting alternating patterns.
Using Mirroring Presets
For common symmetrical patterns, the Mirroring Presets in the tool options bar are incredibly efficient.
- Mirror Horizontal: Mirrors each object horizontally across a row.
- Mirror Vertical: Mirrors each object vertically down a column.
- Mirror 4 corners: Creates a 2×2 block of your object, mirrored both horizontally and vertically, like the four corners of a rectangle. You can then repeat this block to create a larger pattern.
- Align to work area: If you have a hoop or work area defined, this option appears. It functions like the “4 corners” preset but automatically centers the four mirrored objects within your defined work area.
The “Clone Objects” Feature
This is one of the most powerful options for creating complex, editable designs.
Before finalizing your array, you can check the Clone objects option in the tool options bar.
- What it does: When enabled, all copies in the array are created as “clones” of the original.
- Why it’s useful: This means if you edit the nodes or shape of any single object in the array, all other objects will automatically update with the same change. This allows you to refine your base design without having to start the array process over.
💡 Useful Tip: Always enable Clone objects if you think you might want to tweak the design later. It provides maximum flexibility and saves a tremendous amount of time.
Finalizing Your Array
Once you are satisfied with your pattern’s layout and transformations:
- To create the design: Click the Apply button in the tool options bar. The array will be converted into individual objects.
- To start over with a new shape: Click the Select new button to clear the current array and choose a different base object.
DRAWings PRO Help Group
Happy crafting and don’t forget to share your creations with us in the
DRAWings PRO Help Group!
Related posts





Projects
How to Modify Built-In Fonts into Custom Designs: Dripping Halloween Lettering
Every embroidery program ships with fonts that are already digitized. They stitch cleanly, and they are also the same fonts everyone else has.Digitizing a Knockout Layered Varsity Monogram with Nested Script Lettering
Layering script text over a bold collegiate letter is a staple in team apparel, varsity jackets, and custom fleece.How to Embroider a Photo onto a T-Shirt with PaintStitch™ and Sketch
A favorite vacation photo does not have to stay on your phone or disappear into a folder. With DRAWings PRO embroidery software, you can turn a photo into an embroidery design and stitch it onto a T-shirt as a wearable keepsake.










