
How to Digitize and Optimize Multi-Piece Applique Designs
Reading Time: 2 minutes
When digitizing designs with multiple applique segments (such as flower petals, lettering, or split patterns), stitching each piece individually requires repetitive machine stops and frame-outs for placement and trimming. Combining these parts into a unified applique object consolidates the placement, tackdown, and cover stitching into single phases—dramatically reducing stitch-out time.
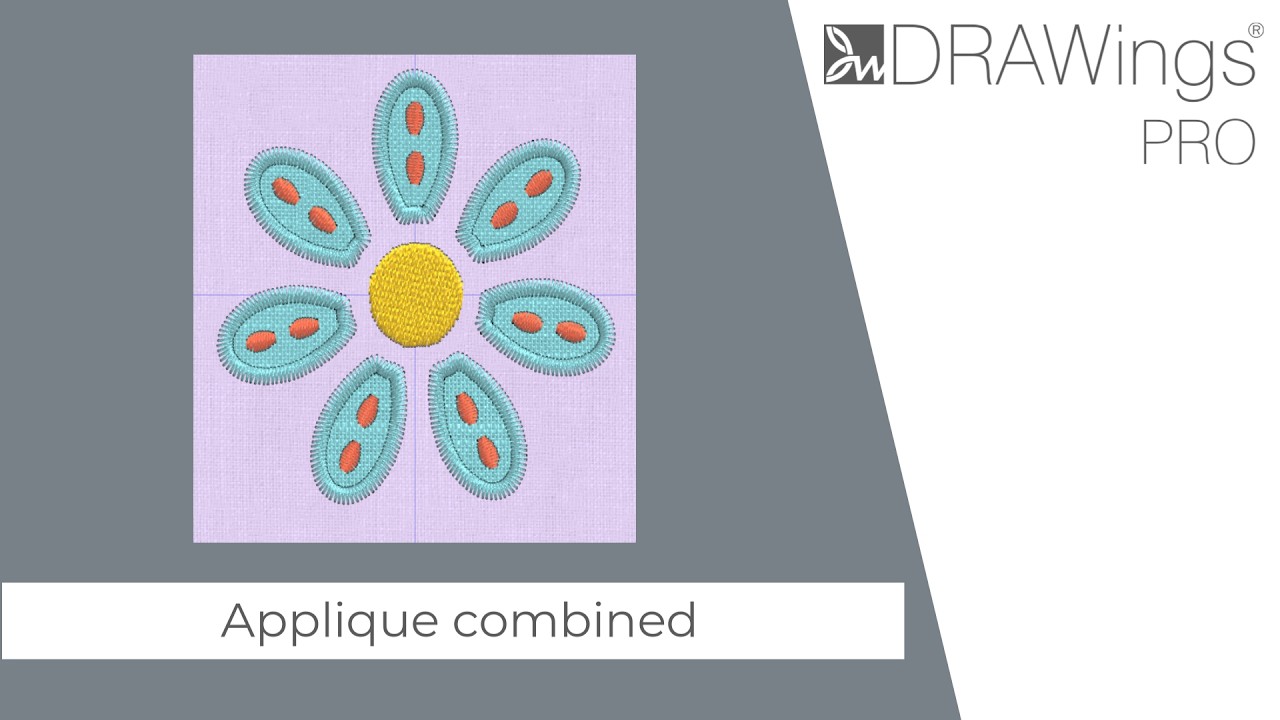
Step-by-Step Guide
1. Convert Shapes to Applique Fill
- Select the vector objects on your design canvas that will serve as the applique base.
- In the Object Properties panel, set the Fill Type to Applique.
- The workspace will update with a fabric texture preview inside the selected outlines.
2. Configure Applique Properties
- With the objects selected, go to the Applique Properties tab.
- Set the Fabric Trim parameter according to your production method (e.g., Trimmed manually during production or Precut).
- Select your border style (e.g., Satin Fix).
- Adjust the Outline Width (e.g., 2.0 mm) and stitch Density to ensure adequate fabric coverage.
3. Combine the Applique Parts
- Switch to normal Selection Mode.
- Right-click the Applique icon in the Properties toolbar and choose Add to Selection to select all applique objects across the design simultaneously.
- Right-click directly over any selected shape on the canvas and choose Combine from the context menu.
- The software will now treat all selected pieces as a single compound object sharing unified stitching phases.
4. Check Stitch Order in the Sequence Manager
- Open the Sequence Manager docker.
- Locate the newly combined applique block.
- Drag and drop the applique group to ensure it stitches before any overlay details, center elements, or top embroidery layers.
5. Verify with Slow Redraw
- Click Slow Redraw to simulate the stitch path.
- Verify the optimized 3-phase sequence:
- Phase 1 (Placement): The machine runs placement outlines for all petals at once, then frames out and stops.
- Phase 2 (Tackdown): After you lay down the fabric, the machine sews holding/tackdown stitches on all petals, then frames out and stops for excess fabric trimming.
- Phase 3 (Cover): The machine finishes with continuous satin/cover stitches across all borders.
Best Practices & Tips
- Pre-cut vs. Manual Trim: If you pre-cut applique pieces with a laser cutter or cutting plotter, set the trim type to Precut in properties. Combining still benefits pre-cut workflows by grouping all placement lines and tackdown stitches into single operations.
- Outline Width Tolerances: For manually trimmed fabric, maintain a satin border width of at least 2.0 mm to 3.0 mm to ensure the satin border fully encapsulates raw fabric edges and prevents fraying.
- Overlapping Appliques: If pieces overlap physically, combine only non-overlapping segments first, or ensure your stacking order in the Sequence Manager places base pieces before overlying segments.
DRAWings PRO Help Group
Happy crafting and don’t forget to share your creations with us in the
DRAWings PRO Help Group!
Related posts





Projects
How to Modify Built-In Fonts into Custom Designs: Dripping Halloween Lettering
Every embroidery program ships with fonts that are already digitized. They stitch cleanly, and they are also the same fonts everyone else has.Digitizing a Knockout Layered Varsity Monogram with Nested Script Lettering
Layering script text over a bold collegiate letter is a staple in team apparel, varsity jackets, and custom fleece.How to Embroider a Photo onto a T-Shirt with PaintStitch™ and Sketch
A favorite vacation photo does not have to stay on your phone or disappear into a folder. With DRAWings PRO embroidery software, you can turn a photo into an embroidery design and stitch it onto a T-shirt as a wearable keepsake.










