
How to Convert Fill Stitches to Running-Line Objects
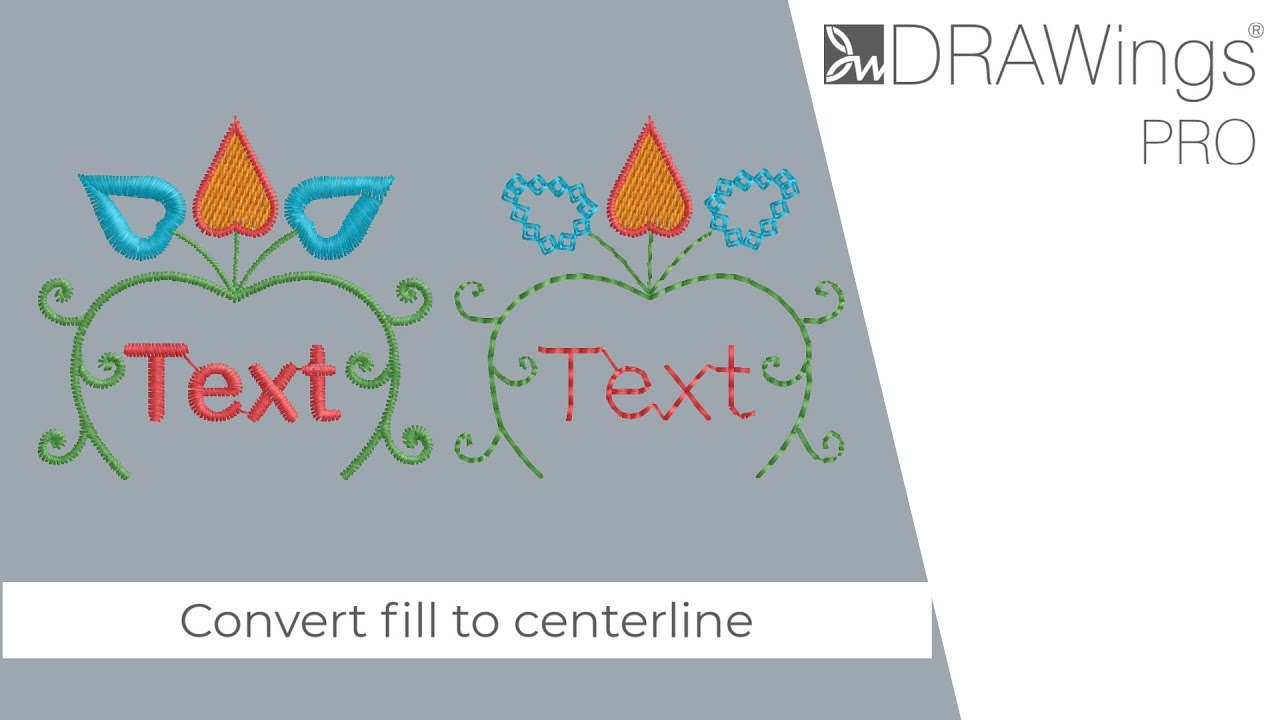
The Convert Fill to Centerline option allows you to automatically transform a fill object (a shape filled with stitches) into a line object (an outline). This is particularly useful when you need to create a path based on the geometry of an existing shape without manually tracing it.
Step-by-Step Guide
- Select the Object Click to select the fill object you wish to convert on the design canvas.
- Open the Context Menu Right-click on the selected object to reveal the options menu.
- Apply the Conversion Select Convert fill to center line from the list.
Result: The software will remove the fill stitches and convert the shape into a line object.
Automatic Stitch Types (Width Logic)
When using this tool, the software automatically assigns a stitch type to the new line object based on the width of the original fill shape:
- Satin Serial: Applied if the width of the original object is greater than 1mm.
- Running Outline: Applied if the width of the original object is between 0mm and 1mm.
Practical Applications & Tips
1. Creating Small Text This tool is highly effective for text objects. If you are struggling to digitize very small text where fill stitches would be too bulky, convert the text to a centerline. The software will likely apply a Running Outline (due to the thin width), resulting in crisp, readable small lettering.
2. Decorative Outlines Once an object is converted to a line, you can easily change its style. Select the new line object and apply any of the available outline styles or distinct decorative stitches from the Properties tab to enhance your design.
Note: This process is destructive to the fill stitches (they are removed). If you wish to keep the original fill and add a centerline, consider duplicating the object before converting.
DRAWings PRO Help Group
Happy crafting and don’t forget to share your creations with us in the
DRAWings PRO Help Group!
Related posts





Projects
How to Modify Built-In Fonts into Custom Designs: Dripping Halloween Lettering
Every embroidery program ships with fonts that are already digitized. They stitch cleanly, and they are also the same fonts everyone else has.Digitizing a Knockout Layered Varsity Monogram with Nested Script Lettering
Layering script text over a bold collegiate letter is a staple in team apparel, varsity jackets, and custom fleece.How to Embroider a Photo onto a T-Shirt with PaintStitch™ and Sketch
A favorite vacation photo does not have to stay on your phone or disappear into a folder. With DRAWings PRO embroidery software, you can turn a photo into an embroidery design and stitch it onto a T-shirt as a wearable keepsake.










