
How to Create Quilt Blocks Using Ambience Quilting in DRAWings PRO XII
In DRAWings PRO XII, you can easily generate custom quilt blocks based on an entire design or just a specific section. The Ambience Quilting feature automatically builds beautiful, customizable quilting stitches around your selected elements. Follow the steps below to design and refine your own quilt blocks.
Step-by-Step Guide
- Select the Target Object: On your workspace, select the item you wish to include in the center of your quilt block. This can be the entire design or just a specific portion of it.
- Launch the Ambience Quilting Tool: Right-click directly on your selection and choose the Ambience quilting option from the context menu. The settings dialog box will appear on your screen.
- Define the Block Dimensions: Locate the Border area in the dialog box and enter the desired size for your complete quilt block.
Useful Tip: Click the lock icon in the Border area to enable Proportional Sizing. When locked, changing the width will automatically update the height (and vice versa), keeping your proportions perfect. Keep in mind that the Shapes area simply displays the size of your selected design part as a helpful reference; you cannot use this specific menu to resize the original object.
- Configure Offset and Density: Navigate down to the Properties section. Adjust the Offset value to set the empty distance between your object and the very first line of quilting stitches. Next, adjust the Density value to define the spacing between all subsequent quilting lines.
Useful Tip: If you want your starting distance (Offset) and your line spacing (Density) to be completely uniform, click the lock icon next to these parameters. Once locked together, any number you type into the Density field will instantly apply to the Offset field as well.
- Select a Quilting Fill Type: Also within the Properties section, choose the stitching style that best fits your project. You can choose between Echo, Scroll, and Stippling.
Quilting Fill Types Explained
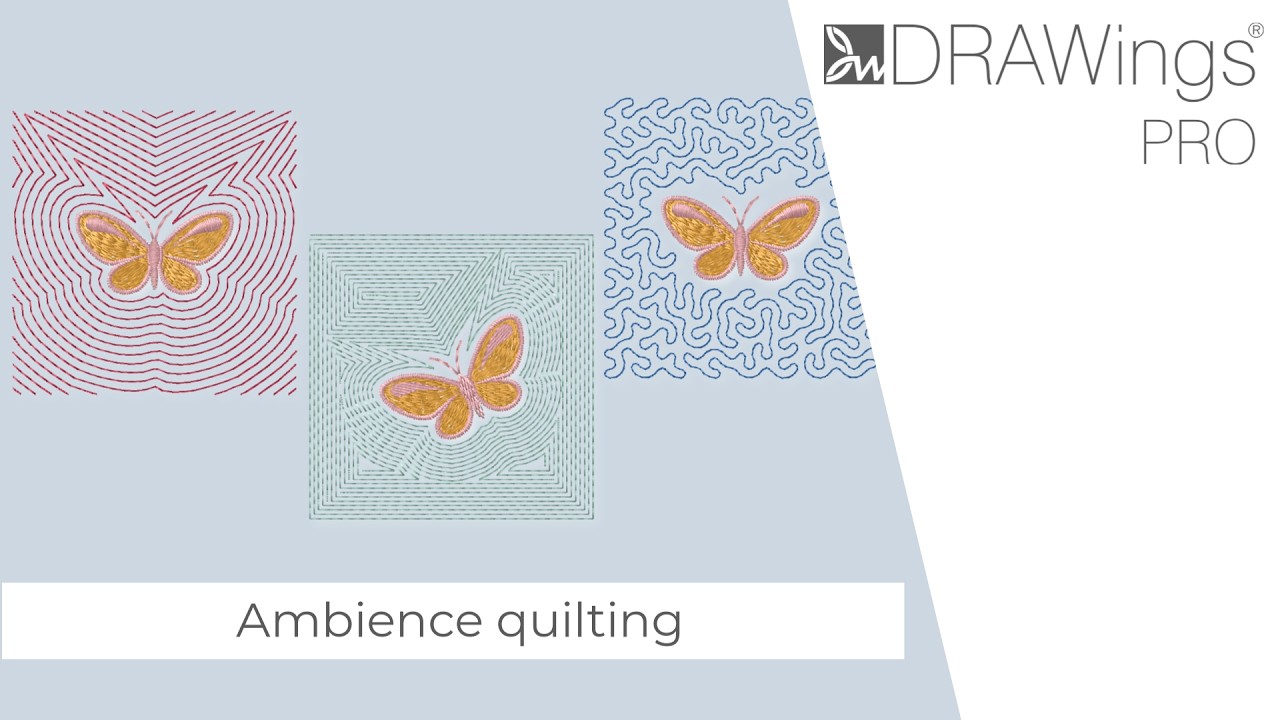
Echo This fill type generates automatic border lines that perfectly mimic the shape of your object, radiating outward until the block is filled.
Useful Tip: Check the Clip on border option if you want these radiating lines to stop cleanly the moment they touch the boundary of your quilt block. If you leave this unchecked, the software will blend the radiating lines of your object with the radiating lines of the block’s perimeter for a different aesthetic.
Scroll The Scroll style creates a visual effect very similar to the Echo type (when “Clip on border” is disabled), but the stitching method is highly optimized. The software intelligently routes the path to produce continuous stitch lines, significantly reducing jump stitches and making machine production much smoother.
Stippling When you select Stippling, the software fills the remaining area of your quilt block with a classic, meandering stippling stitch. The pattern will organically wrap around your original object, beginning precisely at your defined offset distance.
DRAWings PRO Help Group
Happy crafting and don’t forget to share your creations with us in the
DRAWings PRO Help Group!
Related posts





Projects
How to Modify Built-In Fonts into Custom Designs: Dripping Halloween Lettering
Every embroidery program ships with fonts that are already digitized. They stitch cleanly, and they are also the same fonts everyone else has.Digitizing a Knockout Layered Varsity Monogram with Nested Script Lettering
Layering script text over a bold collegiate letter is a staple in team apparel, varsity jackets, and custom fleece.How to Embroider a Photo onto a T-Shirt with PaintStitch™ and Sketch
A favorite vacation photo does not have to stay on your phone or disappear into a folder. With DRAWings PRO embroidery software, you can turn a photo into an embroidery design and stitch it onto a T-shirt as a wearable keepsake.










