
How to Create Spiral Fills in Closed Shapes
Reading Time: 2 minutes
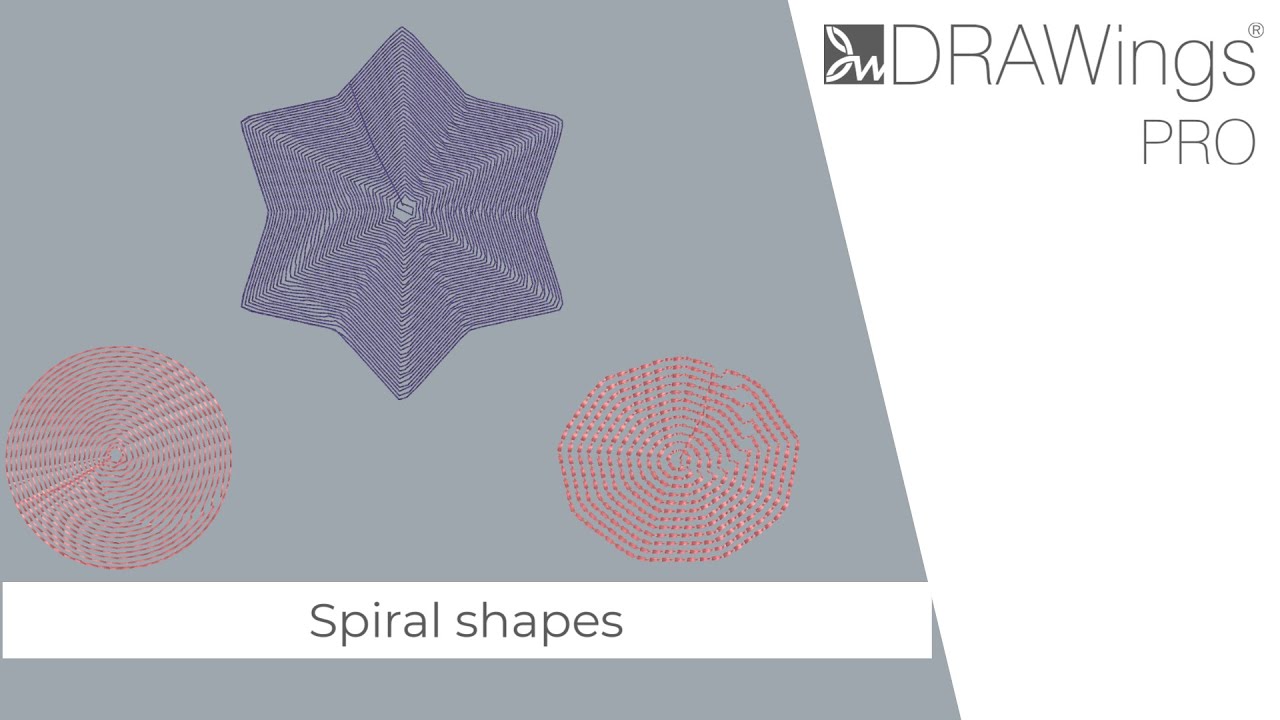
This guide explains how to convert standard fill areas into intricate spiral patterns using the Piping stitch type and the Stitch Flow tool in DRAWings PRO XII. This technique allows you to create unique, centrally-wound embroidery effects on closed shapes.
Prerequisites
- Ensure you have a closed shape selected (e.g., a circle, oval, or custom polygon).
- Ensure the object is filled with the Piping stitch type.
Step-by-Step Instructions
- Select the Object Select the closed shape you wish to convert. If it is not already set to Piping, go to the Properties pane and change the stitch type to Piping.
- Activate the Stitch Flow Tool With the object still selected, locate and click on the Stitch Flow tool icon in the toolbar.
- Enable Point Directions Once the Stitch Flow modes appear, select the Point Directions option.
- Set the Spiral Center Move your cursor over the object. Click once in the middle of the object (or wherever you want the center of the spiral to be).
- Result: The software will immediately recalculate the stitches and convert the piping fill into a spiral.
- Adjust Density To change how tight the spiral winds are, navigate to the Density parameter in the properties panel.
- Increase the value for a looser spiral.
- Decrease the value for a tighter, more solid fill.
- Refine with Short/Long Parameters To ensure the stitches look professional and cover the fabric evenly, adjust the Short/Long parameter. This setting helps maintain a consistent density across all areas of the shape, preventing stitch buildup in the center or gaps at the edges.
- Apply Styles (Optional) For a more artistic look, you can apply various Styles to the spiral object. This allows you to combine the spiral geometry with textured stitch effects.
Useful Tips
- Center Point Placement: You do not have to place the Point Direction exactly in the geometric center. Clicking off-center will create an asymmetrical spiral effect, which can add dynamic movement to your design.
- Shape Compatibility: While this works best on round or oval shapes, you can apply this technique to any closed shape to create “spiral-like” effects that contour to the boundary of the object.
- Troubleshooting: If the spiral does not appear after clicking, double-check that your stitch type was set to Piping before you applied the Point Direction. Other stitch types (like Satin or Tatami) interact with Stitch Flow differently.
DRAWings PRO Help Group
Happy crafting and don’t forget to share your creations with us in the
DRAWings PRO Help Group!
Related posts





Projects
How to Modify Built-In Fonts into Custom Designs: Dripping Halloween Lettering
Every embroidery program ships with fonts that are already digitized. They stitch cleanly, and they are also the same fonts everyone else has.Digitizing a Knockout Layered Varsity Monogram with Nested Script Lettering
Layering script text over a bold collegiate letter is a staple in team apparel, varsity jackets, and custom fleece.How to Embroider a Photo onto a T-Shirt with PaintStitch™ and Sketch
A favorite vacation photo does not have to stay on your phone or disappear into a folder. With DRAWings PRO embroidery software, you can turn a photo into an embroidery design and stitch it onto a T-shirt as a wearable keepsake.










