
How to Use Align, Auto Size, and Distribute Tools
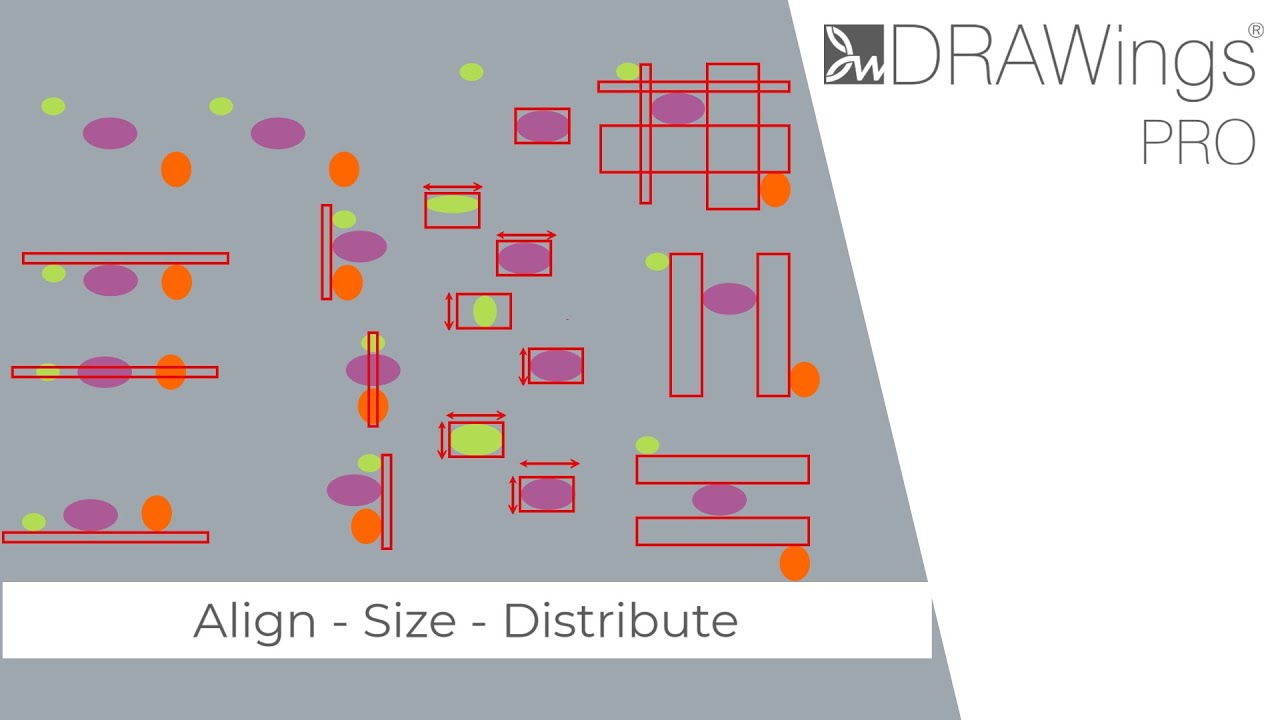
In DRAWings PRO XII, precise object placement is essential for high-quality embroidery designs. The Align, Auto Size (Resize), and Distribute tools allow you to organize multiple objects relative to one another automatically.
These tools are located on the top toolbar under the Align and Resize sections.
Important: Understanding the Reference Object
Before using these tools, it is crucial to understand how the software decides which object to align or resize to.
- The Magenta Outline: Operations are performed based on the last selected object. This object will appear with a magenta outline (instead of the standard selection color).
- Selection Order:
- Manual Click: If you click objects one by one (holding Ctrl/Shift), the last one you click becomes the reference object.
- Rectangle Selection: If you drag a selection rectangle around multiple objects, the specific object that was last included in the rectangle becomes the reference object.
Pro Tip: Always keep an eye on which object has the magenta outline. If you align to the “Left,” all other objects will move to the left edge of the magenta object.
1. How to Align Objects
The Align tools allow you to snap objects to a specific edge or center point.
Prerequisite: You must select at least 2 objects for these tools to become visible.
- Select the objects you wish to align. Ensure the object you want to use as the “anchor” is selected last (or has the magenta outline).
- Expand the Align icon on the top toolbar.
- Choose one of the following options:
- Align Left: Aligns all objects to the left edge of the reference object.
- Align Right: Aligns all objects to the right edge of the reference object.
- Align Top: Aligns all objects to the top edge of the reference object.
- Align Bottom: Aligns all objects to the bottom edge of the reference object.
- Align Center Vertically: Aligns the vertical centers of all objects.
- Align Center Horizontally: Aligns the horizontal centers of all objects.
2. How to Auto Size (Resize) Objects
The Size tools allow you to automatically match the dimensions of multiple objects to a single reference object.
Prerequisite: You must select at least 2 objects for these tools to become visible.
- Select the objects you want to resize. The object with the magenta outline will retain its size; all other objects will change to match it.
- Locate the Resize section on the top toolbar.
- Select the desired matching option:
- Same Width: All selected objects are adjusted to match the width of the reference object.
- Same Height: All selected objects are adjusted to match the height of the reference object.
- Same Size: All selected objects are adjusted to match both the width and height of the reference object.
3. How to Distribute Objects
Distribution tools are used to create perfect spacing between objects, ensuring the gaps between them are identical.
Prerequisite: You must select at least 3 objects for these tools to become visible/enabled.
- Select the group of objects you wish to space out.
- Expand the Align/Distribute icon on the top toolbar.
- Choose your distribution method:
- Equal Horizontal Spacing: Adjusts the objects so the horizontal distance (gaps) between them is equal.
- Equal Vertical Spacing: Adjusts the objects so the vertical distance (gaps) between them is equal.
Troubleshooting: Why can’t I see the tools?
If the Align, Resize, or Distribute icons are missing or grayed out, check your selection:
- Align/Resize Tools: Are invisible unless 2 or more objects are selected.
- Distribute Tools: Are invisible unless 3 or more objects are selected.
DRAWings PRO Help Group
Happy crafting and don’t forget to share your creations with us in the
DRAWings PRO Help Group!
Related posts





Projects
How to Modify Built-In Fonts into Custom Designs: Dripping Halloween Lettering
Every embroidery program ships with fonts that are already digitized. They stitch cleanly, and they are also the same fonts everyone else has.Digitizing a Knockout Layered Varsity Monogram with Nested Script Lettering
Layering script text over a bold collegiate letter is a staple in team apparel, varsity jackets, and custom fleece.How to Embroider a Photo onto a T-Shirt with PaintStitch™ and Sketch
A favorite vacation photo does not have to stay on your phone or disappear into a folder. With DRAWings PRO embroidery software, you can turn a photo into an embroidery design and stitch it onto a T-shirt as a wearable keepsake.










