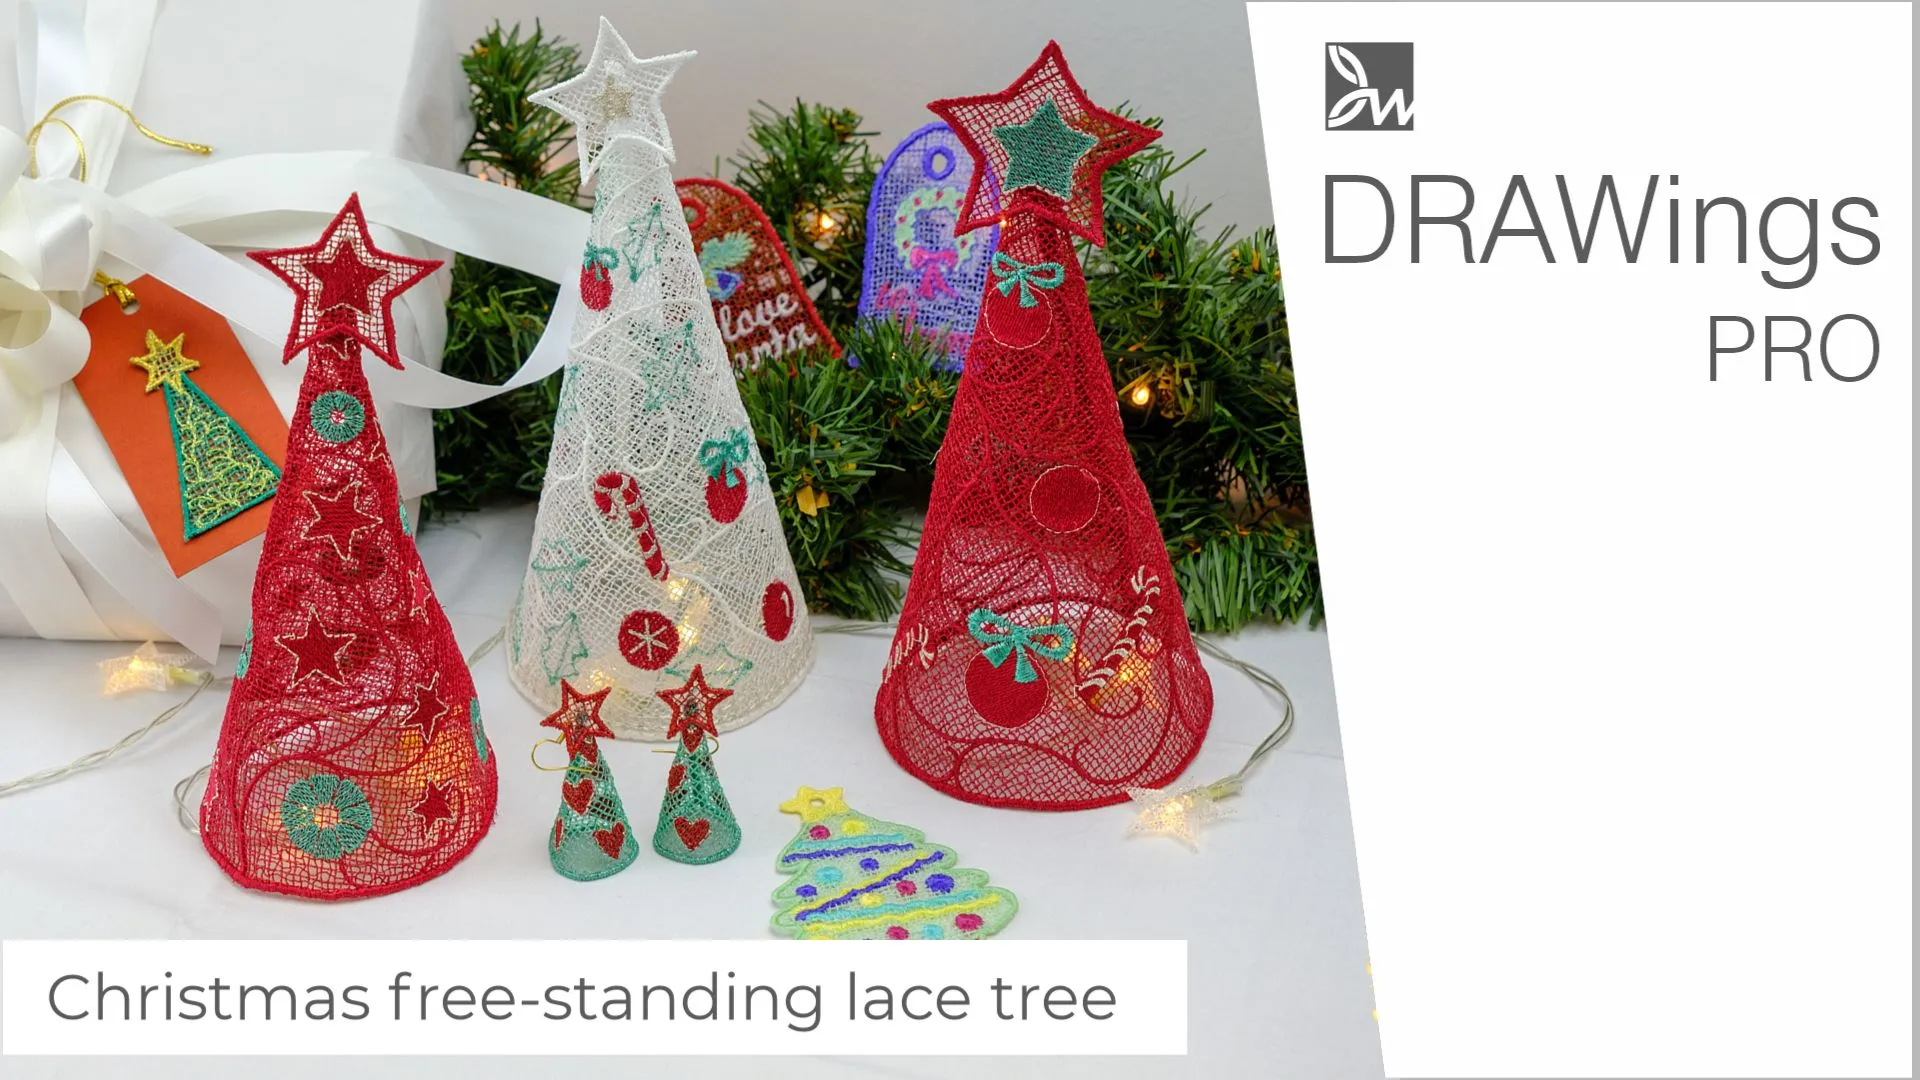
DIY Christmas Free-Standing Lace Tree | An Ornament Crafting Guide
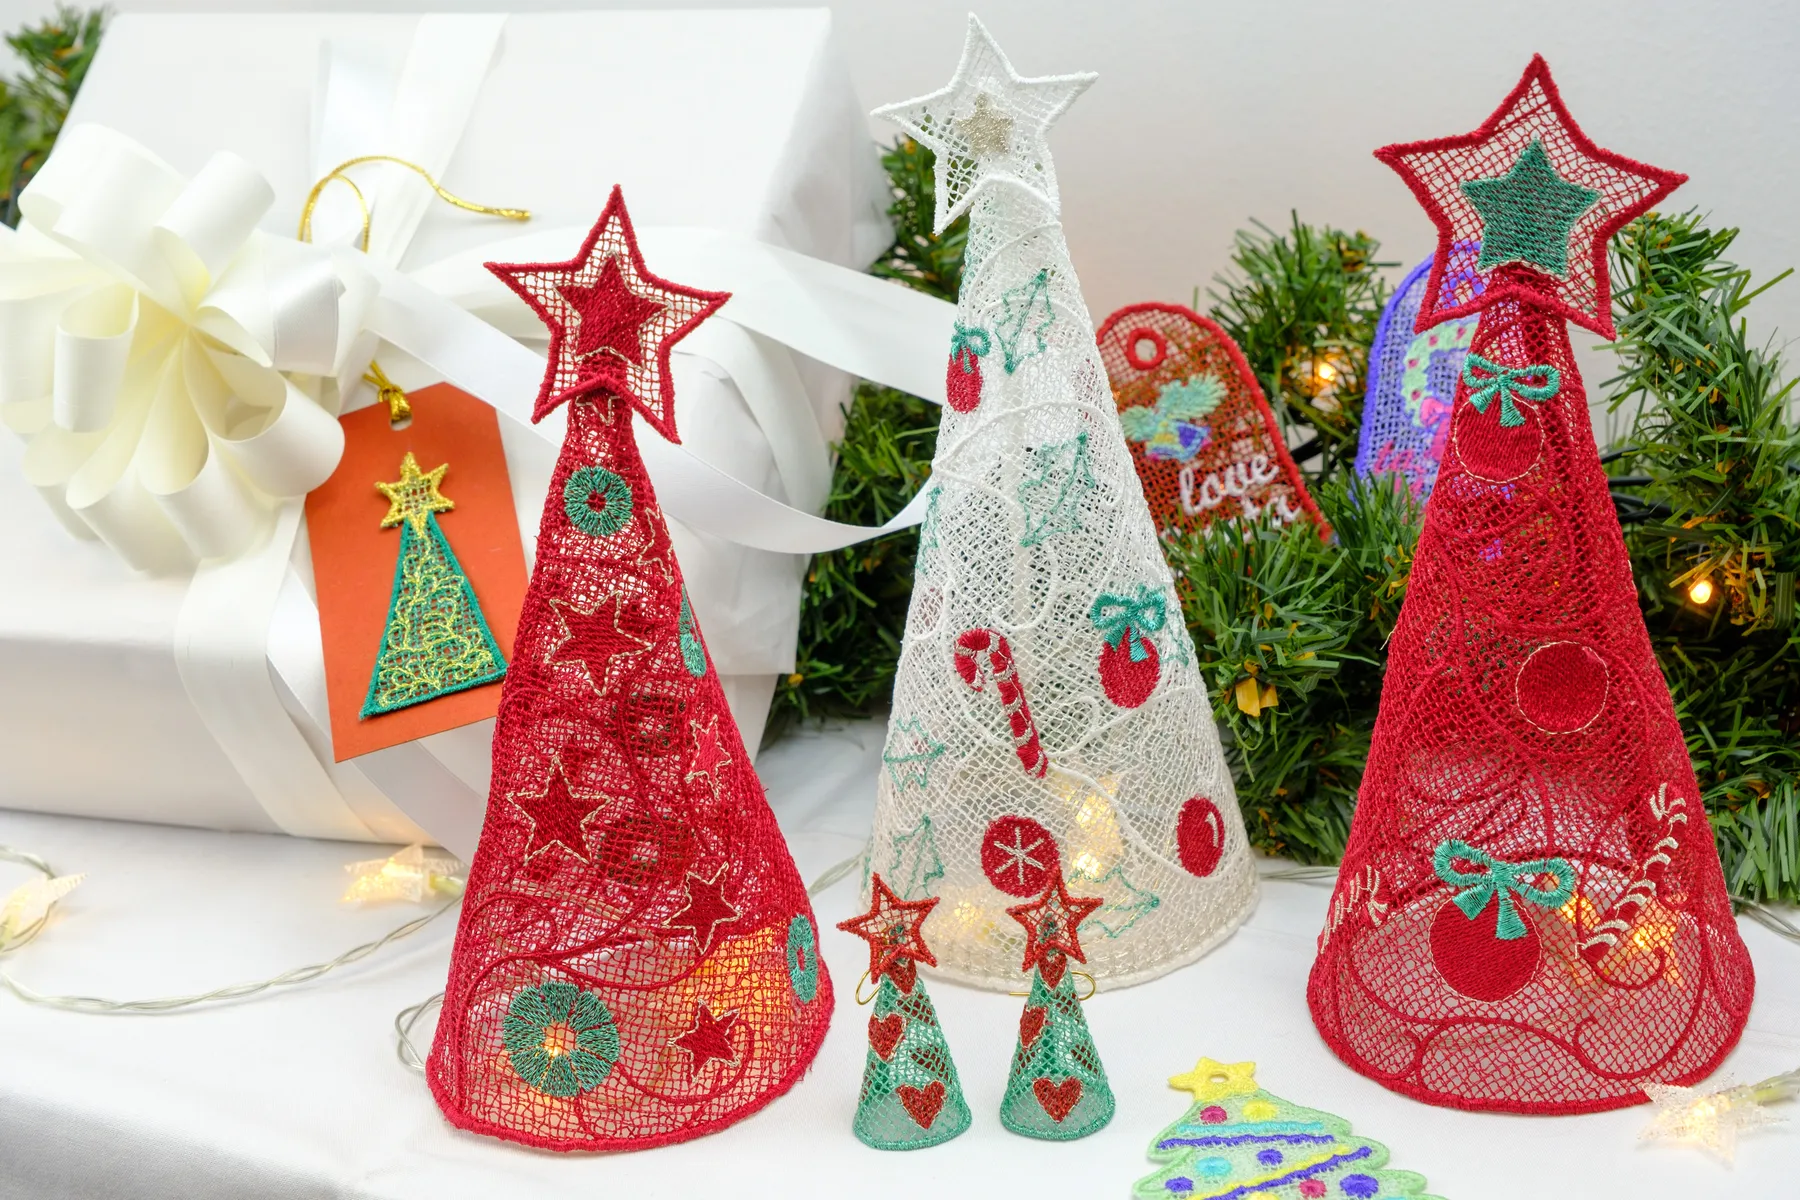
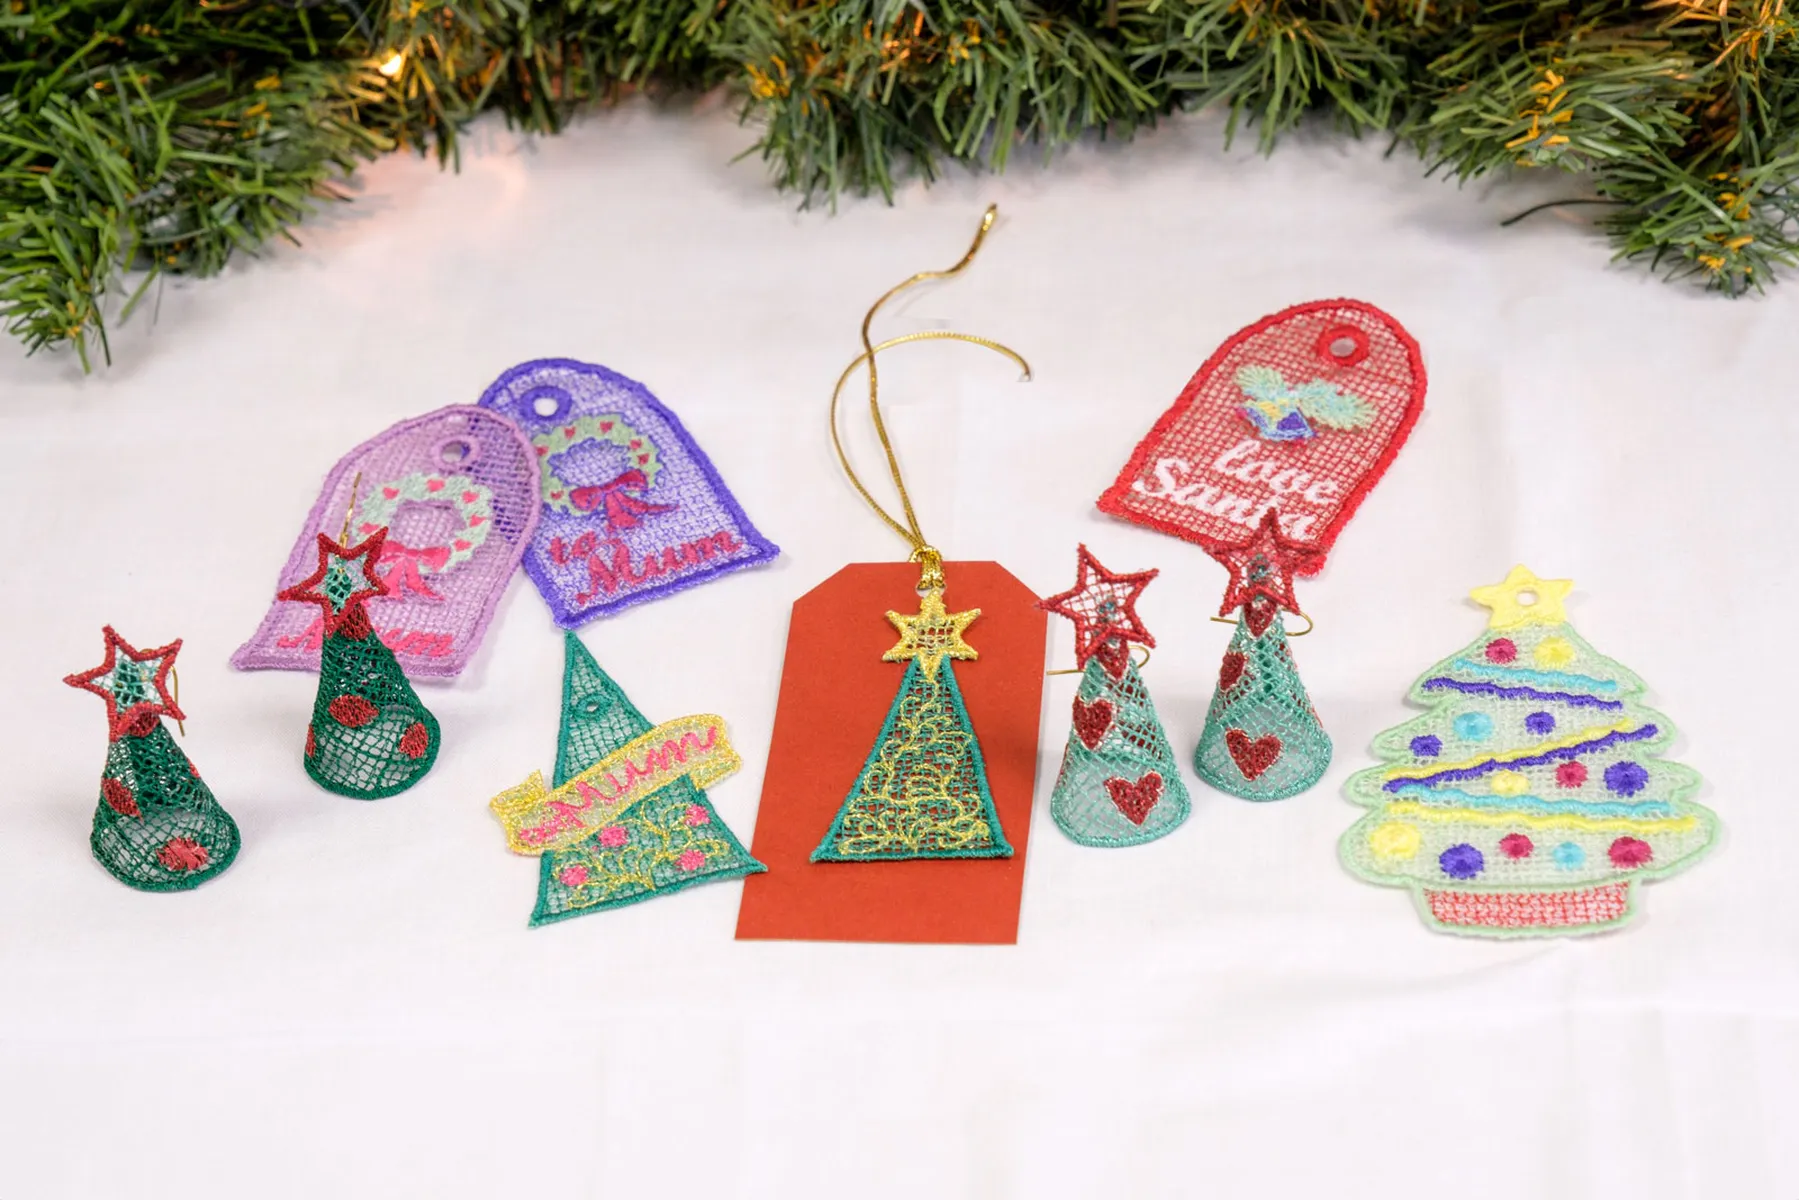
Join us in this detailed tutorial where we guide you through the process of creating a Christmas free-standing lace tree. Explore the art of lace crafting using water-soluble stabilizer for a see-through, elegant design. This step-by-step video covers design techniques, embroidery tips, and final assembly, allowing you to make unique ornaments, jewelry, or decorative pieces.
From selecting the right hoop size to optimizing your embroidery machine settings, this professional walkthrough ensures a seamless crafting experience. Learn how to personalize your lace tree with stars, floral patterns, and festive colors. Follow along and craft your 3D standing tree for a touch of homemade charm in your holiday decor. Merry Christmas to all creative souls out there!

Getting Started with DRAWings PRO
Begin by launching DRAWings PRO Embroidery software. Adjust the settings based on the size of your embroidery hoop – we recommend a hoop around 28 by 28 cm, but feel free to adapt the design to fit your specific hoop dimensions.
Designing the Christmas Free-Standing Lace Tree
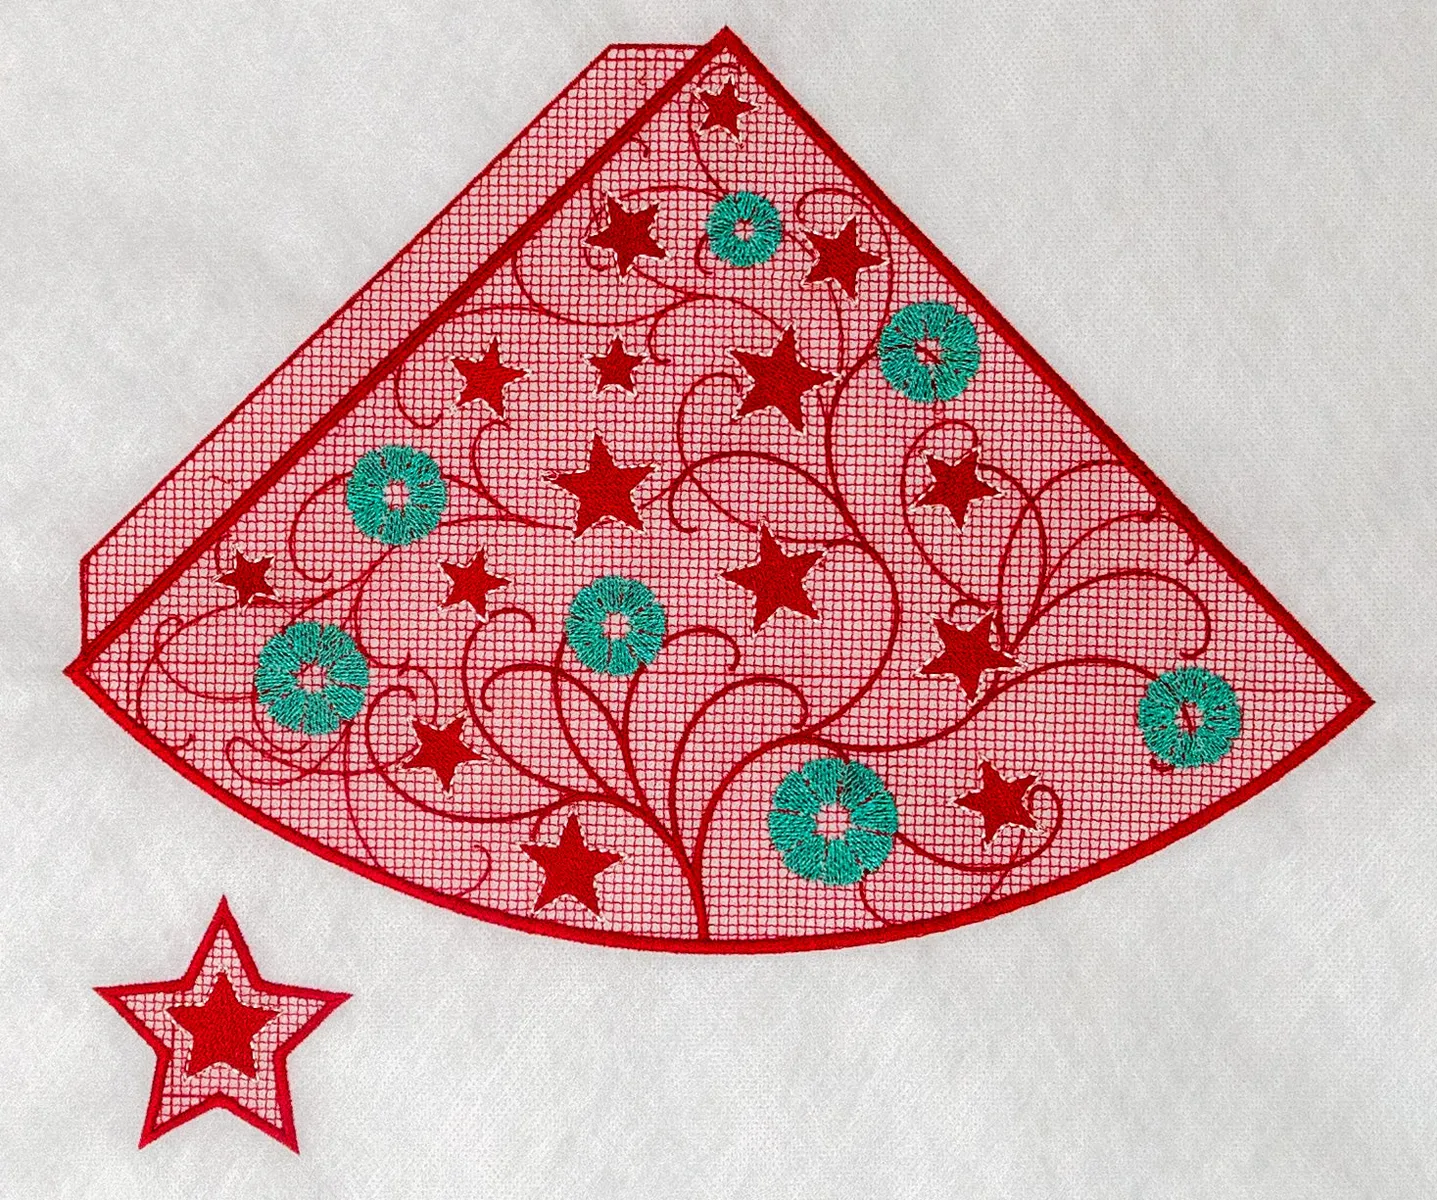
- Start by creating a pie shape with a start angle of 270 degrees and a stop angle of 0. Set the width and height to 190 mm.
- Add a rectangular shape (15mm x 180mm) to one side of the pie as a closing aid.
- Modify the shape by converting it to curves and adjusting the outer corners using the node editor.
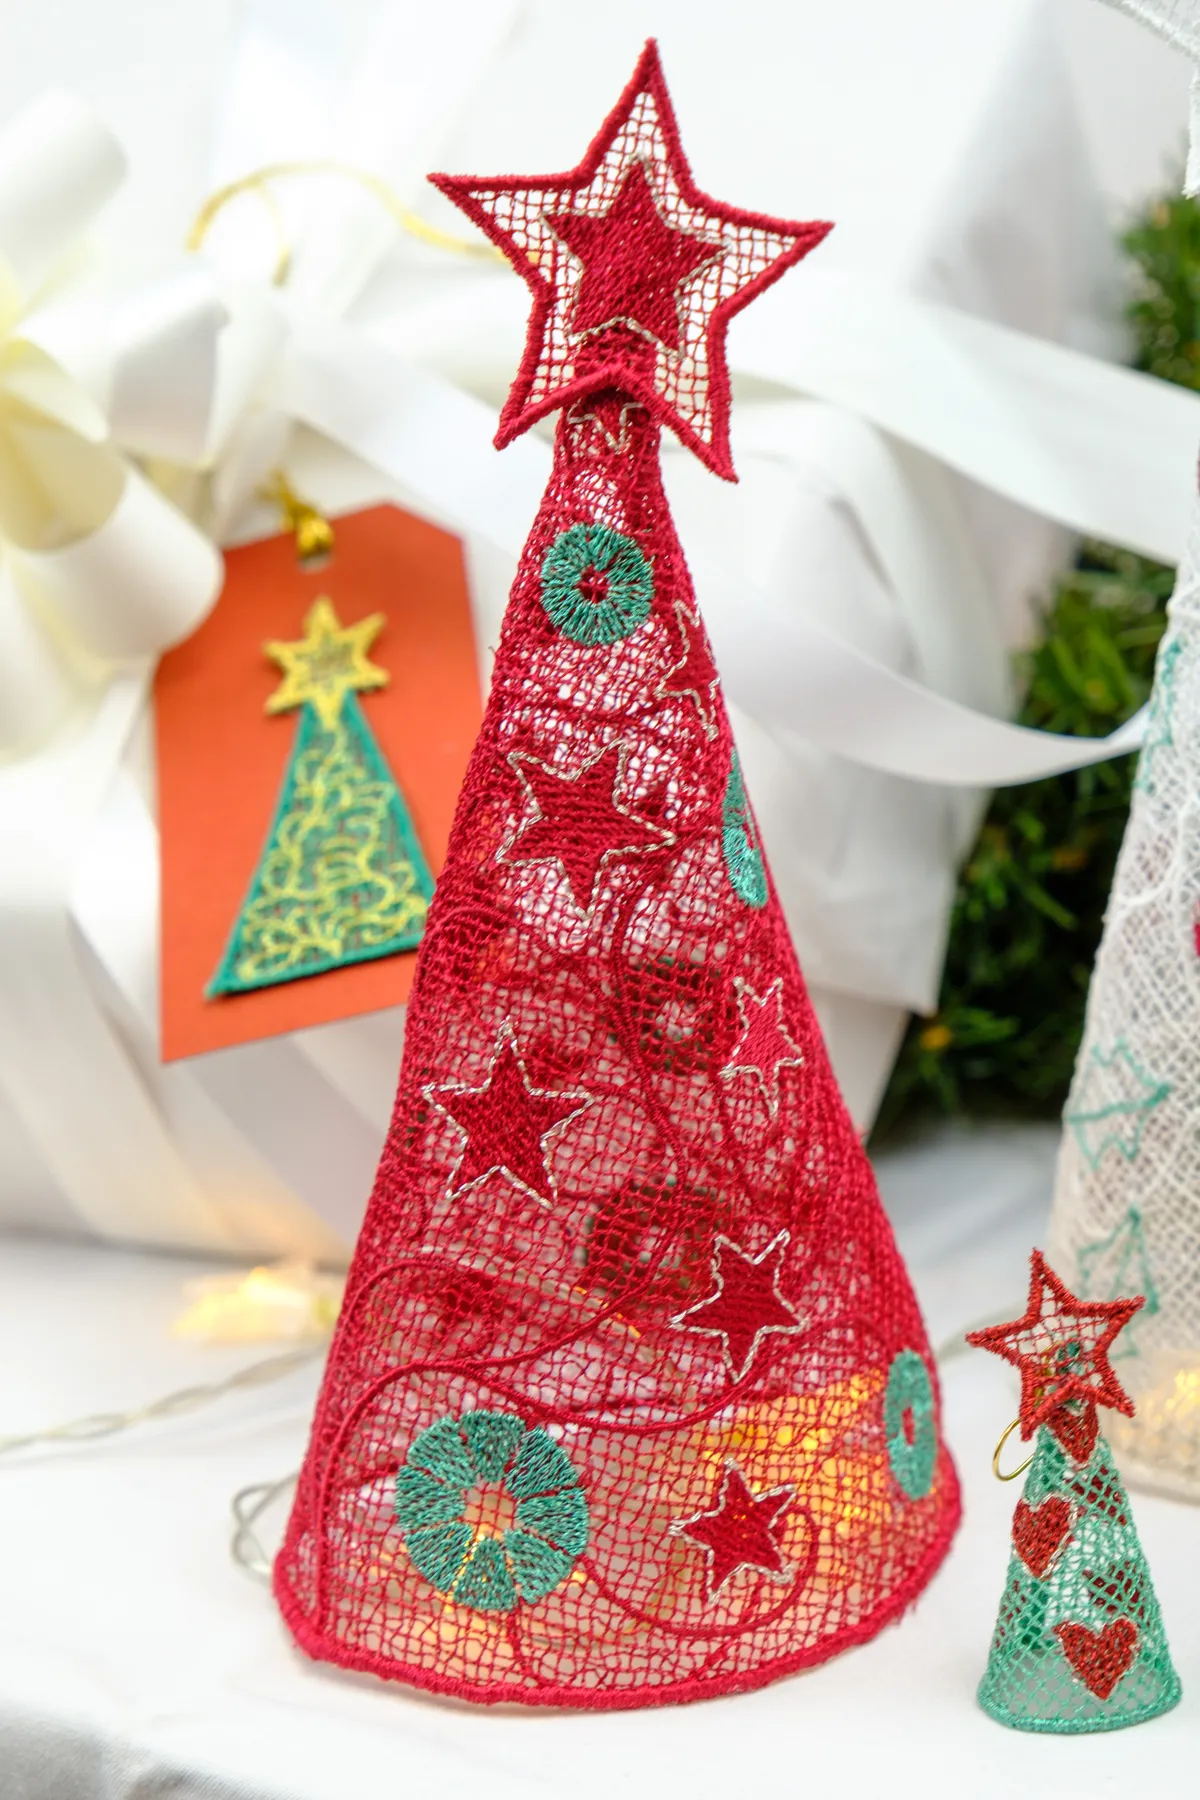
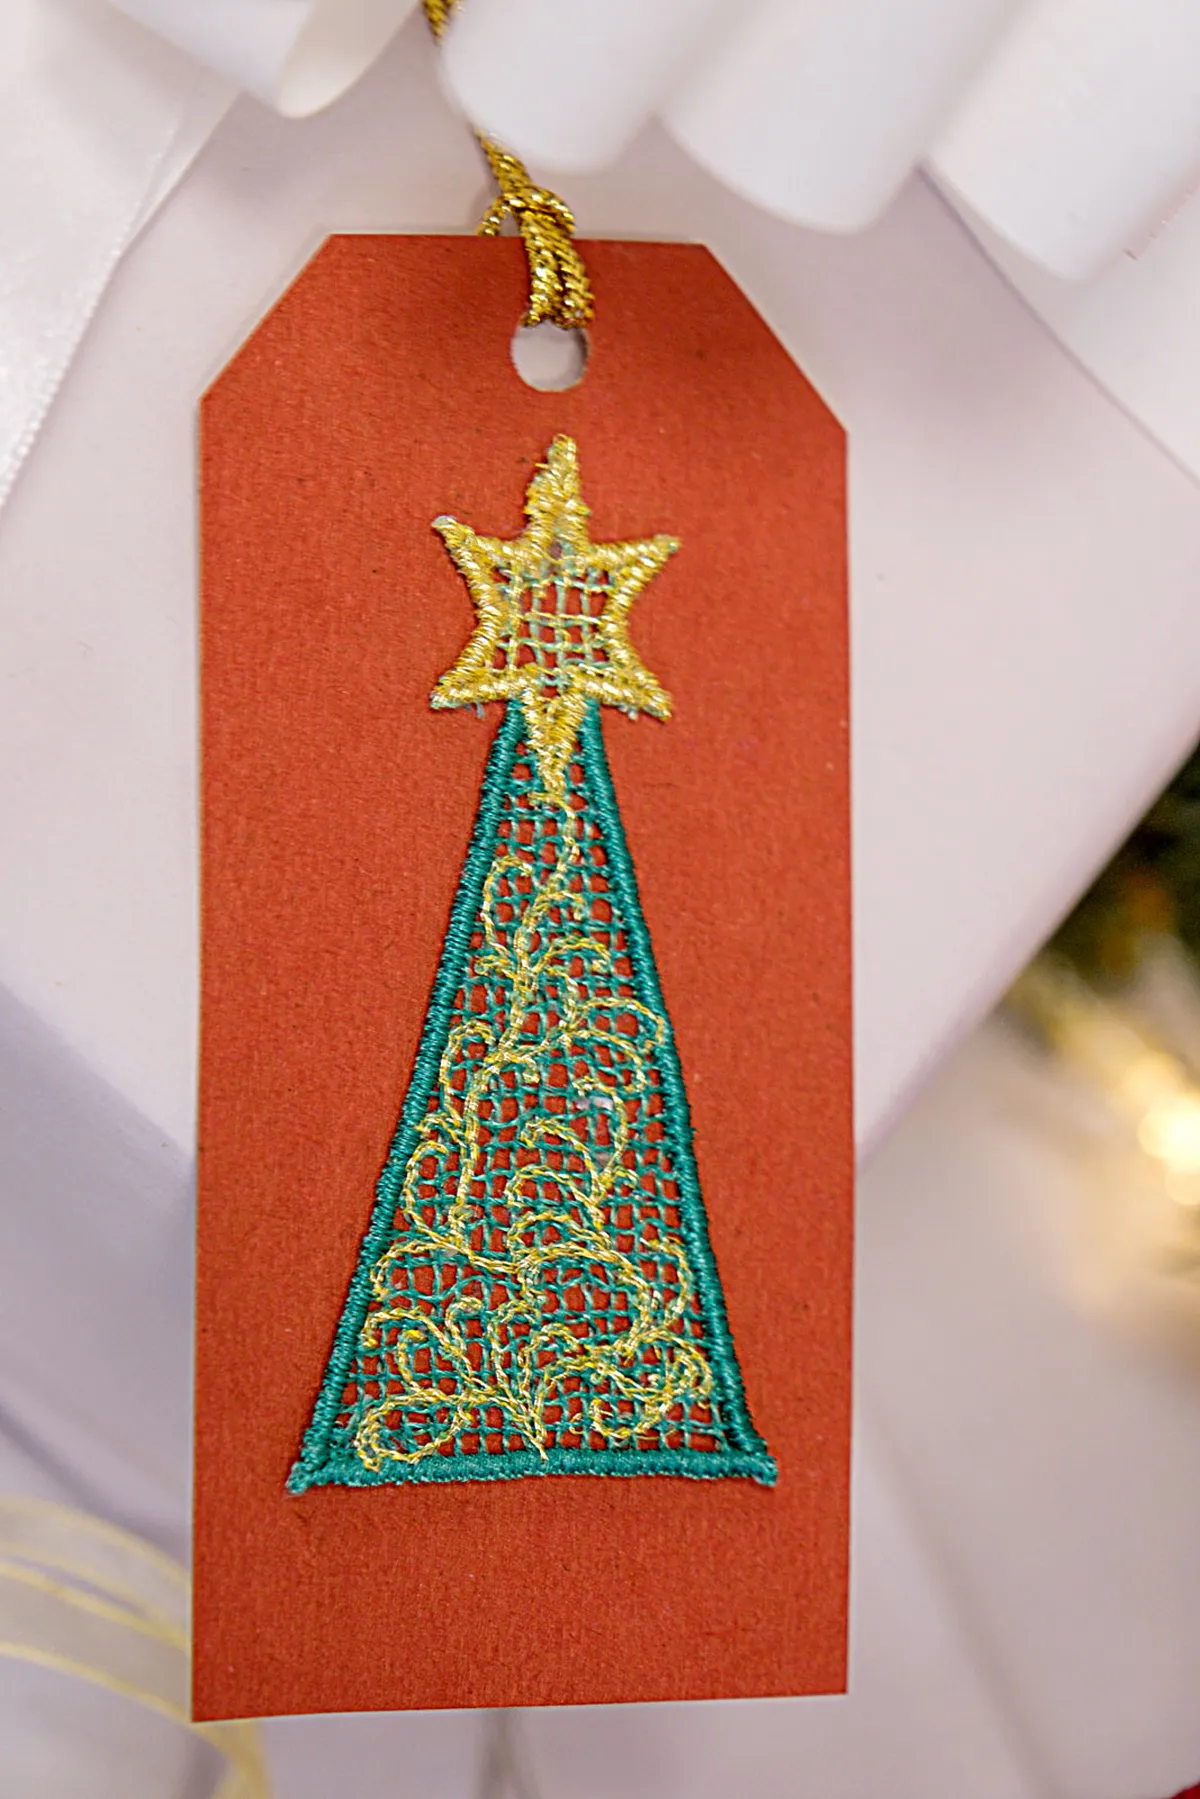
- Draw two star shapes, one with a 60% ray size (50mm x 50mm) and another with a 50% ray size (30mm x 30mm). Add festive touches by giving the smaller star a silver outline with double stitches.
- Create a floral fill pattern on the pie shape using the Array sub-menu, incorporating flowers and leaves. Experiment with the array settings to achieve the desired pattern.
Finalizing the Design
- Duplicate the pie to create a net of the same size, using netfill for the fill type.
- Set outline details for the net and the rectangular closing aid to ensure stability during embroidery.
- Adjust the size and outline details of the smaller star to be used as the tree topper.
Embroidery Process
- Hoop two layers of water-soluble stabilizer and load the design into the embroidery machine.
- Wind a bobbin with the same color thread used for embroidering the netfill.
- Start the embroidery process, beginning with the netfill, followed by branches, stars, and finishing with flowers and leaves.
- If using metallic threads, adjust the machine settings for optimal results.
Finishing Touches
- Carefully remove the hoop from the machine and the stabilizer from the hoop.
- Use scissors to trim excess stabilizer, being cautious not to cut any stitches.
- Dissolve any remaining stabilizer by placing the design in warm water.
- Allow the design to dry between layers of a folded towel, ensuring it doesn’t stretch.
- Iron the tree with a cloth on top to protect it from the heat.
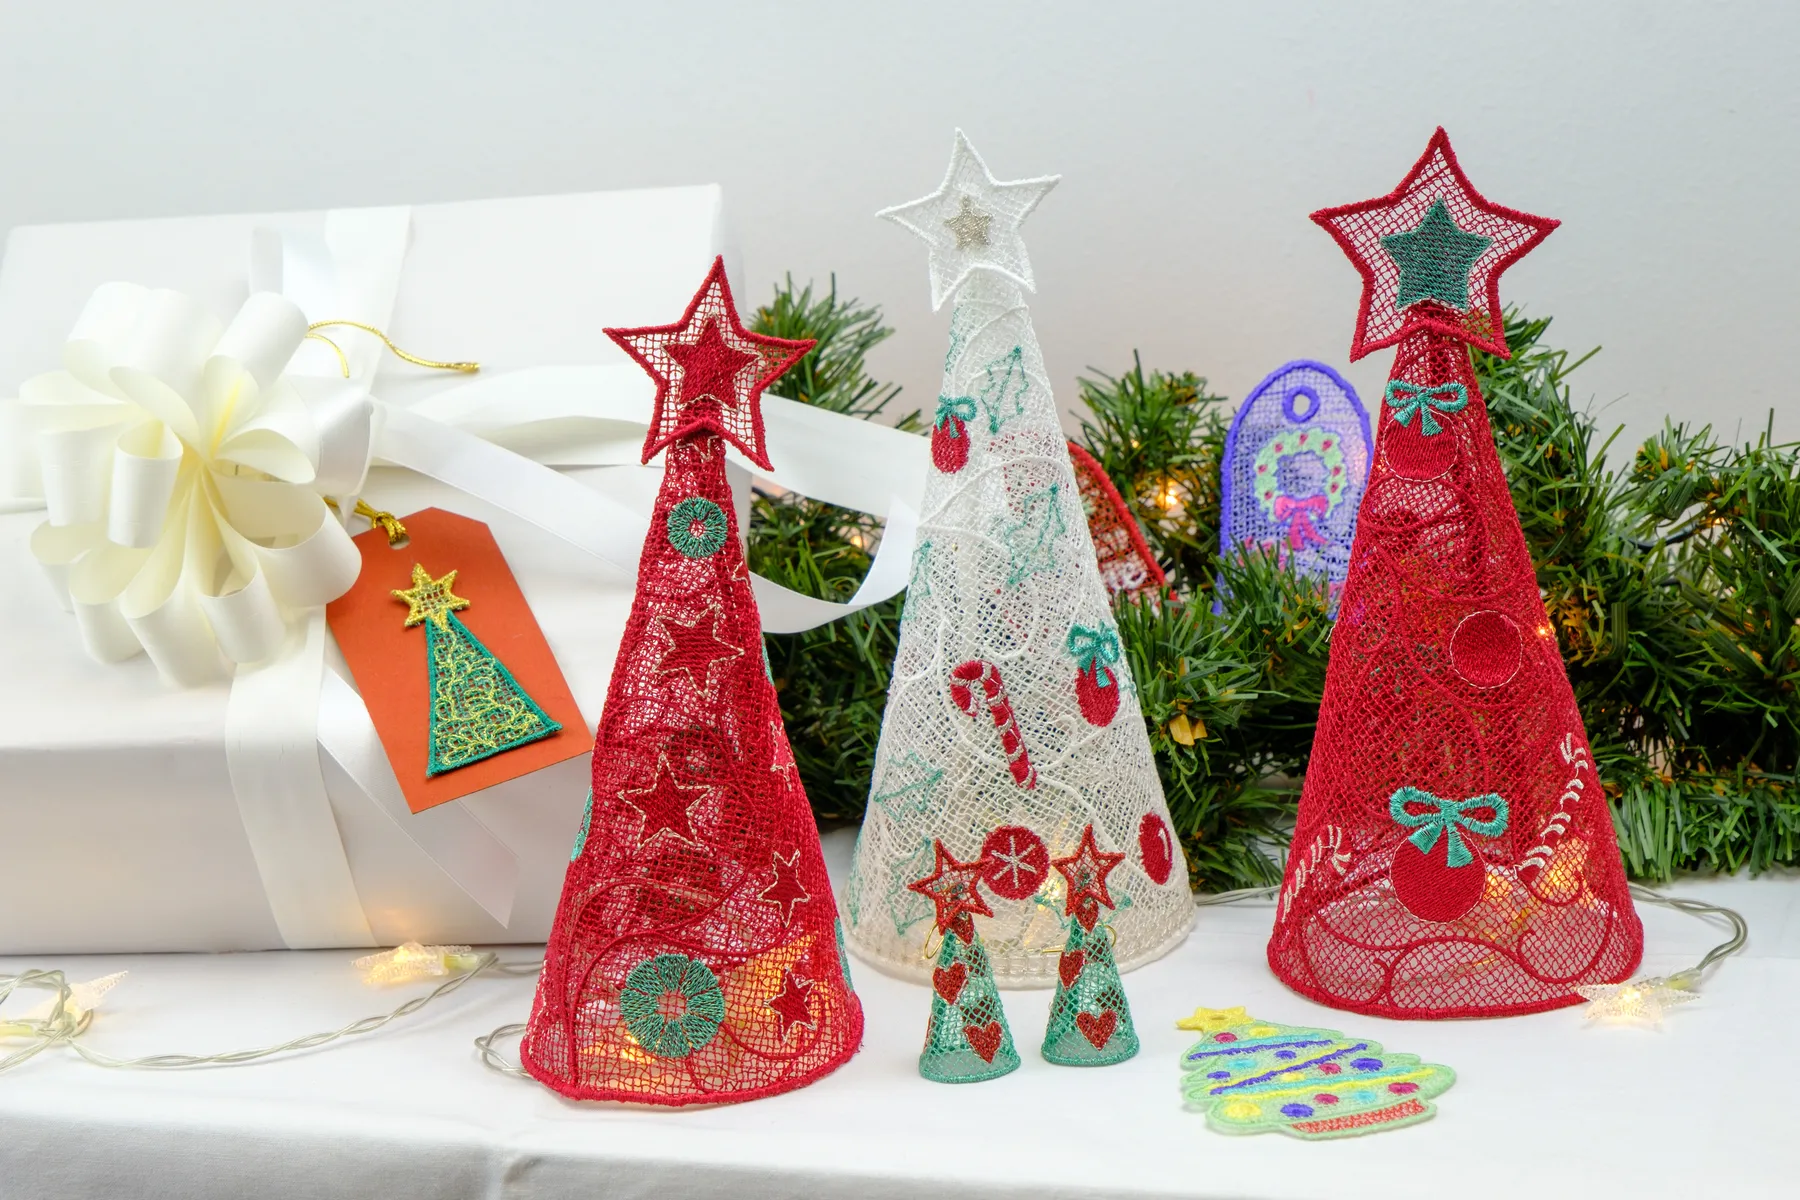
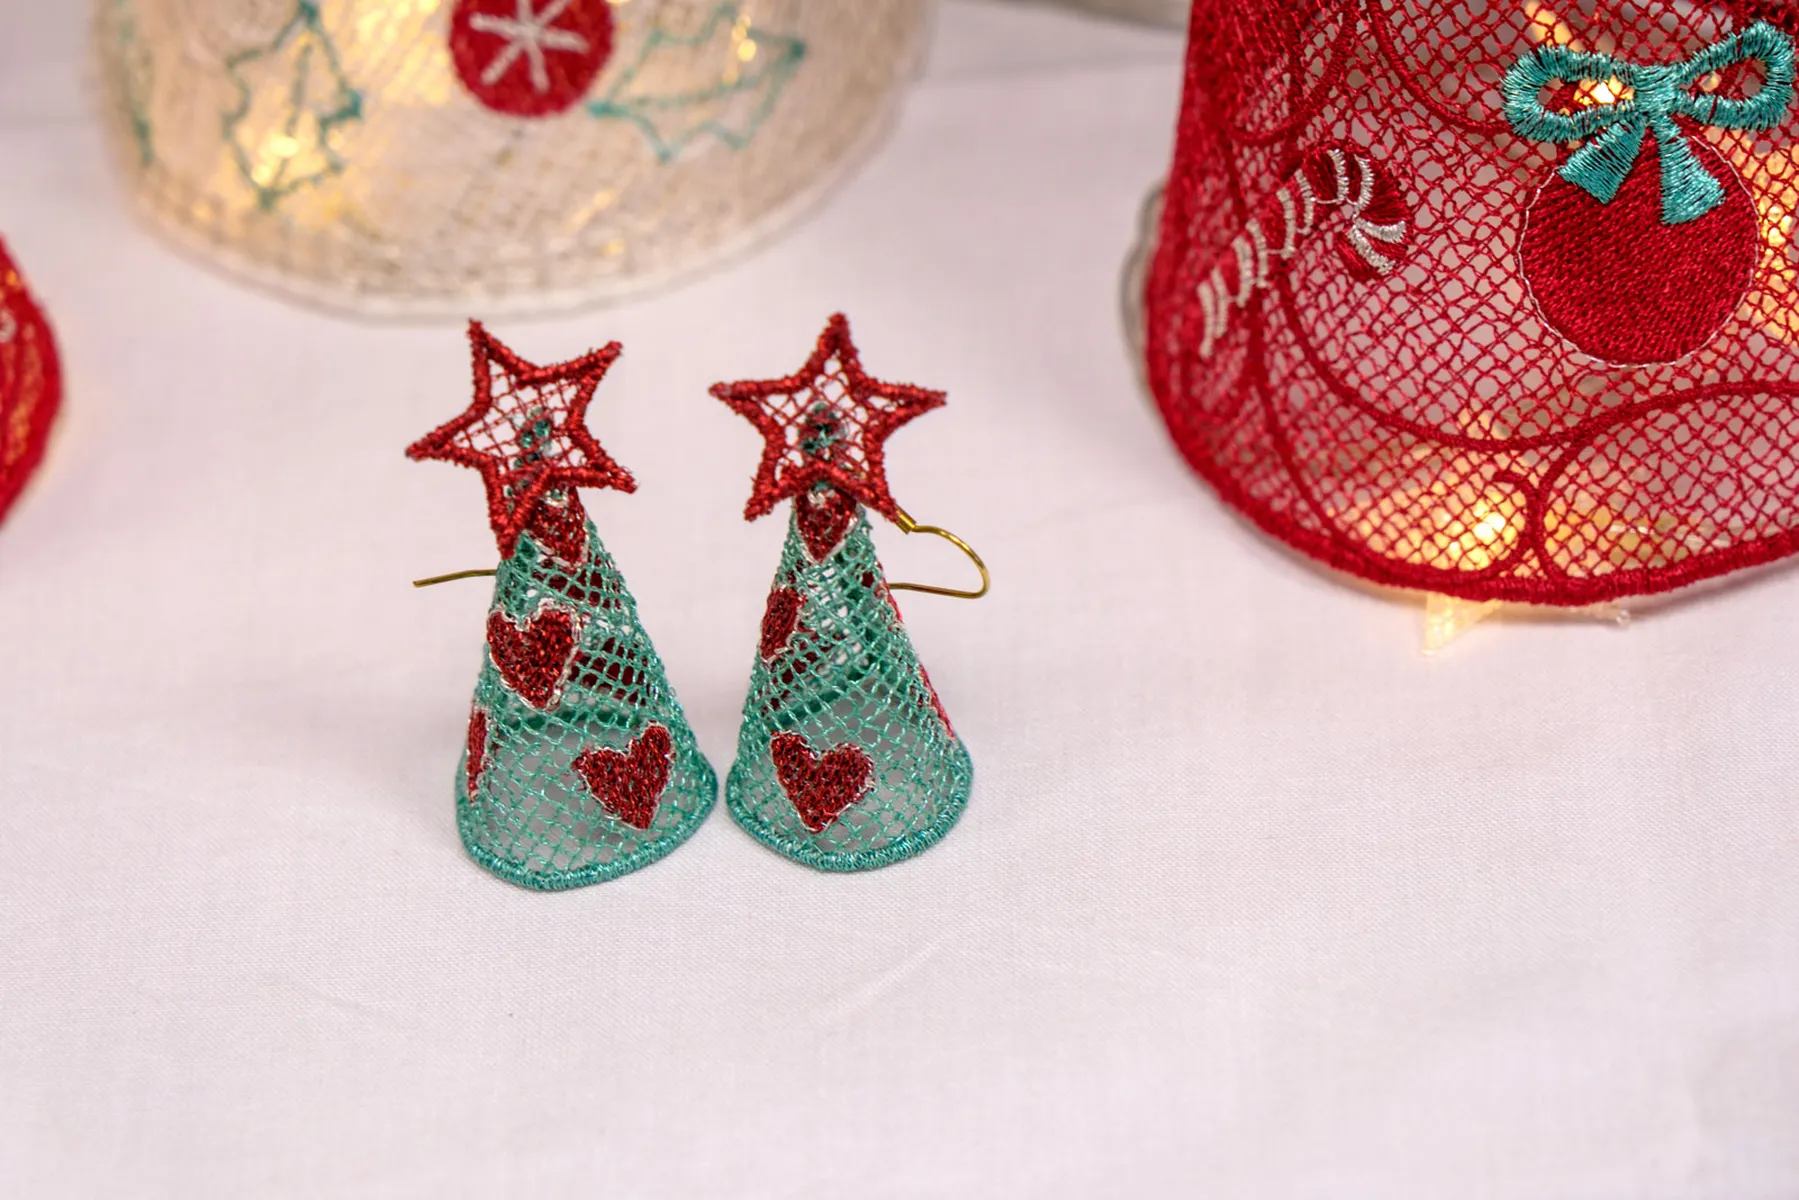
- Connect the two straight sides of the cone to create a 3D standing tree, using hand-sewing, glue, or double-sided tape.
- Optionally, add the star on top to complete your festive creation.
Conclusion
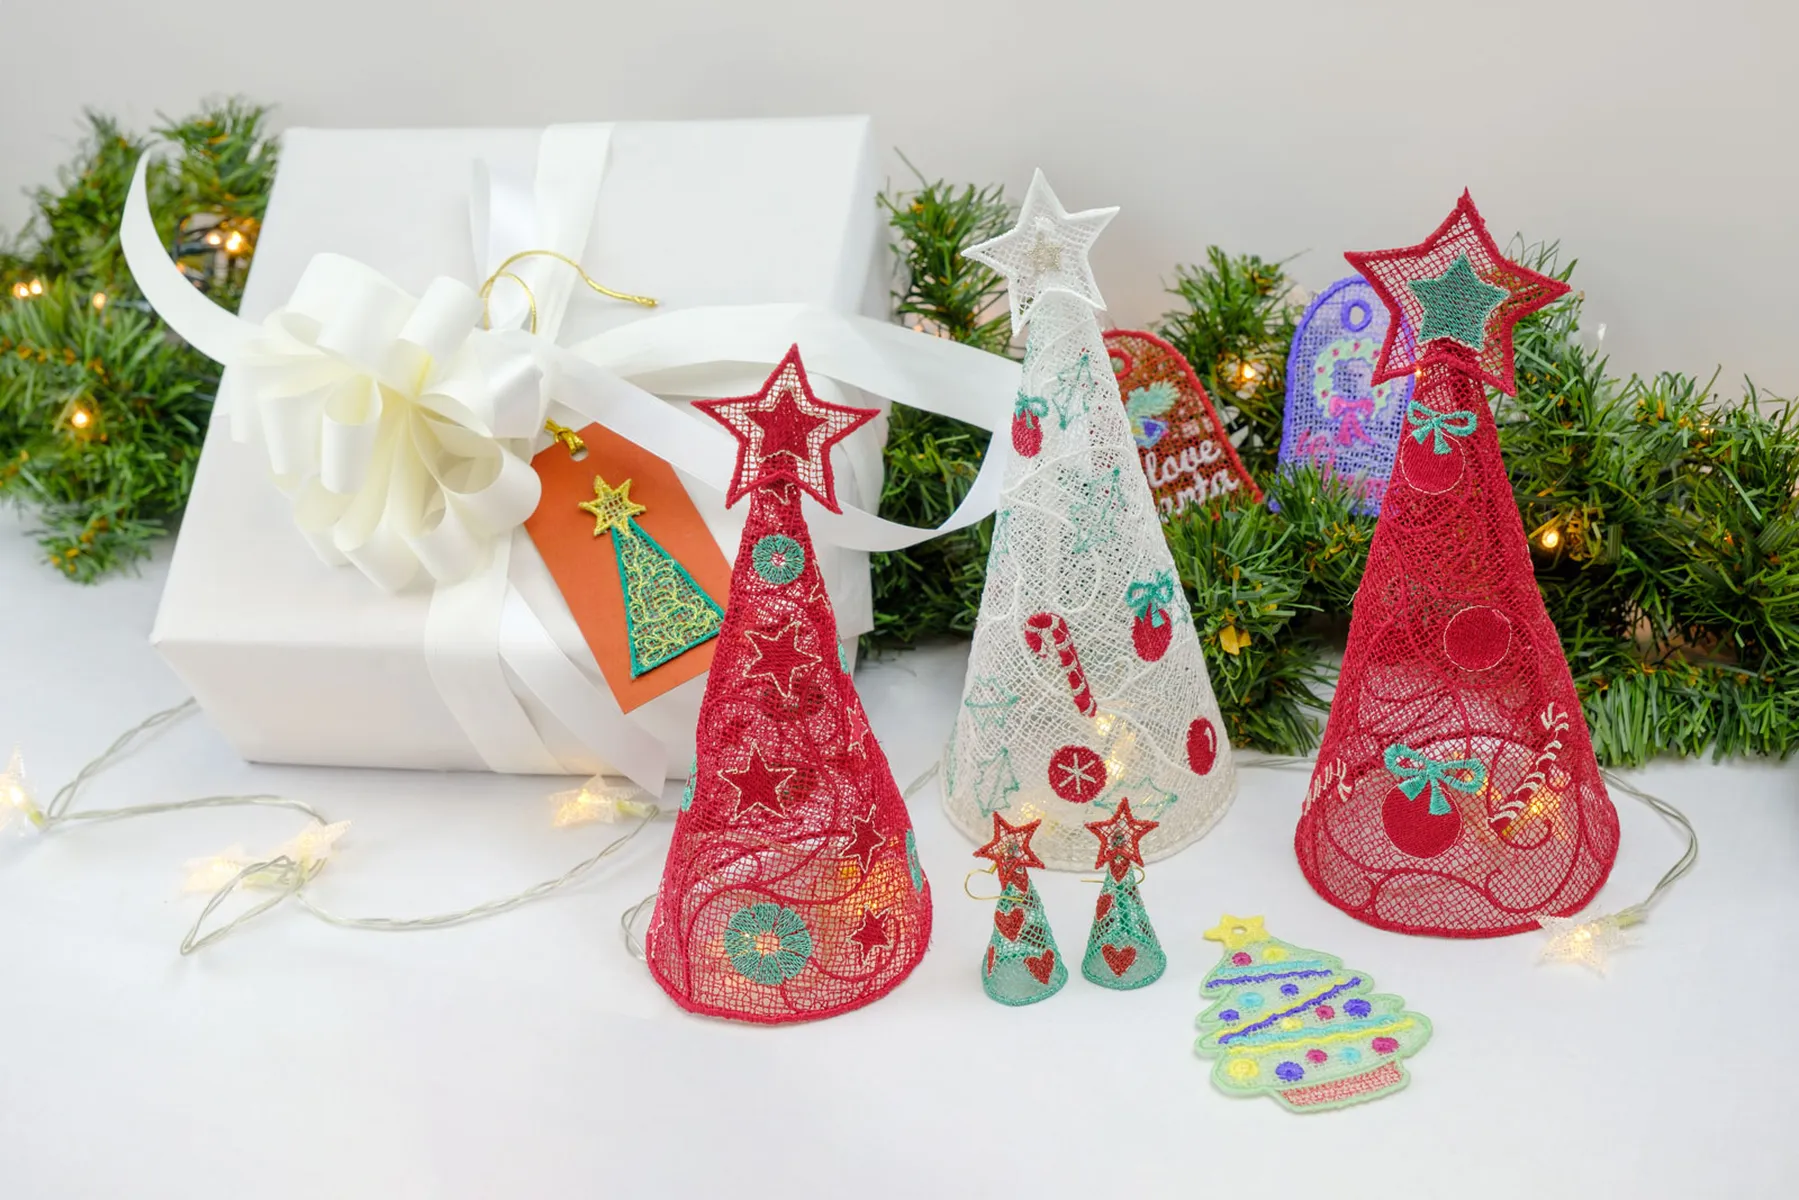
Congratulations! You’ve successfully crafted a beautiful Christmas free-standing lace tree using DRAWings PRO Embroidery software. Feel free to experiment with colors, shapes, and sizes to create a variety of ornaments or even festive earrings. Enjoy the creative process, and Merry Christmas to all!
You can download the .DRAW file of the project, for free, from the link below:
- Project’s .DRAW file: Christmas Free-Standing Lace Tree
It can open only with the XI and later versions of DRAWings embroidery software
Check also, our related projects “Christmas Free-Standing Lace Tree“, “DIY Drawstring Backpack with Applique Decoration“, “How to Make a Detachable Collar with an Embroidered Monogram” & “HOW TO MAKE A BEAUTIFUL RABBIT KEY COVER FROM SCRATCH” & “DIY: HOW TO MAKE A CUSTOM GLASSES CASE WITH YOUR OWN DESIGN“
Remember, DIY projects are all about creativity and adaptability, so don’t hesitate to experiment and make the drawstring backpack truly your own. Happy crafting!