Creating an Embossed Snowman on Towels with Cross Stitch & 3D Fringe
Towel embroidery presents unique challenges that most embroiderers face at some point. The high pile, the stretchy nature of the fabric, and the difficulty of achieving crisp designs can make even experienced users hesitate. However, with the right approach in DRAWings PRO embroidery software, you can create stunning holiday designs that take advantage of the towel’s texture rather than fighting against it.
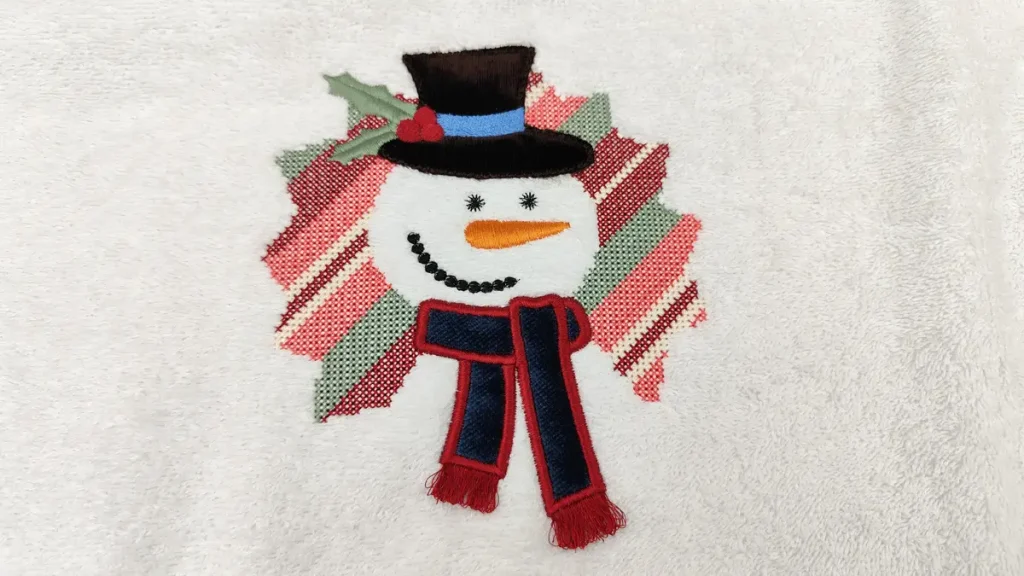
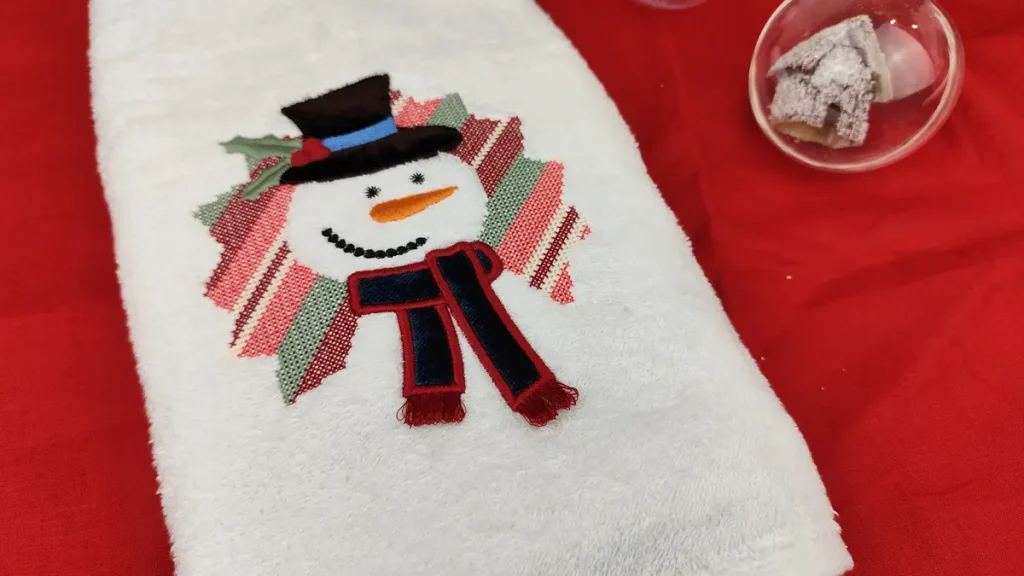
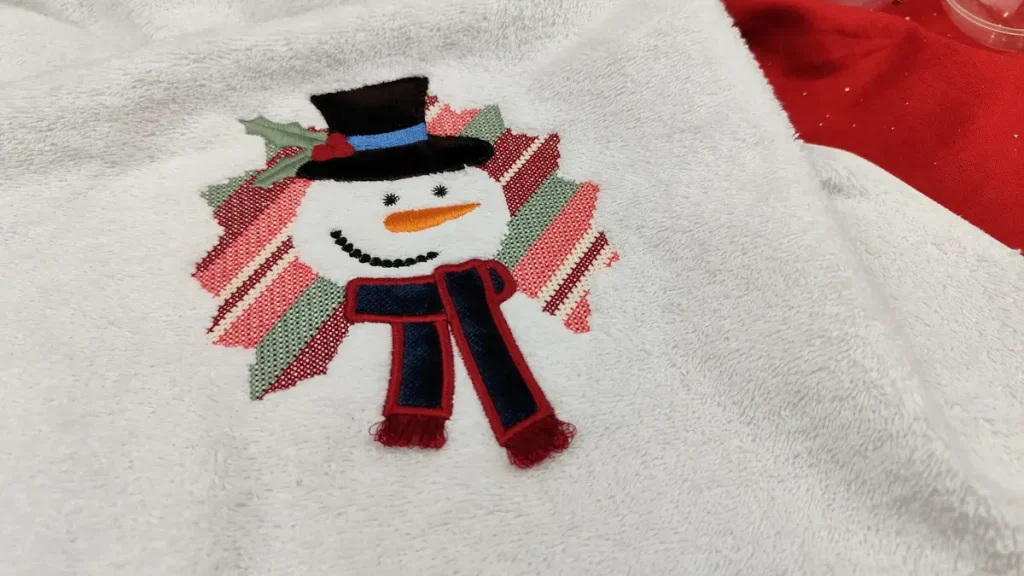
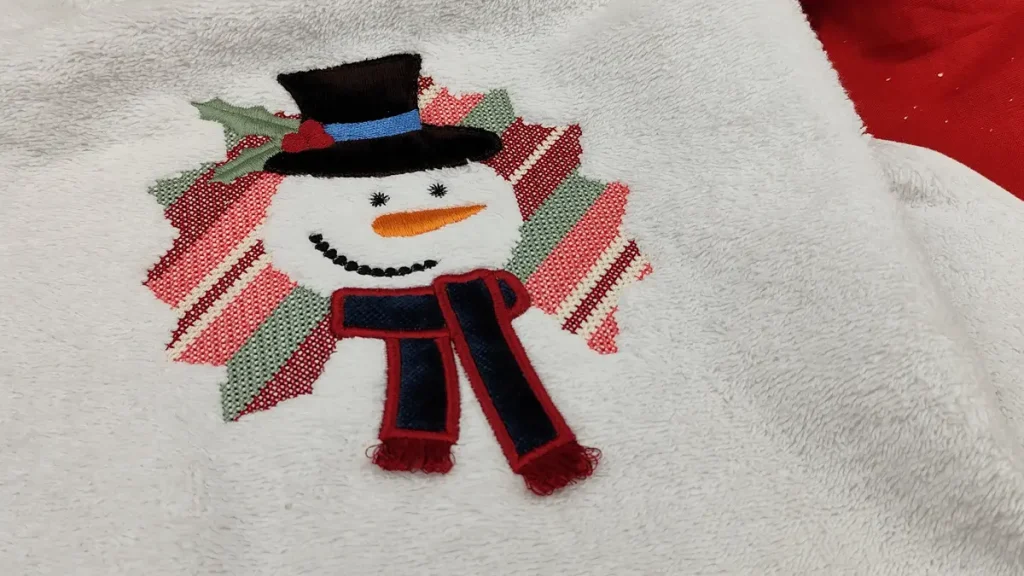
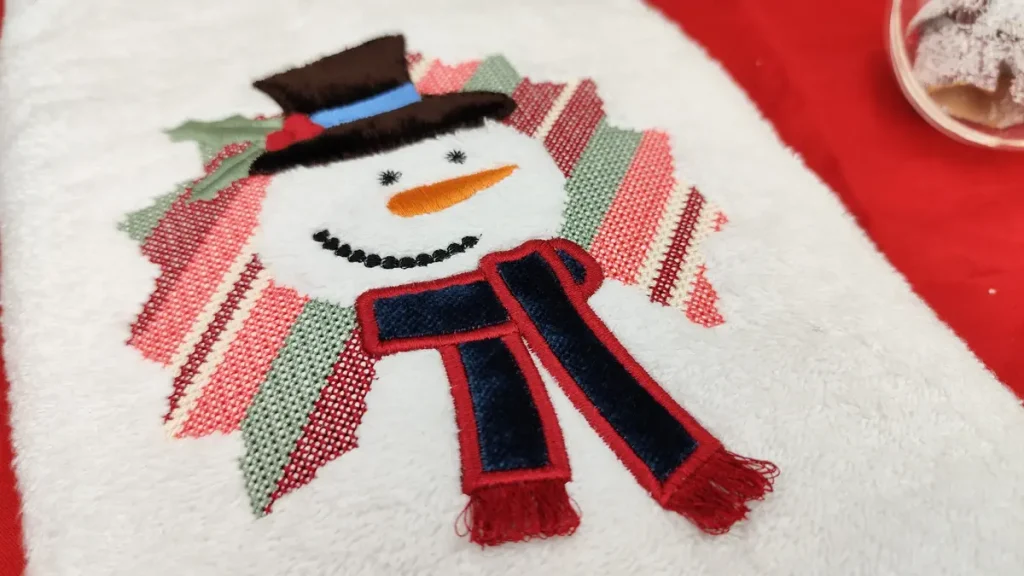
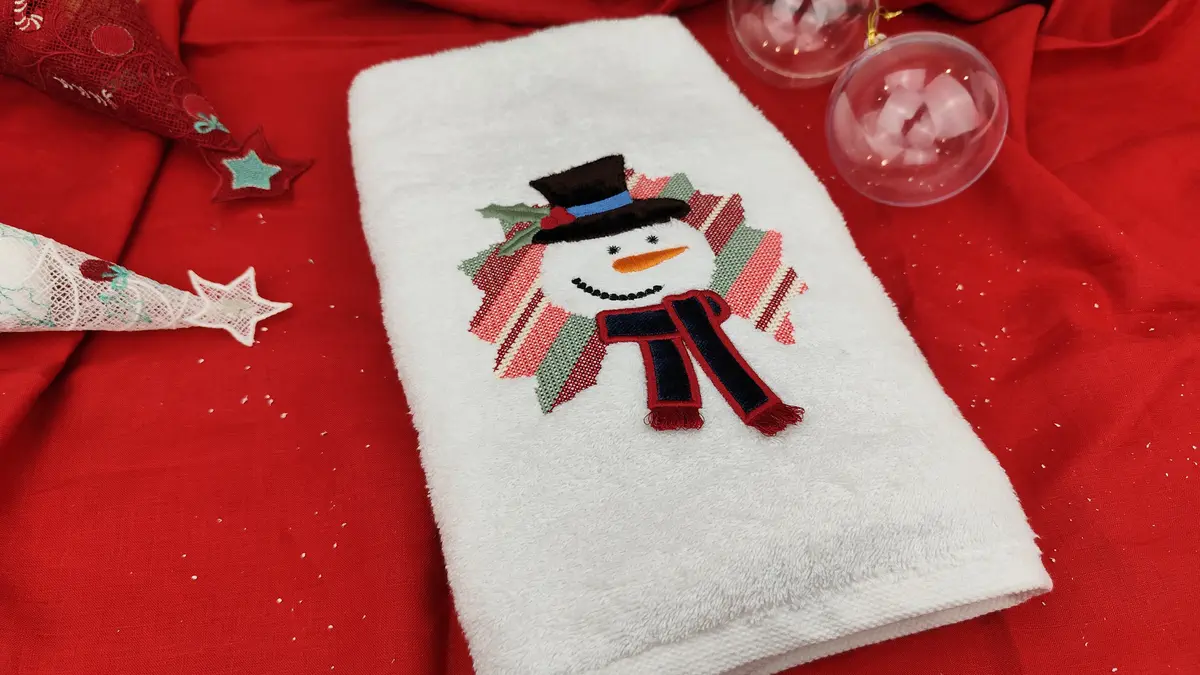
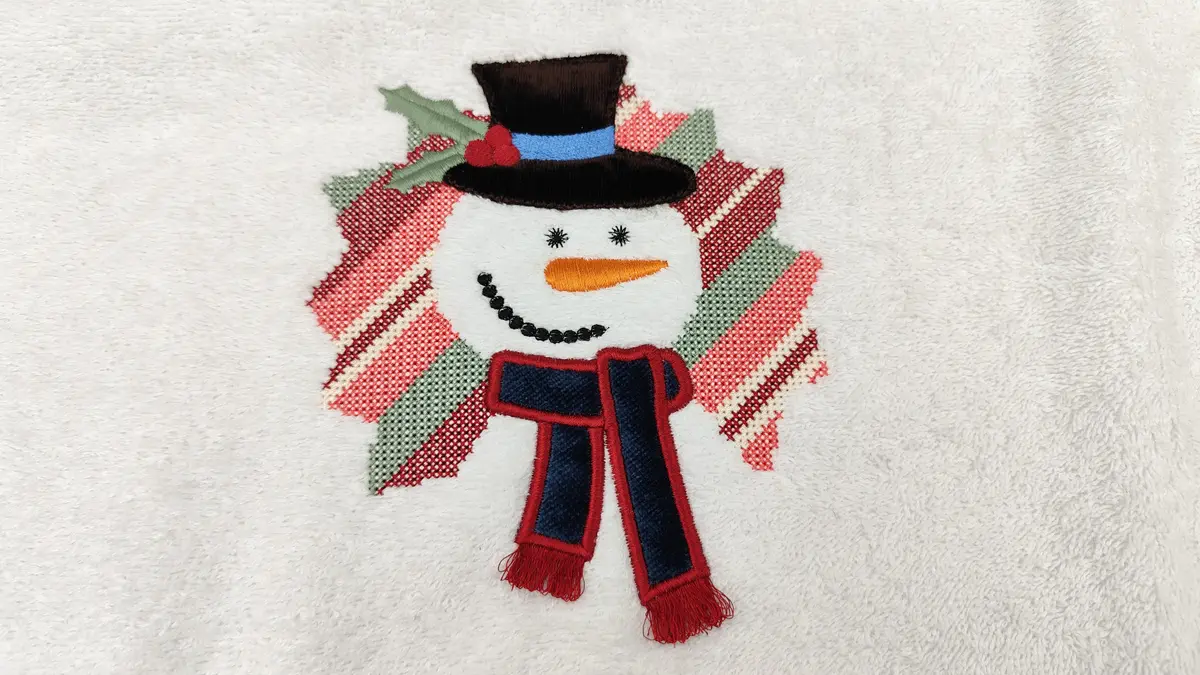
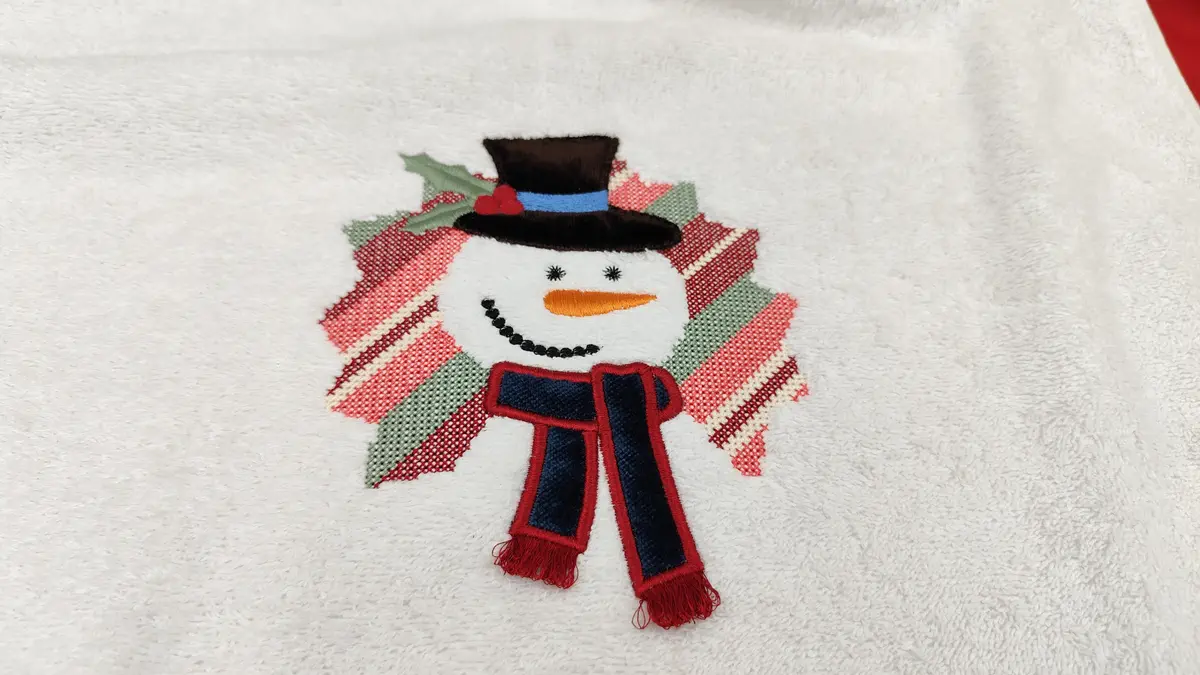
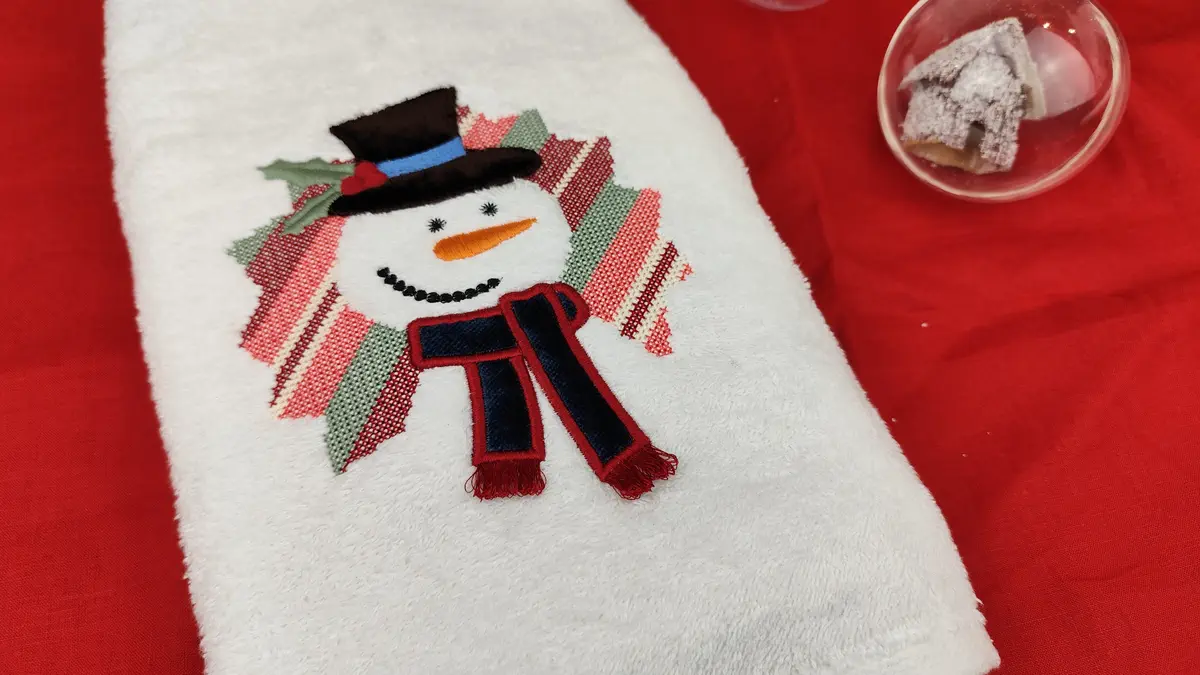
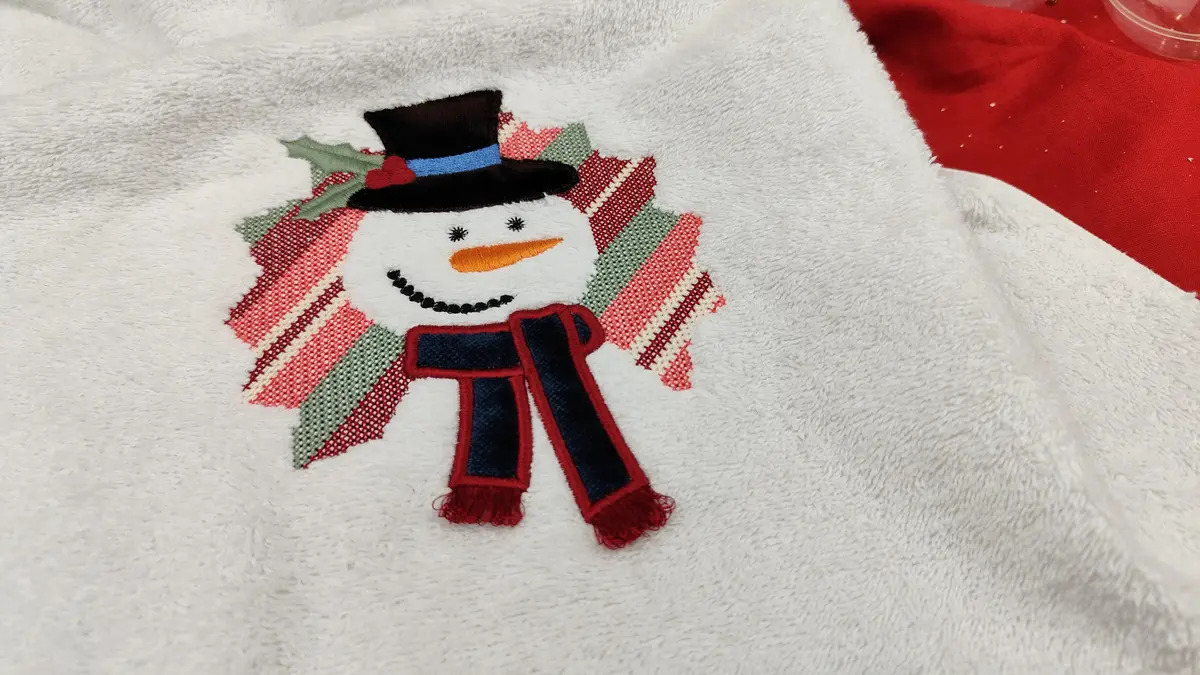
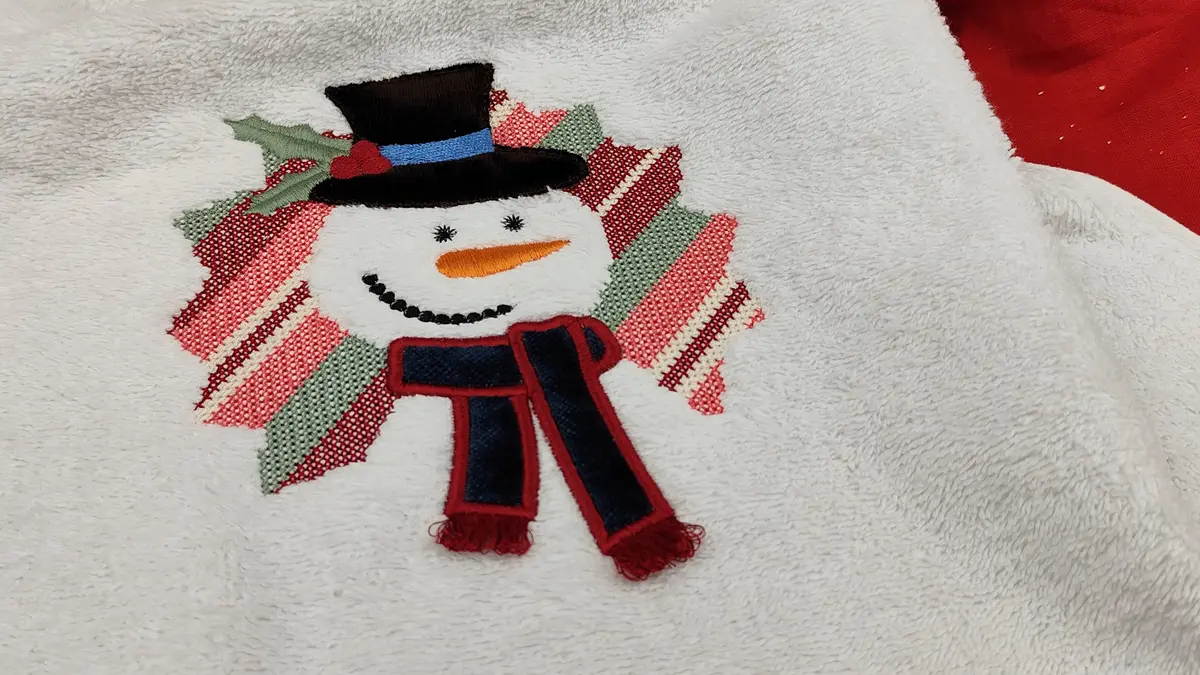
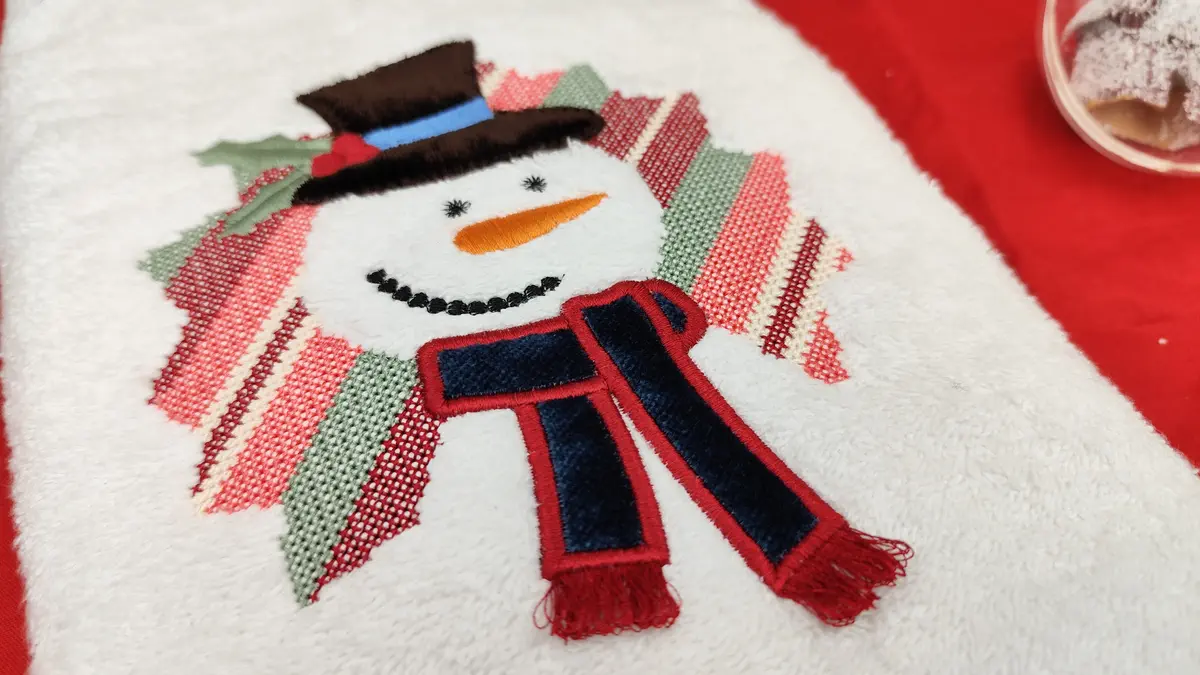
This project demonstrates how to combine cross-stitch fills, applique techniques, and 3D elements to create an embossed snowman design. The technique uses negative space strategically, allowing the towel pile to show through and create the fluffy white appearance of a snowman. The result is a professional-looking embroidered towel that makes an excellent gift or holiday decoration.

Understanding the Fabric Selection Process
Before starting any embroidery project, proper fabric selection in the software sets the foundation for successful stitching. DRAWings PRO includes specific fabric profiles that adjust stitch density, underlay, and other parameters automatically based on the material you’re working with.
For this project, you’ll want to start with a new design and navigate to the Fabric selection dialog. Within the Normal light embroidery category, you’ll find the Toweling fabric option. This selection is important because toweling requires different stitch parameters compared to standard woven fabrics. The software adjusts for the towel’s thickness and pile height, preventing stitches from sinking into the fabric and disappearing.
The fabric profile affects how all subsequent design elements will stitch out, so selecting it at the beginning ensures consistency throughout your project. This saves you from manually adjusting each element’s properties later.
Creating the Cross Stitch Background
The cross-stitch element serves as the decorative background and creates the outline of your snowman figure. Unlike traditional cross-stitch, this technique uses the embroidery machine to create the cross-stitch appearance while taking advantage of negative space.
Start by selecting a bitmap image with a Christmas pattern. This could be snowflakes, stars, or any festive motif that complements your design. The From File icon lets you locate and select your chosen image. When the dialog box appears, the key step is choosing “Open as Cross stitch” as the conversion type. This tells the software to interpret your bitmap differently than it would for a standard fill.
The recommended size for the imported image is approximately 150 by 150 millimeters. This dimension works well for standard towel sizes and provides enough detail without overwhelming the design. After pressing OK, the software converts your selected image into cross-stitch format and places it in the design area.
The Properties toolbar gives you control over the cross-stitch appearance. Selecting a thread palette allows you to preview how the design will look with actual thread colors rather than the original bitmap colors. This is where you can make aesthetic decisions about your color scheme. Reducing the number of colors to four makes the stitching process more efficient. Fewer color changes mean less time at the machine and fewer potential registration issues.
The cross-stitch creates a textured background that contrasts beautifully with the smooth towel pile showing through where the snowman figure will be. This textural contrast is what gives the design its embossed appearance.
Shaping the Cross Stitch Area
Rather than using a standard rectangular or circular outline, creating a custom clipping region adds visual interest to your design. The irregular, organic shape makes the finished piece look less rigid and more artistic.
The Tools menu includes an Insert Symbol option that provides access to various fonts including Webdings. The spiky speech bubble shape from Webdings creates an interesting, snowflake-like border. When inserting the symbol, holding the Shift key while dragging maintains the symbol’s proportions, preventing distortion.
In the Selection pane, setting both Width and Height to 150 millimeters ensures the shape matches your cross-stitch size. Centering it by setting X and Y axis to 0 aligns everything properly. These precise measurements matter because misalignment becomes obvious in the finished embroidery.
The Guideline feature helps with the reshaping process. By selecting Work area, choosing Circular area, and setting the dimensions to 150 millimeters, you create a visual reference. The circular guideline doesn’t stitch out—it’s purely a design aid.
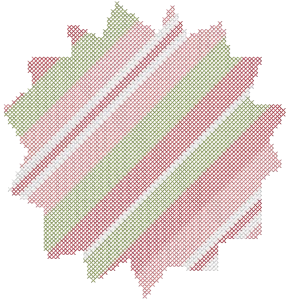
The Node Editor is where the real customization happens. With the speech bubble selected, you can adjust individual nodes to create the exact shape you want. The goal is to fit the shape inside the circular work area while maintaining its character. This step allows for creative expression while keeping the design balanced.
Once you’re satisfied with the shape, the guideline can be deleted since it has served its purpose. The next step involves selecting both the shape and the cross-stitch fill (hold Shift to select multiple objects). Right-clicking brings up a menu where you’ll find “Add as clipping region.” This function tells the software to only show the cross-stitch within the boundaries of your custom shape. Everything outside disappears, leaving only the portion you want visible.
The cross-stitch fill creates a negative space design. Where the cross-stitch stitches, the towel pile is compressed. Where there’s no stitching, the towel pile remains fluffy and white, creating the snowman outline. This reverse approach is what gives the design its unique embossed quality.
Working with Clipart and Customization
DRAWings PRO includes a clipart gallery with pre-designed elements that you can modify to suit your needs. The design called “Winter03” provides a snowman figure that works well for this project, though it requires some editing to integrate properly with the cross-stitch background.
After inserting the clipart and placing it on the design area, the Selection pane lets you resize it. Keeping the Proportional option checked prevents distortion. Setting the Width to 190 millimeters makes the snowman slightly larger than the cross-stitch background, which is intentional. This size relationship creates visual balance.
Positioning the snowman in the middle of the cross-stitch background is important for the overall composition. The snowman needs to be ungrouped to access its individual components. This breaks the clipart into separate editable elements.
Deleting the combined outline and the stick arms simplifies the design. These elements would interfere with the negative space effect you’re creating. The goal is to let the towel show through for the snowman body, so any outlines or fills in those areas need to be removed.
Refining the Hat Design
The hat requires special attention because it will be stitched as an applique, making it a focal point of the design. Selecting all hat parts and using the Weld function from the Shaping menu merges them into a single object. This eliminates seams between the hat pieces and simplifies the applique process.
The Node editor allows you to delete extra nodes and refine the hat’s shape. Fewer nodes generally result in smoother curves and better stitch quality. You can adjust the hat’s proportions at this stage to better suit your vision.
Adding a hat band creates visual interest and breaks up the solid color of the hat. The Digitizer tool lets you draw this band freehand. Holding Shift while placing nodes on corners creates cusp nodes, which produce sharp angles rather than curves. This technique works well for geometric elements like hat bands.
Adding Character with Facial Features
The smile brings personality to your snowman. Drawing a curved line and applying Stitch style 171 creates a textured appearance. Increasing the outline width makes the stitches thicker, mimicking the look of pebbles or coal pieces traditionally used for snowman mouths. This stitch style creates dimensional texture that stands out from the towel surface.
The original scarf from the clipart gets deleted because you’ll create a more dynamic version. This new scarf will have better proportions and integrate with the 3D fringe technique.
Start with the part that covers the neck—this is the base layer. Then design the ending that hangs downward, followed by the other ending that overlaps on top. This layering creates depth and makes the scarf look natural. The Break apart option from the right-click menu separates the merged scarf shape back into individual objects, giving you control over each piece’s stitch sequence.
Creating the Negative Space Effect
This is where the design comes together. Select the head, scarf, and body of the snowman along with the cross-stitch background. The Trim option from the Shaping submenu is the key function here. It removes the portions of the cross-stitch that overlap with the snowman shapes.
After trimming, delete the actual head and body shapes. This leaves empty spaces in the design where the towel pile will show through. When embroidered, these unstitched areas appear white and fluffy against the textured cross-stitch background, creating the snowman’s form. This technique leverages the towel’s natural characteristics instead of trying to stitch over them.
The beauty of this approach is that it works with the challenging nature of towel embroidery rather than fighting it. Heavy fills would sink into the pile and look messy, but negative space creates crisp, clear definition.
Applying Applique Settings
The hat uses Applique Fill, which involves three steps: placement stitches, placing fabric, and covering stitches. Setting Remove Overlaps to Always prevents the hat from stitching over other elements unnecessarily. This reduces stitch density and prevents the embroidery from becoming too stiff.
You can select colors for both the fill and outline that match your creative vision. The hat band gets its own settings with Remove Overlaps set to Never and a contrasting color. This ensures the band stitches on top of the hat, creating visible separation between the two elements.
The eyes are made black to match the mouth, creating visual cohesion. These small details matter in the overall appearance of the finished design.
For the scarf parts, choosing Applique Fill and selecting the Fix Satin option creates smooth, professional-looking applique edges. The Fix Satin setting adjusts the covering stitches to account for the applique fabric thickness. Picking colors for both outline and fill lets you preview the final design and make adjustments before stitching.
Adding Decorative Elements
The holly berry motif referenced from a previous DRAWings PRO tutorial can be added to decorate the hat. These kinds of decorative touches elevate the design from simple to special. The holly berry provides a pop of color and reinforces the Christmas theme.
Creating the 3D Fringe Effect
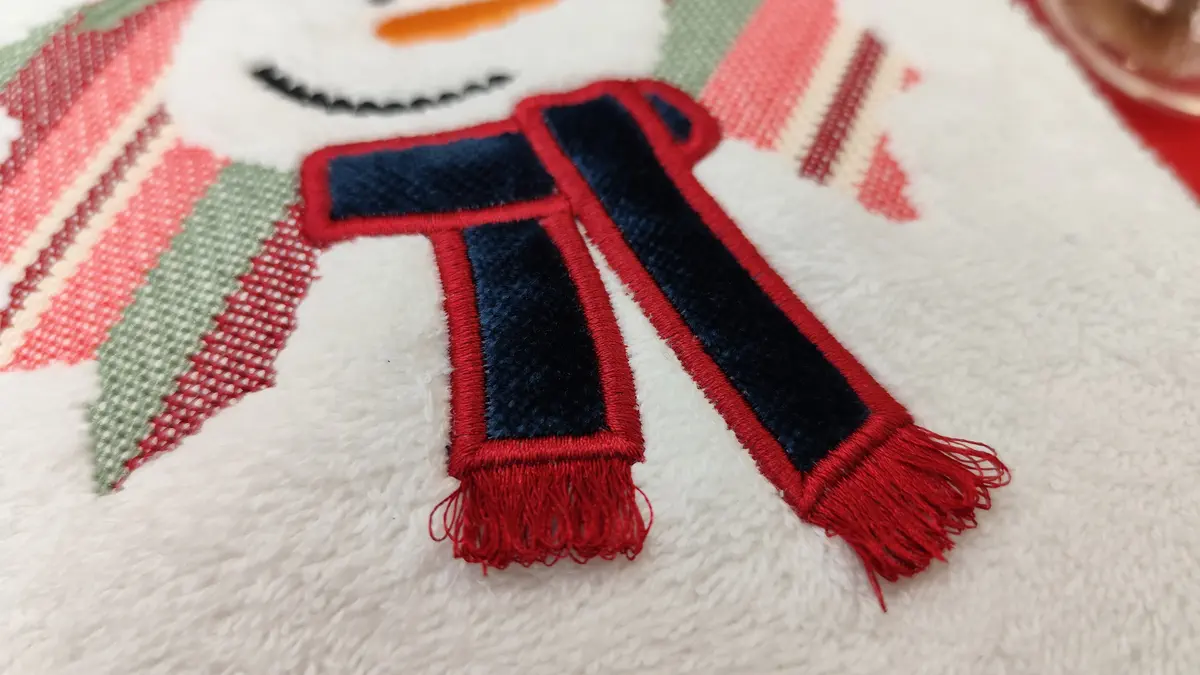
The fringe ends add a playful, tactile element to the scarf. This technique involves drawing a rectangle the same width as the scarf. After selecting your color and applying a Satin Fill, the rectangle’s height needs to match the maximum stitch width value of your specific embroidery machine. This measurement varies by machine model, so check your machine’s specifications.
The Sequence manager lets you move this rectangle before the applique scarf in the stitch order. This positioning is important for the technique to work properly.
Rotating the rectangle to be parallel with the scarf’s edge and moving it until the satin serial stitch overlaps the top edge of the rectangle sets up the fringe effect. When stitched, the overlapping section will be cut on the back, and the stitches pulled to the front, creating actual fringe that extends beyond the fabric.
Duplicating this rectangle and repeating the process for the other end of the scarf creates balanced fringe on both sides. This technique uses the same concept as the Fringe Flower method shown in earlier DRAWings PRO videos.
Managing Stitch Sequence
Proper stitch sequence prevents registration problems and ensures clean results. The scarf parts need to be arranged in the desired embroidery order. Switching to Manual mode gives you full control over sequencing.
In the Sequence Manager, select the Applique Fill layers while holding Control or Command. The Weld function from the Shaping Menu merges these into a single Applique base. This consolidated approach creates one set of placement stitches for all applique elements, which is more efficient and reduces the chance of shifting.
Moving the welded applique base before the scarf fringe parts ensures the fringe sits on top of the finished applique. Reordering other shapes helps achieve the best embroidery results. Time spent organizing the sequence pays off in the quality of the finished piece.
Securing the Embroidery
Towels present hooping challenges. The stretch and pile make them difficult to stabilize, which is why the floating method works better than traditional hooping. Adding a basting stitch around the design secures all layers during embroidery.
Drawing a rectangle around the design and keeping only the outline creates this basting stitch. Moving it to the top of the Sequence Manager ensures it stitches first, locking everything in place before the actual design begins.
Setting a longer stitch length in the Properties makes the basting easier to remove when the embroidery is complete. These temporary stitches serve a functional purpose but shouldn’t be difficult to take out.
Preparing for Embroidery
Successful towel embroidery requires specific materials. You’ll need a hoop, a printout of the design, the towel, assorted threads, water-soluble film, water-soluble stabilizer, and fabrics for the applique details.
The printout serves as a positioning guide, helping you place the design exactly where you want it on the towel. Hooping a single layer of water-soluble stabilizer rather than the towel itself is the key to the floating method. This approach prevents hoop marks on the towel and accommodates its thickness.
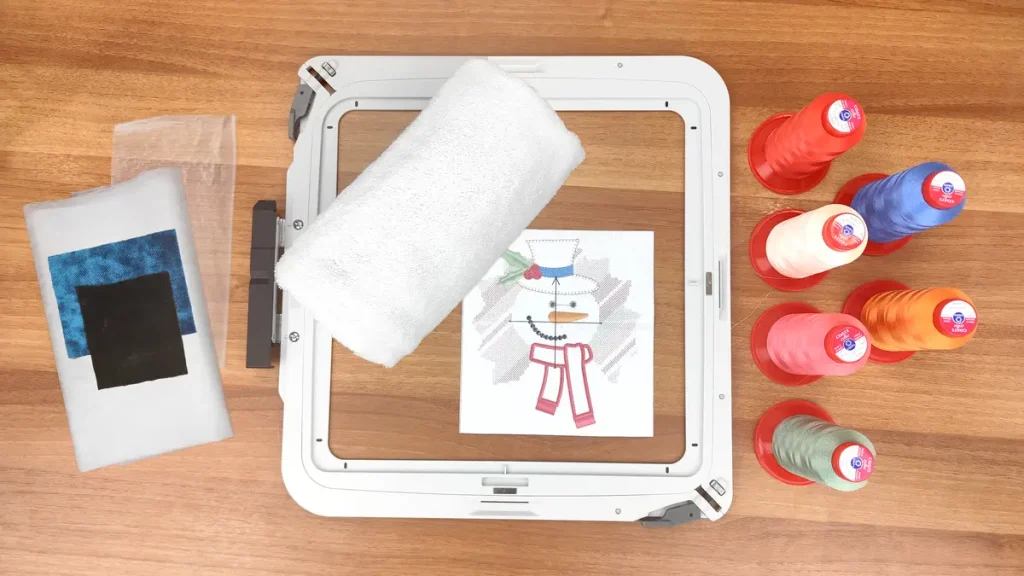
Marking the center lines of the design on the towel with pins ensures accurate placement. A ruler helps with precision. Carefully aligning the towel on top of the stabilizer using the center marks on your hoop prevents the design from sitting crooked.
Securing the towel with a few pins prevents shifting during embroidery. This step is worth the extra minute it takes.
Loading the design onto your embroidery machine and attaching the hoop securely prepares you for stitching. Applying water-soluble film on top keeps stitches from sinking into the high pile. This film is necessary for achieving crisp results on toweling.
The Embroidery Process
The basting stitch stitches first, holding all layers together. Then you’ll change thread colors as needed to complete the cross-stitch background. At this stage, you can already see the snowman figure revealing itself through the negative space.
The applique hat requires preparing the fabric and applying iron-on stabilizer to the backside before stitching. This stabilizer prevents the applique fabric from puckering or distorting. After the placement stitches, trim away excess fabric and proceed with covering stitches and the step fill hat band.
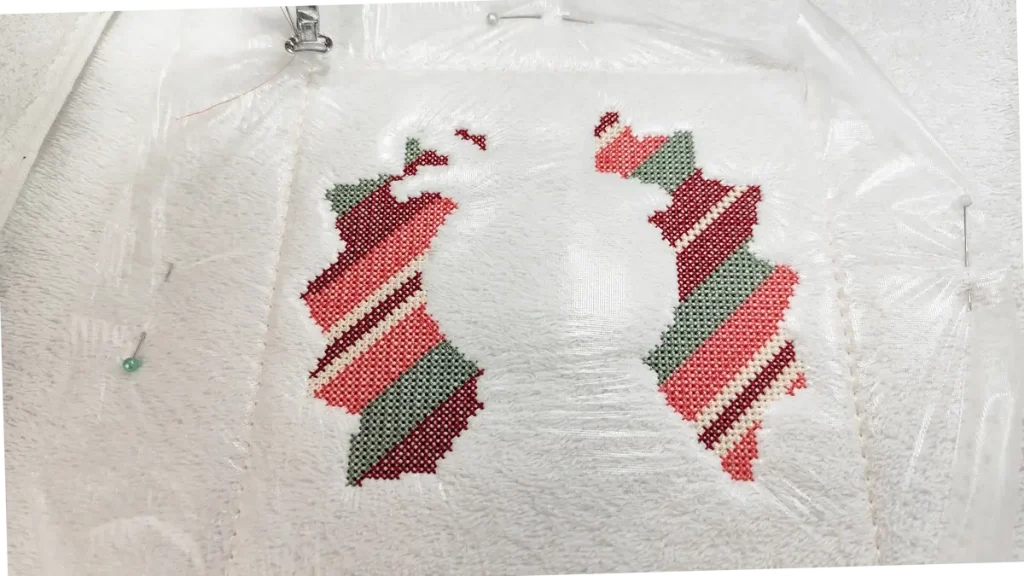
The snowman’s facial features come next, followed by the applique scarf base. Covering the placement stitches with fabric for the scarf and continuing with tack-down stitches secures everything. After removing the hoop, trim excess fabric to finish the applique.
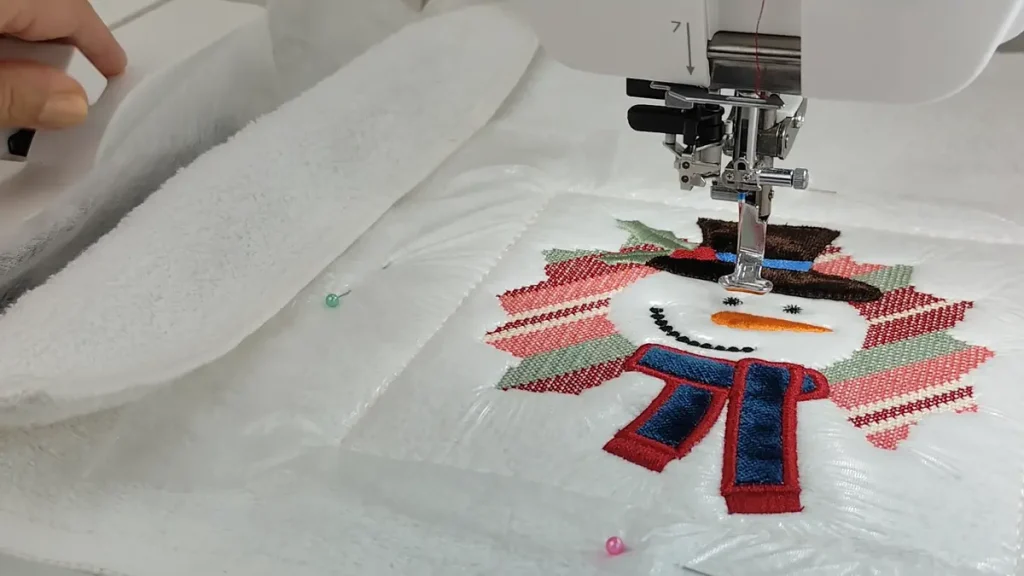
Stitching the satin rectangles creates the foundation for the 3D scarf fringe effect. Completing the scarf with satin covering stitches provides a smooth finish. The decorative details conclude the embroidery.
Finishing Techniques
After removing the hoop from the machine and taking the towel out, the 3D fringe effect is created by cutting the bobbin thread on the back side of the satin rectangles, then gently pulling the stitches to the front. This creates actual textile fringe that moves and has dimension.
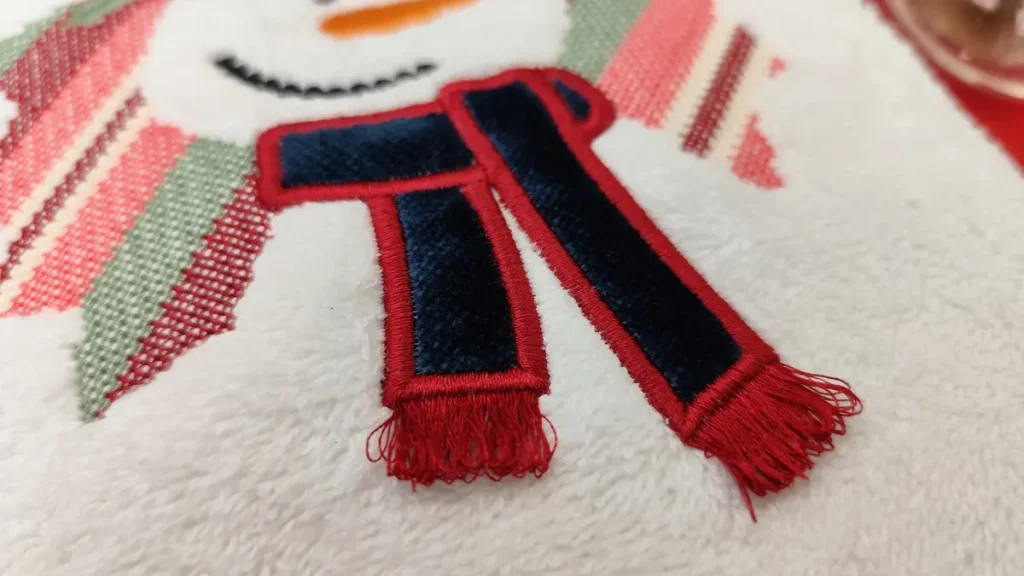
Using a seam ripper, remove the basting stitch carefully. Clear away any remaining water-soluble film from the top and excess stabilizer from the back of your towel. After the first wash, both the film and stabilizer will completely dissolve, leaving your embroidery soft and clean.
Final Thoughts
This project demonstrates how understanding your software’s capabilities and working with fabric characteristics rather than against them produces professional results. The combination of cross-stitch background, negative space design, applique elements, and 3D fringe creates a towel that looks complex but uses techniques that any DRAWings PRO user can master.
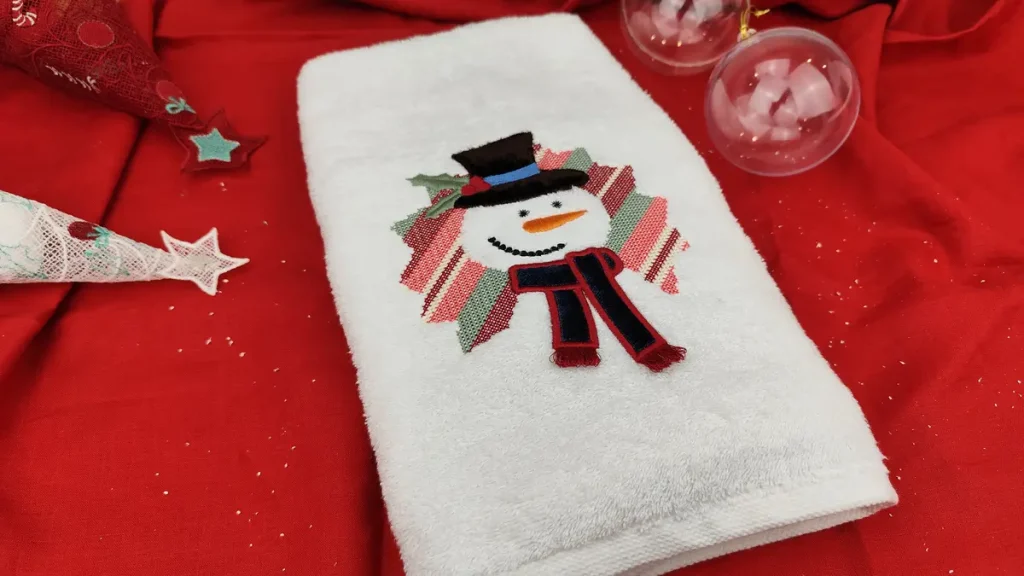
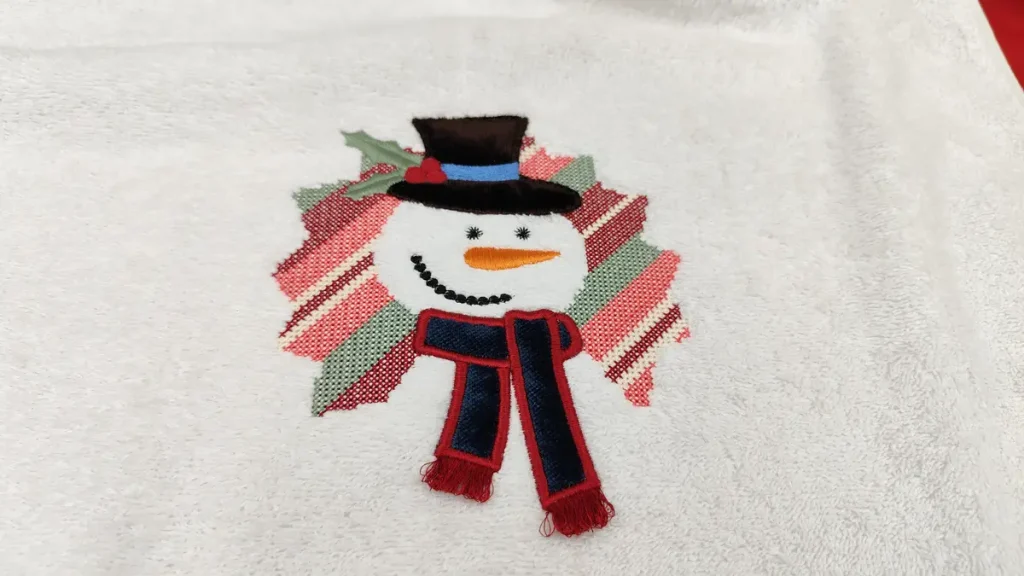
The embossed snowman design turns a plain towel into something special. Whether you’re making gifts or creating holiday decor for your own home, this technique opens up possibilities for personalizing towels in ways that work with the fabric’s natural texture. The key is patience in the design phase and attention to detail during embroidery. With these elements in place, you’ll create towels that look professionally made and hold up well to washing and use.
Happy crafting and don’t forget to share your creations with us in the
DRAWings PRO Help Group!
You can download the .DRAW file of the project and the image used, for free, from the link below:
- Project’s .DRAW file: Creating an Embossed Snowman on Towels with Cross Stitch & 3D Fringe
It can open only with the XII and later versions of DRAWings embroidery software
Share your experiences in our Facebook group, and don’t forget to subscribe to our blog for more innovative embroidery techniques and inspiration.
Frequently Asked Questions
Check also, our related projects
How to Modify Built-In Fonts into Custom Designs: Dripping Halloween Lettering
Every embroidery program ships with fonts that are already digitized. They stitch cleanly, and they are also the same fonts everyone else has.Digitizing a Knockout Layered Varsity Monogram with Nested Script Lettering
Layering script text over a bold collegiate letter is a staple in team apparel, varsity jackets, and custom fleece.How to Embroider a Photo onto a T-Shirt with PaintStitch™ and Sketch
A favorite vacation photo does not have to stay on your phone or disappear into a folder. With DRAWings PRO embroidery software, you can turn a photo into an embroidery design and stitch it onto a T-shirt as a wearable keepsake.