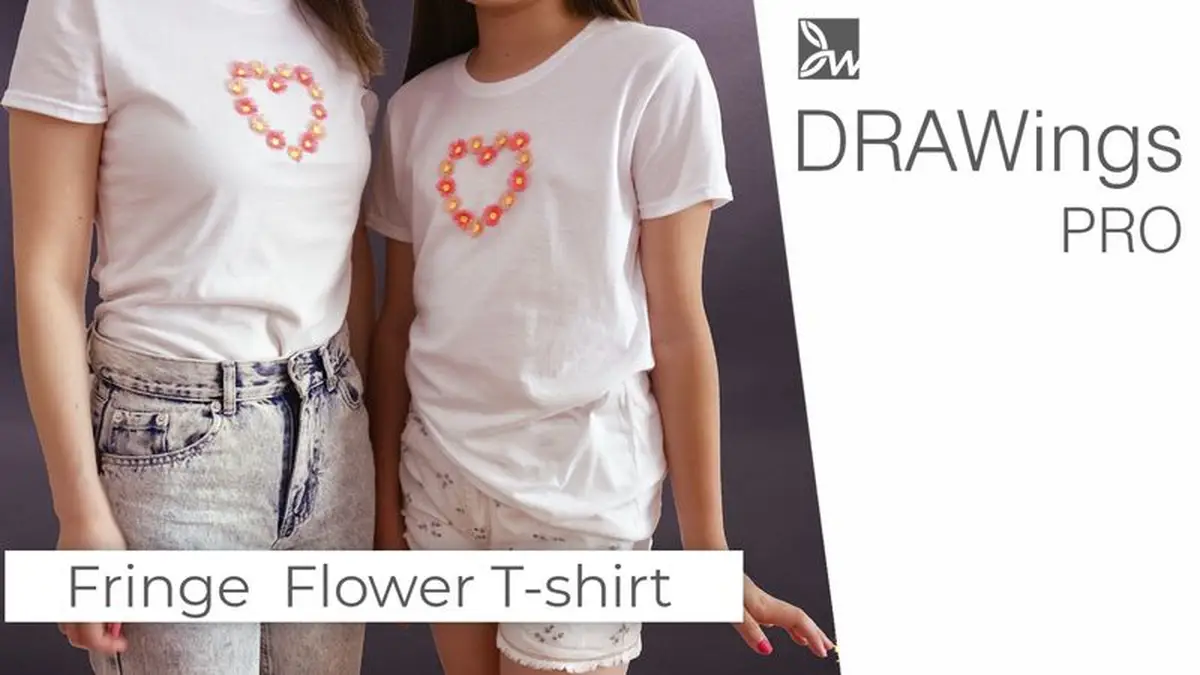
DIY Fringe Flowers T-Shirt Design: A Step-by-Step Embroidery Tutorial
Welcome to our tutorial where we demonstrate the intricate art of fringe embroidery and create a Fringe Flowers T-Shirt Design. In this step-by-step guide, we’ll be showing you how to create a stunning Fringe Flowers T-shirt design using your own embroidery machine. Fringe technique is a unique form of embroidery that adds a personal touch to your clothing items, making them perfect as personalized gifts for family or even just a special treat for yourself. A finished fringe flower gives a beautiful 3D effect, making your designs pop out and catch the eye.
In this video, we’ll walk you through the process of creating a fringe flower design on a T-shirt, starting from preparing your embroidery machine to cutting the bobbin thread to release the stitches. We’ll also share tips and tricks along the way to ensure you get the best results. Whether you’re new to fringe embroidery or looking for fresh inspiration, this tutorial has something for everyone. So grab your embroidery machine, a plain T-shirt, and let’s start creating!

By following the instructions provided below, you’ll be able to master the fringe technique and unleash your creativity with this innovative embroidery method.
Section 1: Understanding the Fringe Technique
Have you ever heard of the fringe technique? This amazing stitching method allows for the creation of personalized gift clothing that is both unique and beautiful. By manipulating the bobbin thread and selectively cutting it, the finished result is a delicate fringe flower that adds texture and dimension to any fabric. But the secret to mastering this technique lies in understanding the relationship between the larger and smaller shapes that are created.
With a bit of practice, anyone can create stunning fringe effects that are sure to impress. So why not try your hand at this fun and creative technique? You may be surprised at just how quickly you can master it and start adding your own personal touch to all of your favorite clothing pieces.
Section 2: Designing the Fringe Flowers
Familiarize yourself with the process of creating fringe flowers using DRAWings PRO Embroidery software.
- Set the fabric to the appropriate category for your project.
- Select the hoop size based on the desired size of your design and the T-shirt.
- Use the ellipse shape tool to draw the outer and inner shapes of the flower.
- Adjust the size, fill type, and outline color of the shapes to achieve the desired effect.
- Set the underlay to tacking to secure the satin stitches before creating the fringe.
Section 3: Making Fringe Flowers T-Shirt Design and Customizing it
- Duplicate the fringe flower shape to create multiple flowers or incorporate them into personalized designs.
- Utilize the Array options to create copies of the flower around a different shape, such as a heart.
- Edit the shape of the heart or other symbols using the node editor to achieve desired placement.
Section 4: Embroidery Preparation

- Gather the necessary materials, including a pre-washed and ironed T-shirt, stabilizer, adhesive spray, embroidery threads, and a hoop.
- Hoop the stabilizer and mark the center lines using a grid template and pen.
- Position the design below the neckline of the T-shirt, ensuring it aligns with the marked center line.
- Transfer the center line mark to the back of the T-shirt for easy alignment.
Section 5: Embroidery Process
- Turn the T-shirt inside out and align the crease and center line with the stabilizer.
- Secure the T-shirt with pins and use masking tape to prevent accidental machine interference.
- Load the design file onto the embroidery machine and thread it with a different color for the bobbin thread.
- Attach the hoop to the machine and begin the embroidery process, following the color sequence.


Section 6: Finishing Touches
- After embroidery is complete, remove the hoop from the machine and carefully remove securing materials.
- Trim excess stabilizer, leaving only the stabilizer around the embroidered design.
- Turn the T-shirt inside out and use sharp scissors to trim the bobbin thread without cutting the fabric.
- Use tweezers or a blunt, pointy tool to lift and release the loops of the fringe.
- Repeat the process for the remaining flowers to complete your fringe flower design.


Having the ability to customize your garments with beautiful fringe flowers made possible by DRAWings PRO Embroidery Software is both fun and rewarding. With its easy-to-use interface, your creative spirit can be explored to make unique one-of-a-kind designs. Whether you are creating a simple flower for your locker or an elaborate greeting card design for a special friend, DRAWings PRO provides an adventure filled with color and expression.
For a truly luxurious experience, try combining several elements like text, symbols, and even names into one amazing piece. How you choose to use this great software is up to you; create gifts that will last longer than a hug or stand out in the crowd with a personal style all your own! No matter how you decide to demonstrate your craftsmanship, know that with the help of DRAWings PRO Embroidery Software, the possibilities are endless.


You can download the .DRAW file of the project, for free, from the link below:
- Project’s .DRAW file: Fringe Flowers T-Shirt Design
It can open only with the XI and later versions of DRAWings embroidery software
Check also, our related projects “DIY Drawstring Backpack with Applique Decoration“, “How to Make a Detachable Collar with an Embroidered Monogram” & “HOW TO MAKE A BEAUTIFUL RABBIT KEY COVER FROM SCRATCH” & “DIY: HOW TO MAKE A CUSTOM GLASSES CASE WITH YOUR OWN DESIGN“
Remember, DIY projects are all about creativity and adaptability, so don’t hesitate to experiment and make the drawstring backpack truly your own. Happy crafting!