How to craft a Realistic Rope and Nautical Monogram
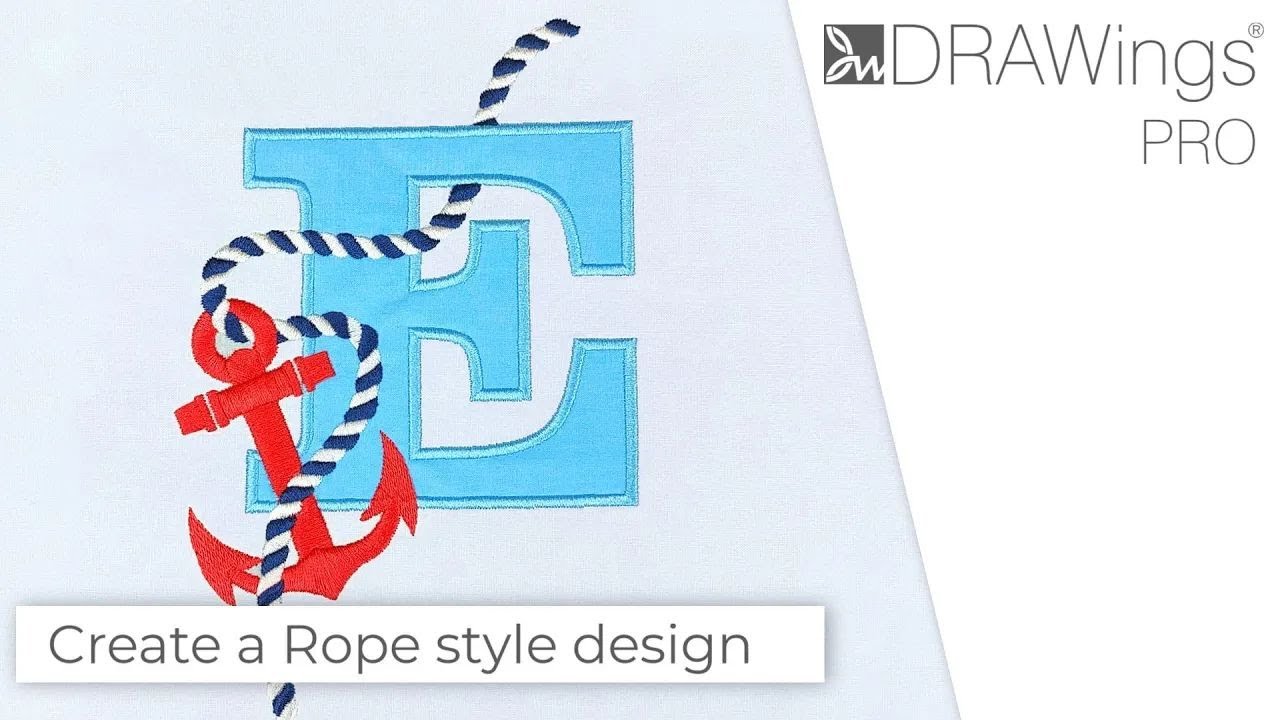
This step-by-step guide shows how to digitize a convincing rope texture in our embroidery software. Starting with a simple rectangle, you’ll learn to convert it to curves, add smooth “S” bends, and clone the segment along straight and curved paths with the Array tool. Precise node editing, rotation, and spacing adjustments ensure a seamless twisted-strand effect.
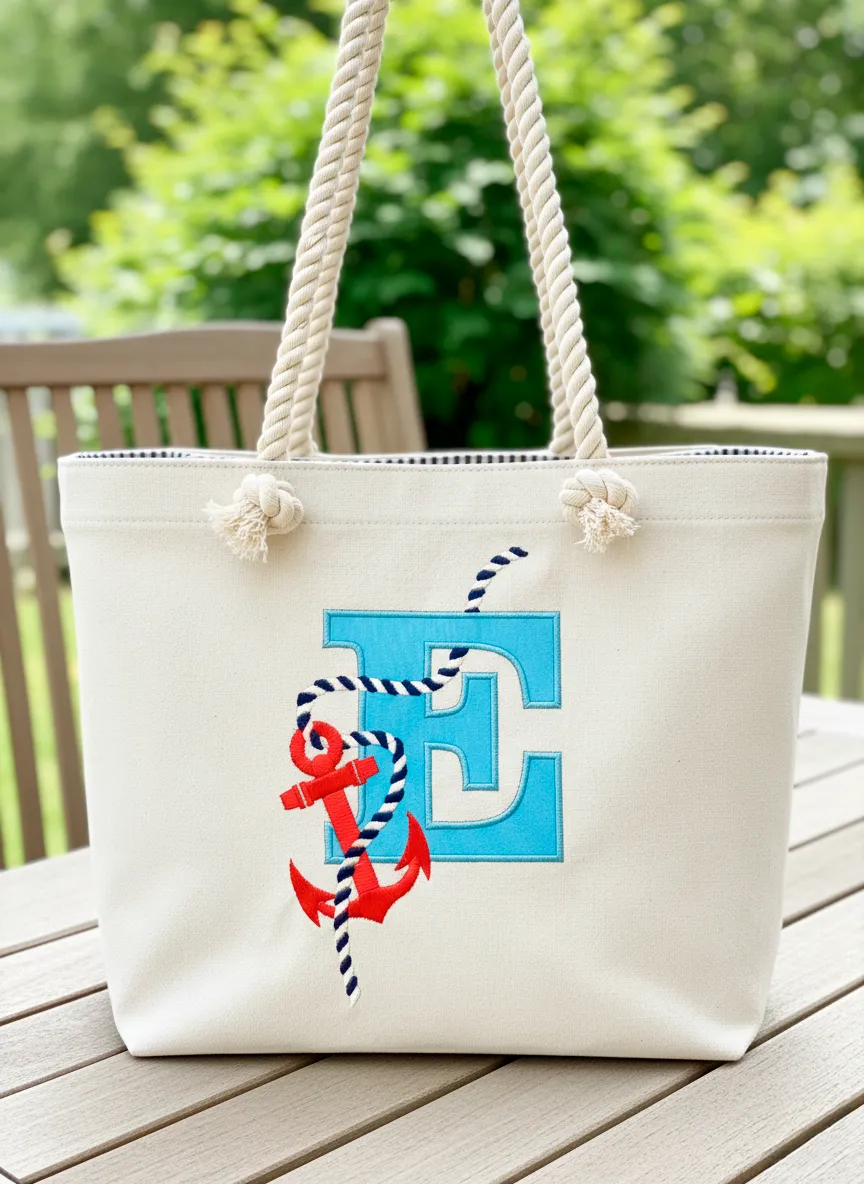
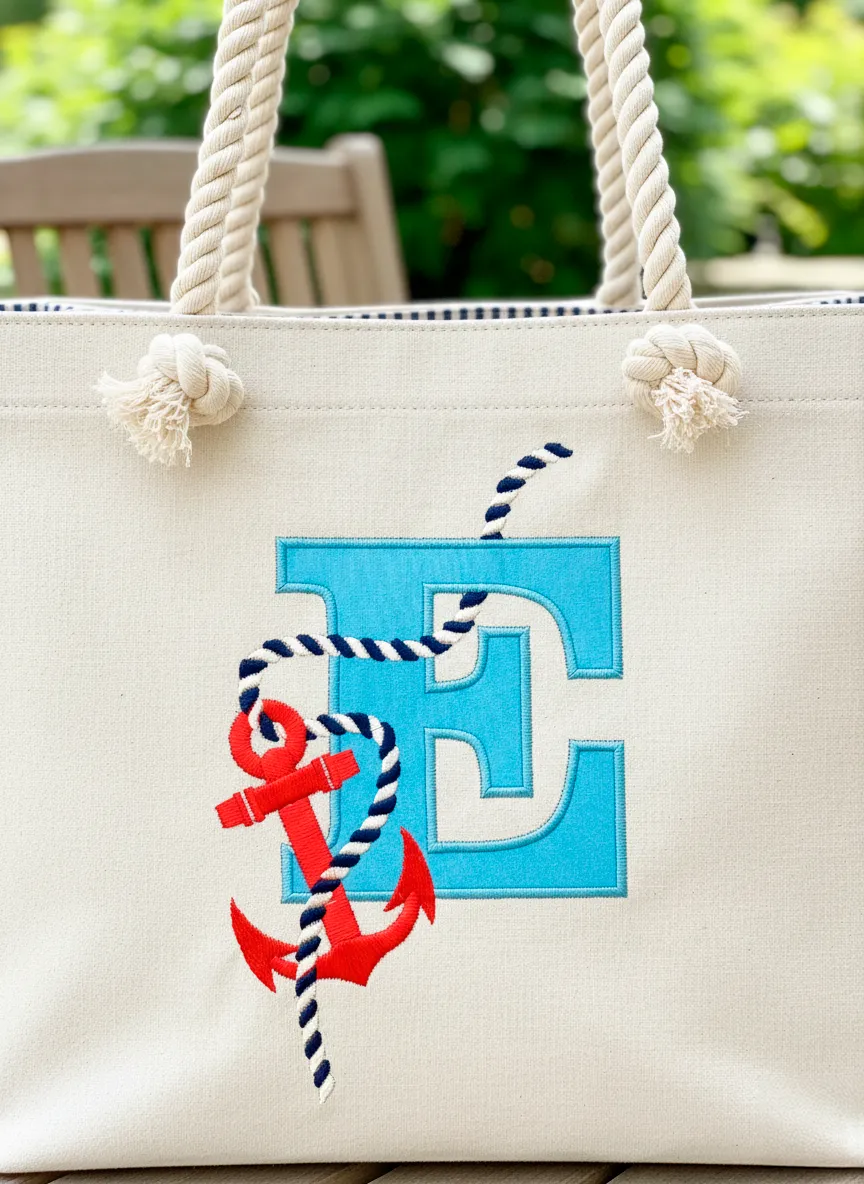
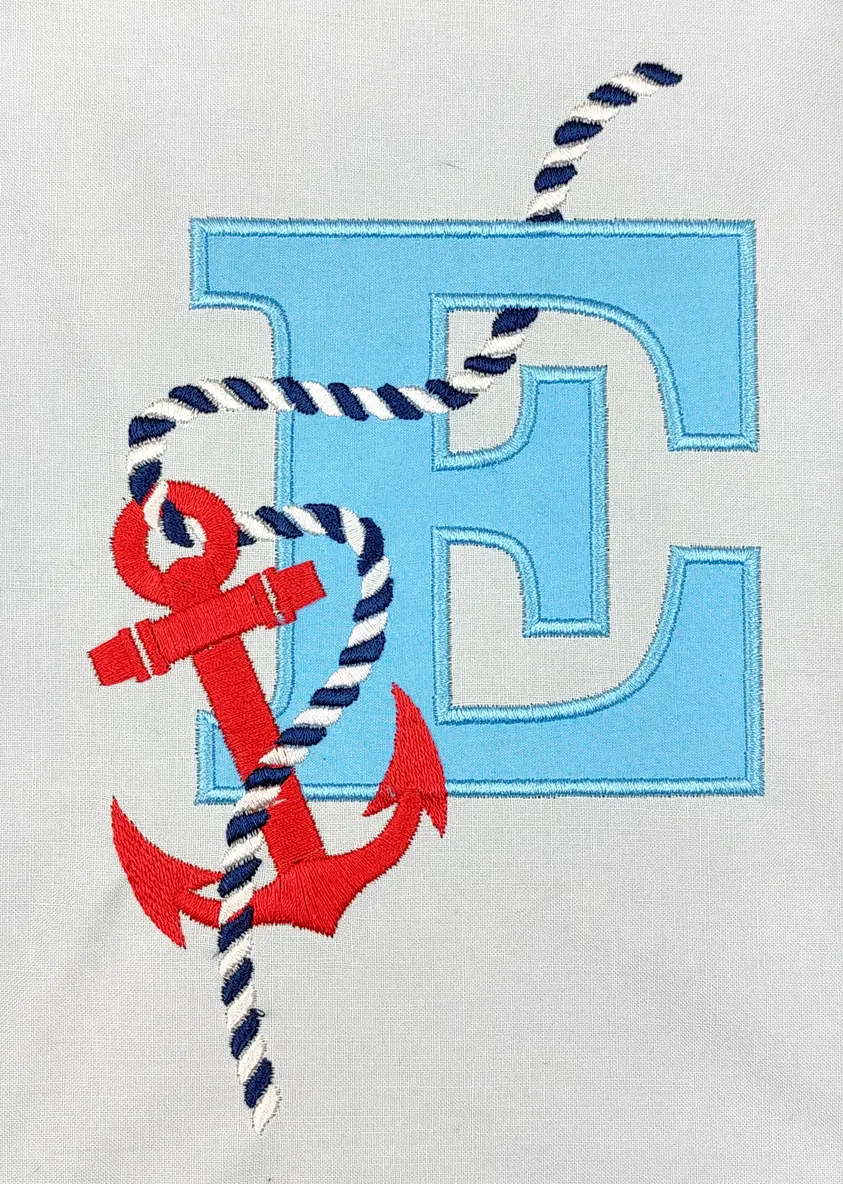
The tutorial then applies the rope around a monogrammed letter and anchor clip-art, demonstrating color separation, stitch-sequence optimization, and overlap management for clean, efficient sewing. A live machine run concludes the lesson, so you can preview the full embroidery process before stitching your own nautical design.
Why Simulated Rope Matters
Rope is familiar, tactile, and immediately communicates marine style. Translating that texture into stitches turns a flat embroidery object into something you can almost feel. When the individual strands look like they twist around a central core, the file acquires depth without extra thread changes or specialty materials.
In DRAWings PRO the effect is achieved by cloning a simple base shape, arranging the clones along a path, and letting the software keep every instance in sync while you refine only once. That process not only accelerates design time but also guarantees uniformity—crucial for an element that repeats dozens of times inside the hoop.
Designing the Base Cord
Everything starts with a modest rectangle: 5 mm wide by 9 mm high. Setting exact numbers matters because every subsequent clone inherits those proportions. Converting the rectangle to curves frees each corner for node editing, something you will need at several points in the project.
Skewing the shape gives it a slight diagonal that hints at motion. On the obtuse (wider) top and bottom corners, convert the nodes to Smooth so the software introduces Bézier handles and removes the angular feel. The result is a proto-strand—still rigid but already leaning in the direction the final rope will follow.
Adding the Natural Twist
Real cord never runs perfectly straight; an “S” curve down the sides provides that authentic wiggle. Insert one node on each long edge, close to the two cusp nodes at the narrow ends. Convert both new nodes to Auto-smooth so their handles remain symmetrical. Nudge them toward the rectangle’s center in 0.1 mm increments (Shift + Arrow key) until the outline gains a gentle waist. These micro-moves are small enough to preserve symmetry while shifting control points in unison.
Why fuss over 0.1 mm? Because a rope is visually unforgiving—any lopsided bend will repeat the mistake across the entire line. A precise nudge eliminates the cumulative drift you often notice only after several dozen repeats.
Mapping the Repeat along a Path
With a single strand finished, draw the path that will carry it. The first demonstration uses a straight line just to showcase alignment mechanics. Before selecting the line, confirm that Edit ➜ Add new objects as clones is active. Every copy will then link back to the base, acting like a live preview of future edits.
Shift-click the path and the strand, then right-click to open Array ➜ Create outline from shapes. DRAWings PRO duplicates the shape along the path and handles positioning. Internally, the software records two critical parameters: Item Rotation (set here to 20°) and Spacing (set to −4 mm). Rotation orients each clone to hug the path; spacing controls overlap. A negative number pulls the shapes together, producing the interlocked pattern that sells the “rope” illusion.
Fine-Tuning Spacing and Rotation
A rigid 20° rotation works for straight lines, but curved paths need gentler angles to avoid visual gaps or excessive overlap. Later in the project you will drop Item Rotation to 10° when mating the strand with a freehand curve. That small change distributes the twist more evenly along tighter bends.
Spacing also adjusts. −4 mm groups clones densely enough for straight runs, yet the same distance on a tight curve can choke the stitches. A quick experiment with −3.5 mm maintains continuity without overcrowding. Because the clones update instantly, you can slide the spacing value and judge the effect in real time.
Building Flexible Rope Variations
A true rope library contains multiple curves, loops, and even knots. To prove how flexible one base strand can be, draw a curved line with Digitize ➜ Freehand. Shut down irregular points by removing spare nodes, then convert the survivors to Auto-smooth. The cleaned curve now serves as the host path for the original strand. Again, Array ➜ Create outline from shapes applies the clones—but this time with the revised 10° rotation and −3.5 mm spacing.
Because every cloned object references the single parent strand, refine that parent to change thickness, add or subtract curvature, or experiment with satin widths. Every tweak instantly propagates along every rope in the file. That is the chief benefit of cloning: global edits at local effort.
Marrying Rope with a Monogram
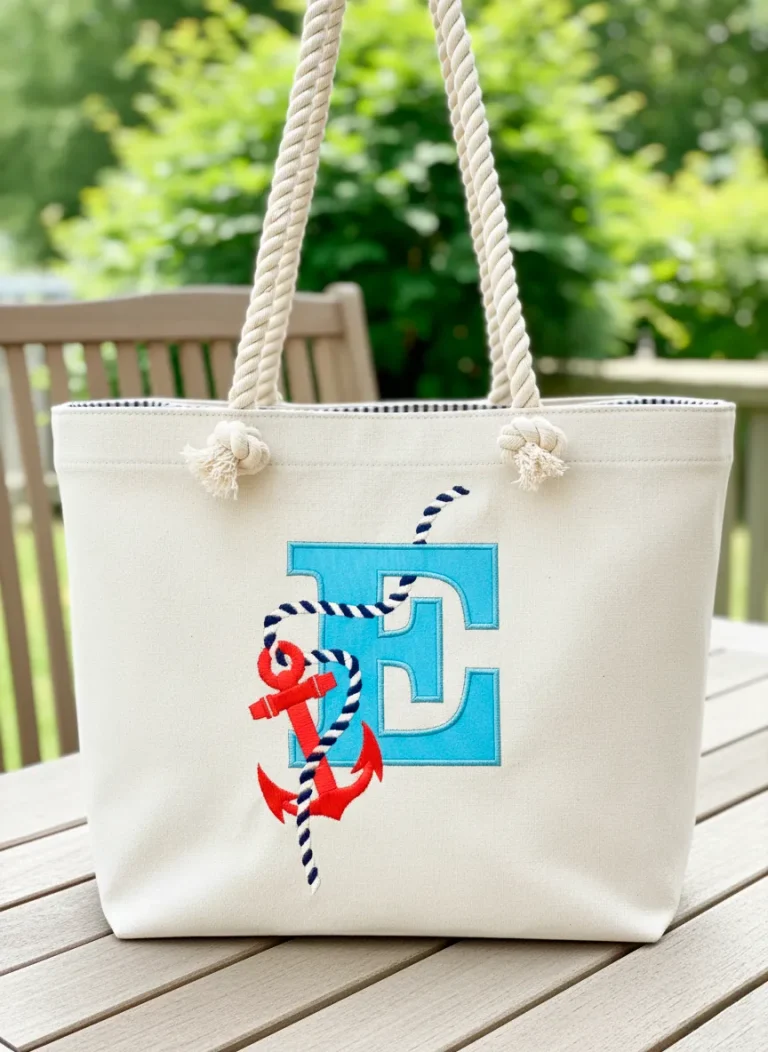
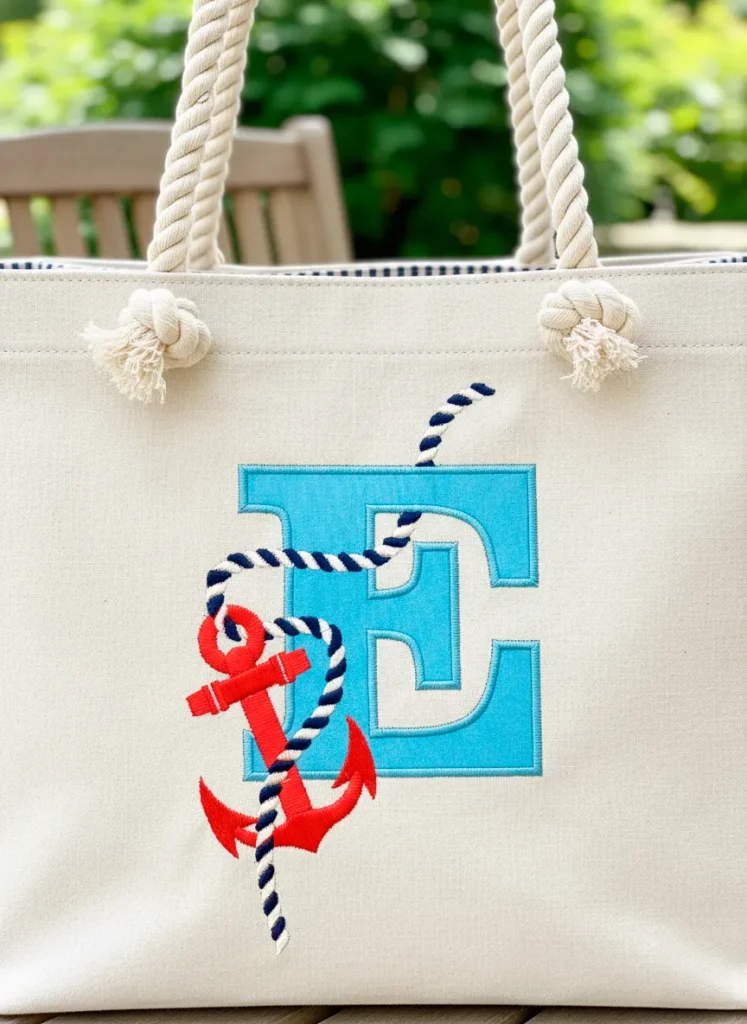
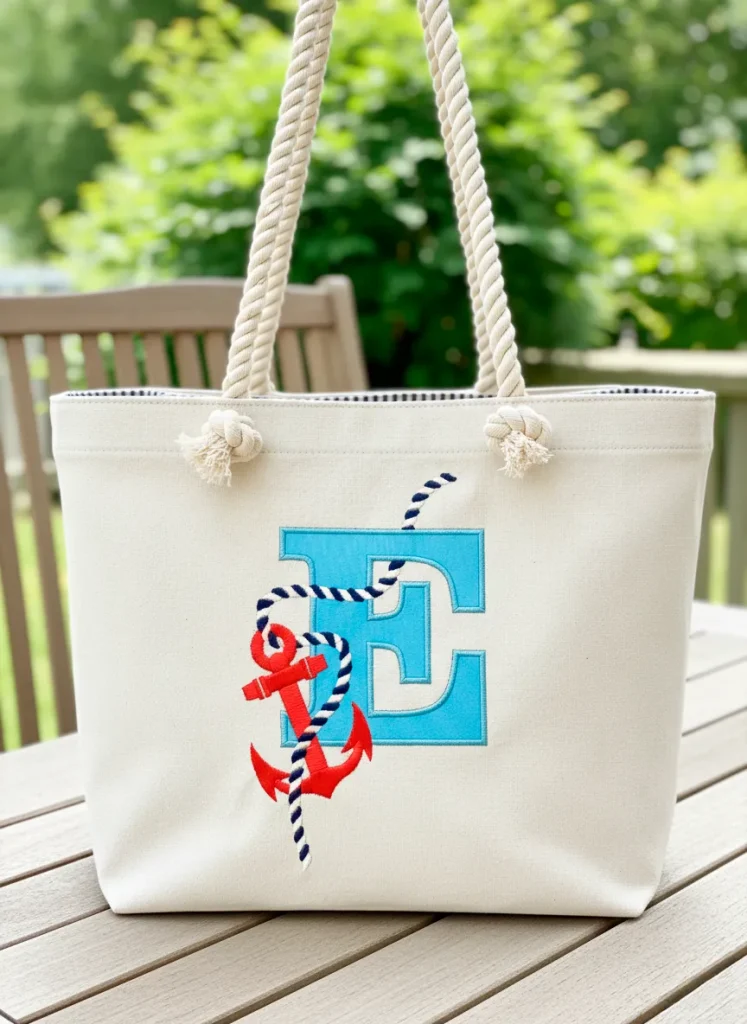
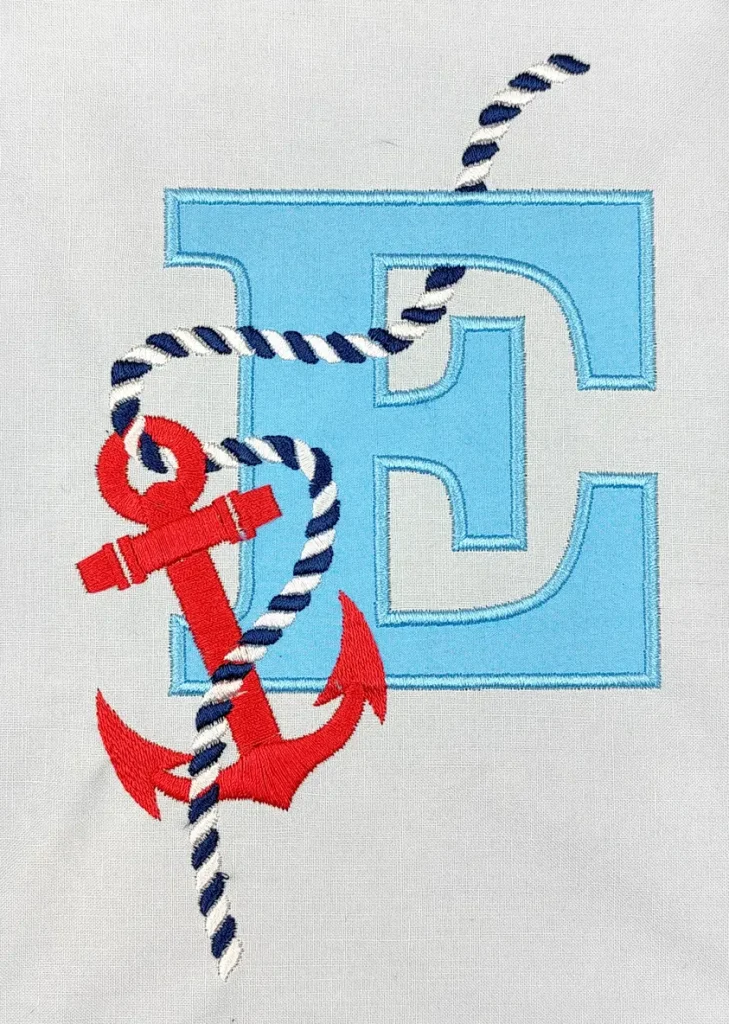
The ultimate goal is a nautical emblem that combines rope, a capital letter, and an anchor. Start Lettering and pick font XPG 133 at 150 pt. A sans serif face keeps needle travel predictable and leaves enough negative space for decorative elements. Center the letter inside the hoop, switch its Fill to Appliqué, and choose Fix Satin as the cover stitch. Assign a placeholder color—it helps separate foreground from background while you juggle object order.
Clipart adds context without forcing you to redraw from scratch. Insert Anchor06, rotate it, and park it in the lower-left quadrant of the letter. The anchor and the rope will cross; consciously planning this intersection now avoids a later tangle in the sequence list.
Color Planning for Two-Tone Cables
A navy-white rope adds contrast and keeps the palette anchored in maritime tradition. Achieve that by separating the straight-line rope you built earlier into ordinary objects (Properties ➜ Separate to objects). Ungroup until only individual clones remain.
Delete all but two adjacent shapes, then remove their outlines. Keep one pure white, color the other navy. Re-select them plus the guide path, and use Array ➜ Create outline from shapes a second time. Because the white and navy shapes alternate in the source pair, the whole rope inherits an ABAB color cycle.
Spacing may need another small tweak, so slide the value until the colors touch without overlapping. Once satisfied, separate the outline again and detach clones. You now own individual blocks, free to nudge one if it crowds the appliqué edge.
Sequencing for Smooth Runs on the Machine
Embroidery machines dislike rapid color changes scattered throughout a design. Unfortunately, the current sequence alternates blue and white through the entire rope. Fix it by choosing Color Manager ➜ Right-click white ➜ Select by color. All white shapes highlight together. Scroll to the first white object, right-click, and pick Join together. DRAWings PRO consolidates them in the object list, clustering whites in one uninterrupted block. Repeat for blue. The result reduces spool swaps from dozens to two.
Next, control object depth. The rope should dive behind the letter in strategic spots and thread through the anchor ring. Ungroup the rope, delete any segments that must hide, and let Manual Mode rearrange layer order. Moving elements in a 2-D list is quicker than re-digitizing 3-D overlaps and preserves registration.
Final Checks and Slow Redraw
The Remove overlaps flag is a hidden hero. For the rope, set it to Never; you don’t want the software to punch holes where one color crosses another, because the gaps would break continuity. On the anchor’s central circle, flip Remove overlaps to Always so the letter’s satin doesn’t pile stitches beneath metal parts. Slow Redraw then simulates needle entry and exit, highlighting jump stitches and any under-travel still lurking. Many designers use this view as a last safety net before exporting to machine code.
Taking It to the Hoop
With the file complete, the machine starts by stitching objects that sit furthest back: deleted rope segments, hidden anchor details, or background tatami if you added it. Next comes the appliqué placement run. This line shows where fabric goes and acts as a cut guide later. Tacking follows, locking the fabric in place, after which you trim excess and jump to satin coverage. Because appliqué fills soak up color quickly, they keep run time low without sacrificing screen presence.


The anchor embroiders next, then the full block of white rope clones, then the blue clones. Consolidating colors earlier now proves its worth: one stop for white, one for blue. The machine finishes by stitching any overlapping anchor segments you moved to the foreground, sealing the illusion that the rope threads behind solid metal.
Conclusion
Developing a convincing rope motif in DRAWings PRO hinges on three ideas:
- Build one carefully sculpted base shape.
- Clone it along any path with intelligent rotation and spacing.
- Use color strategy and sequence control to tame stitch count and machine stops.
Every numeric choice in this exercise—5 × 9 mm, 20° rotation, −4 mm spacing, plus the later 10°/−3.5 mm combo—maps directly to the garment under your needle. Adjust them and you adjust both aesthetics and efficiency. What begins as a rectangle grows into a twisting cord, then threads through a monogram and anchor in a design that balances realism with stitch economy. The next time you need a rope, whether for a regatta logo or coastal gift line, reach for these numbers. They already speak the language of your software, and they will speak just as clearly in thread.
Happy crafting and don’t forget to share your creations with us in the
DRAWings PRO Help Group!
You can download the .DRAW file of the project and the image used, for free, from the link below:
- Project’s .DRAW file: How to craft a Realistic Rope and Nautical Monogram
It can open only with the XI and later versions of DRAWings embroidery software
Share your experiences in our Facebook group, and don’t forget to subscribe to our blog for more innovative embroidery techniques and inspiration.
Frequently Asked Questions
Check also, our related projects
How to Modify Built-In Fonts into Custom Designs: Dripping Halloween Lettering
Every embroidery program ships with fonts that are already digitized. They stitch cleanly, and they are also the same fonts everyone else has.Digitizing a Knockout Layered Varsity Monogram with Nested Script Lettering
Layering script text over a bold collegiate letter is a staple in team apparel, varsity jackets, and custom fleece.How to Embroider a Photo onto a T-Shirt with PaintStitch™ and Sketch
A favorite vacation photo does not have to stay on your phone or disappear into a folder. With DRAWings PRO embroidery software, you can turn a photo into an embroidery design and stitch it onto a T-shirt as a wearable keepsake.