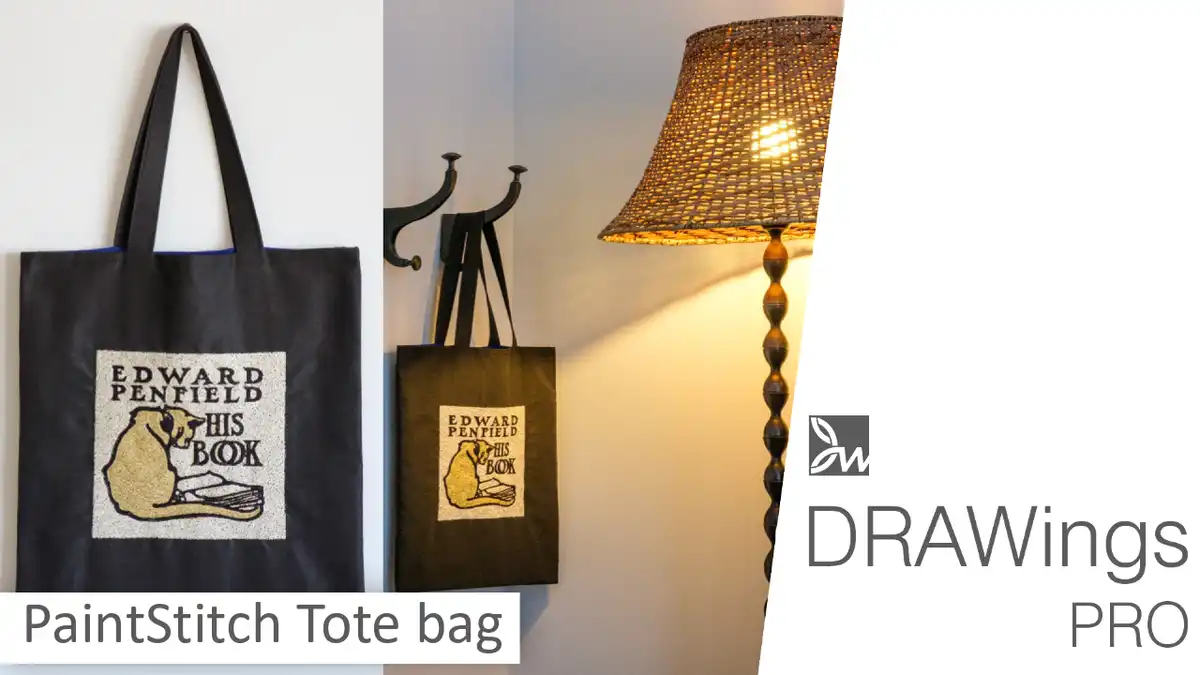
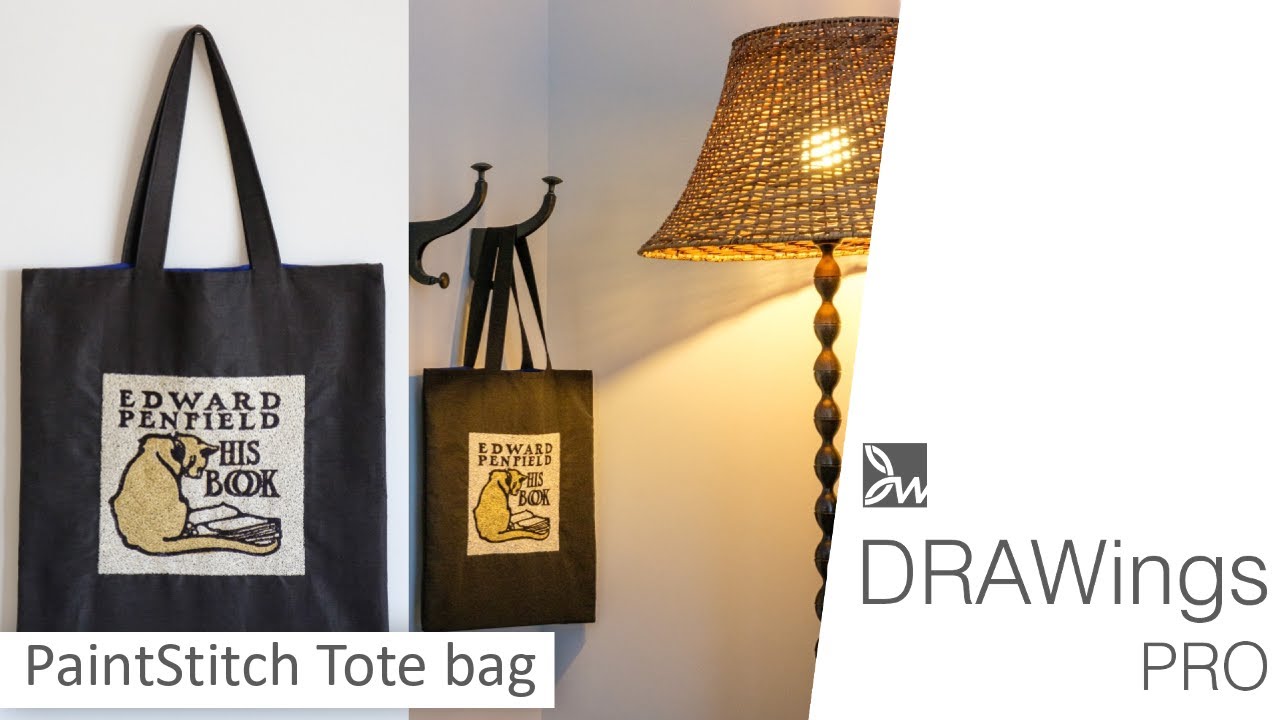
Create a beautiful PaintStitch tote bag
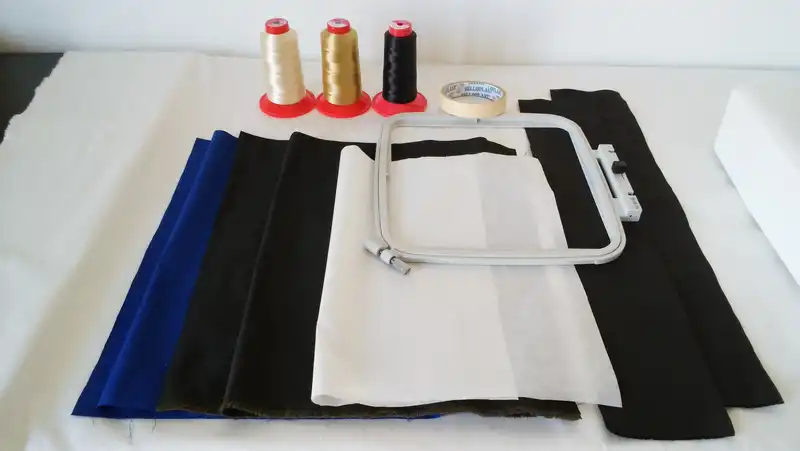
In this video we will show you how to create a PaintStitch tote bag. We will simply start with an image which we will convert into a PaintStitch design, which in turn will be embroidered and sewn into a nice tote bag!
We will simply start with an image which that we will convert into a PaintStitch design, which in turn will be embroidered and sewn into a nice tote bag! First, define the “machine” and the “hoop” you are going to use for your design. Then select a “Fabric”. Remember that the settings can be changed during the design creation as well.
Create new PaintStitch design
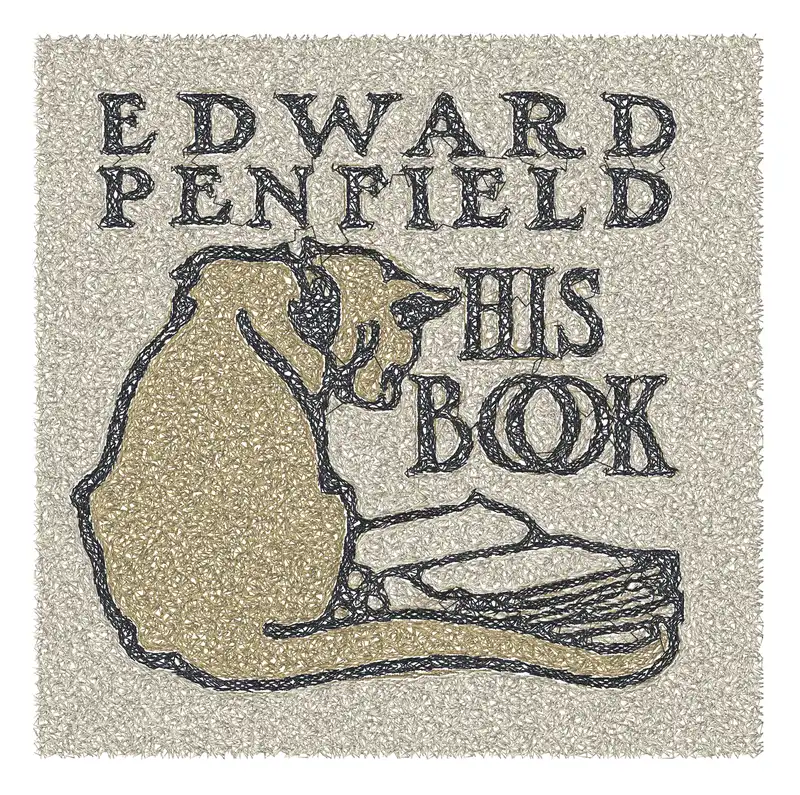
Use “Open” option to locate and open the image you want to convert into PaintStitch. From the image handling options select “Open as PaintStitch”. Set the width and height within 190mm by 190mm so that the design fits in the selected hoop. Click OK and the image will be converted into PaintStitch and displayed in the design window.

Adjust PaintStitch design
Our PaintStitch design is now ready and we can fine-tune it by adjusting the preferences. For example let’s reduce the number of colors and select a thread manufacturer palette according to the threads you already have available.
When you are happy with the design, using the “machine icon” on the top toolbar make sure that the design is centered on the hoop. Then using any of the export options send the design to your machine. Notice that it is always a good practice to make a printout of the design at real-size scale (100%). You may also cut the printout around the design and use that to hoop the fabric in the correct position.
Embroider – sew out the design
Mark the center of your outer fabric Draw a horizontal line on the fabric and use this line to align the design horizontally to the fabric. Place the printed design on the embroidery area of the fabric and pin it. Get the fabric into the hoop. Place the stabilizer behind the fabric and hoop them using the printed design as a guide.
Turn on the machine and open the design. Set the bobbin and the thread to be used first on the machine and attach the hoop to the sewing machine.
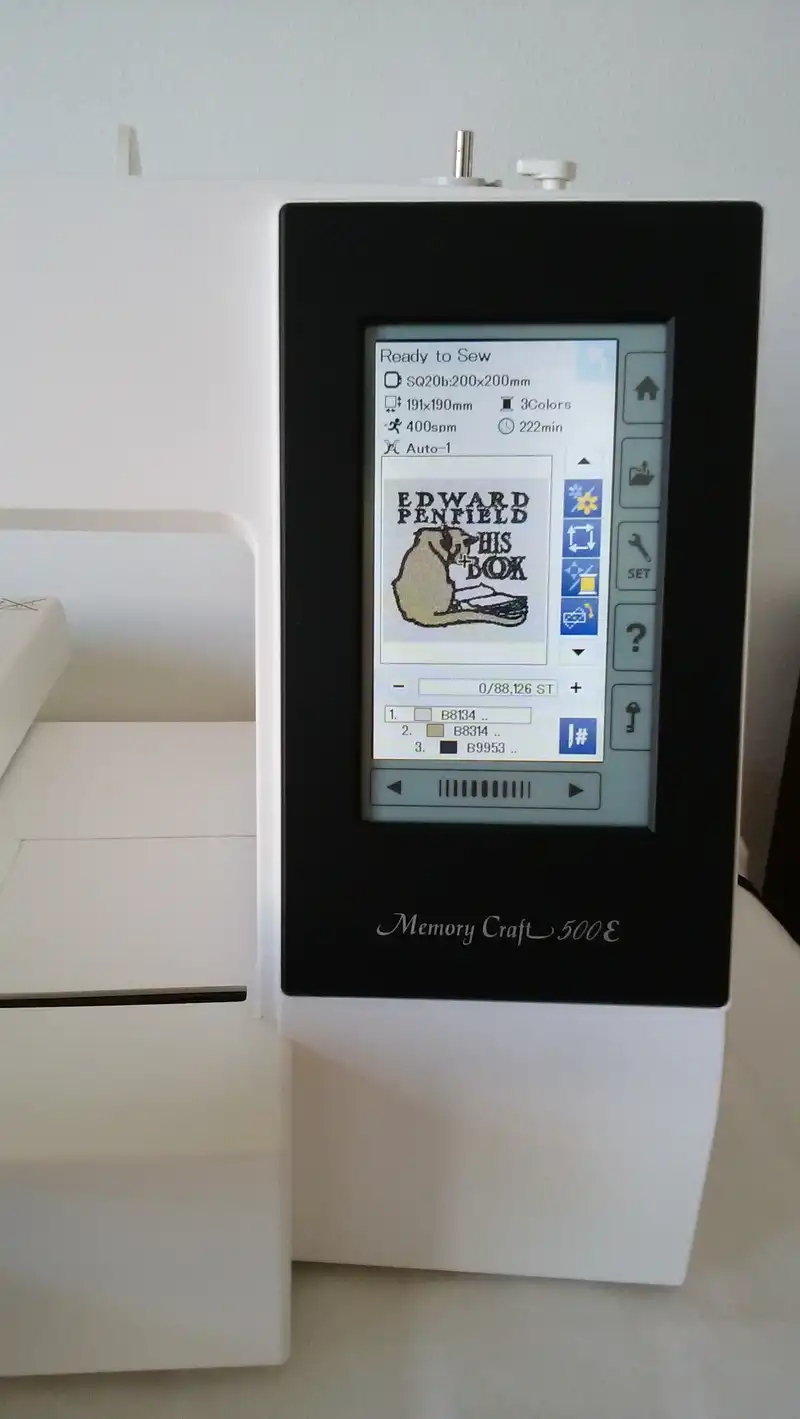
Lower the foot of the machine and press the start button to start embroidering. Continue by changing the threads on your machine proceeding with the next colors.
When the PaintStitch is complete, remove the hoop from the machine, remove the fabric from the hoop and gently pull out the stabilizer. The PaintStitch design is now embroidered on the outer fabric.
Create the actual PaintStitch tote bag
To create the handles, fold the fabric for the handle in half, then fold both ends along the center line. Then fold in half again at the center line. By using the iron, for this procedure, you will create neater handles. Sew both edges of the handles and fold the fabric in half to mark the center of the fabric.
Mark 5 cm to the left and right from the center of the outer fabric and pin the handles to a position 1 cm passed the edge of the front fabric. Sew across the handle ends to attach about 5mm away from the top edge of the fabric. Align the front of the outer fabric with the front of the lining and pin them together.
Sew both sides of the top with a 1cm seam allowance. Align the seams, open the seam allowance and pin it. Align the rest side of the fabric and then pin it. On one side of the lining, around the middle, mark a part of 15cm which should be left open. This hole will allow you to bring the inside out.

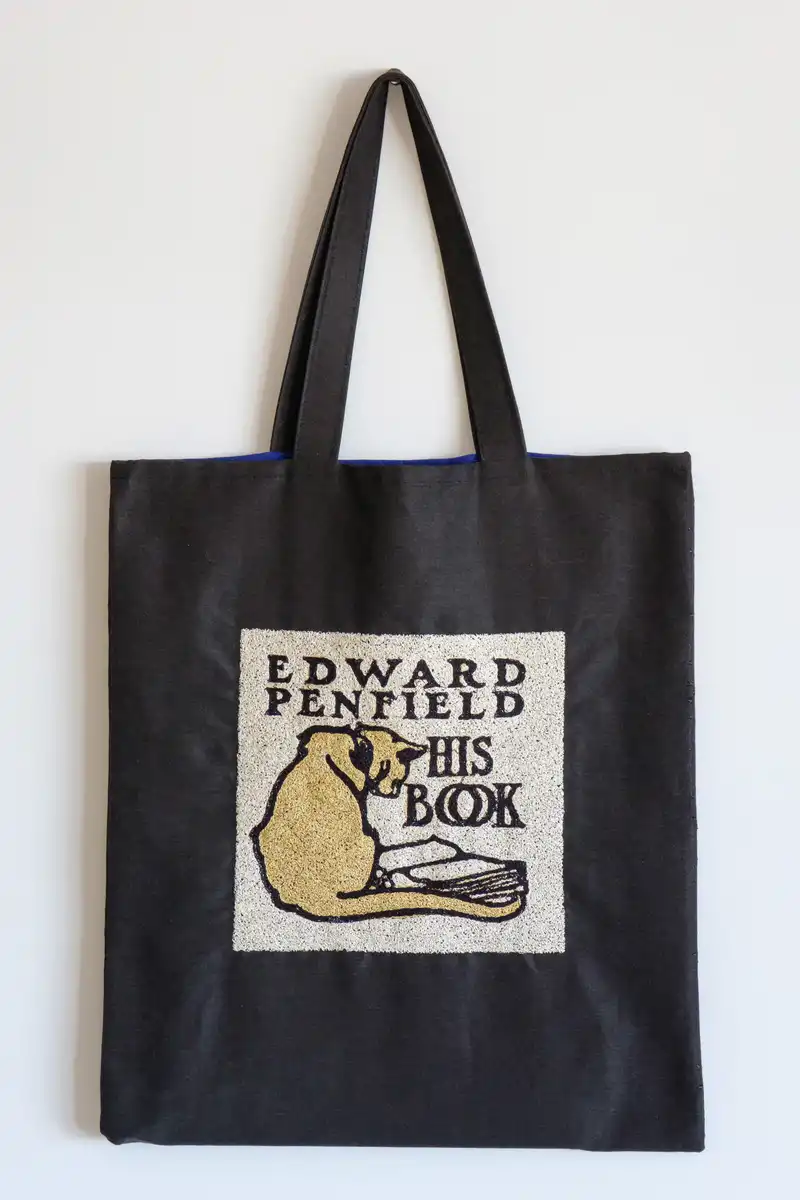
Sew both sides with one cm seam allowance by making sure that you don’t sew on top of the part you have marked on the one side of the lining. Bring the front side of the bag out from the open part and sew the unsewn part of the lining. Tuck away the lining neatly inside the bag. and you may also, iron the bag for a crisp look. Stitch around the mouth of the bag for better finishing and you are ready. Enjoy your new tote bag!

You can download the .DRAW file of the project, for free, from the link below:
- Project’s .DRAW file: PaintStitch tote bag
It can open only with the latest version of DRAWings embroidery software
Check also, our related project “How to make a drawstring bag, how to label and decorate it“