How to Create Realistic Fur Texture in Your Embroidery Designs
Embroidery has evolved far beyond simple monograms and basic decorative stitches. Today’s digitizers and embroidery enthusiasts push the boundaries of what’s possible with thread and fabric, creating designs that rival the complexity and beauty of fine art. One of the most challenging yet rewarding techniques to master is creating realistic fur texture in embroidery designs.
The key to achieving convincing fur texture lies in understanding how real fur behaves and translating those characteristics into embroidery terms. Real fur has depth, irregularity, and movement. It catches light differently across its surface, has varying densities, and never follows perfectly straight lines. When we attempt to recreate these qualities in embroidery, we must think beyond simple fill patterns and embrace the sophisticated tools available in modern embroidery software.
Understanding the Foundation: Building Volume with Applique
The foundation of any successful textured embroidery begins with proper planning and layering. When creating fur texture, the first consideration is establishing volume and dimension. This is where the Applique Fill technique becomes invaluable.
Applique serves as the base layer that provides the essential volume needed for fur texture to read convincingly. Without this foundation, even the most sophisticated fill patterns will appear flat and unconvincing. The applique layer acts as a raised platform that elevates subsequent layers, creating the dimensional quality that makes fur appear to have actual depth.
When working with applique as a foundation, the outline is typically removed to avoid competing visual elements. The applique should match the exact shape of your design, as it will determine the final silhouette. This base layer also provides structural support for the more complex textural elements that will be added on top.
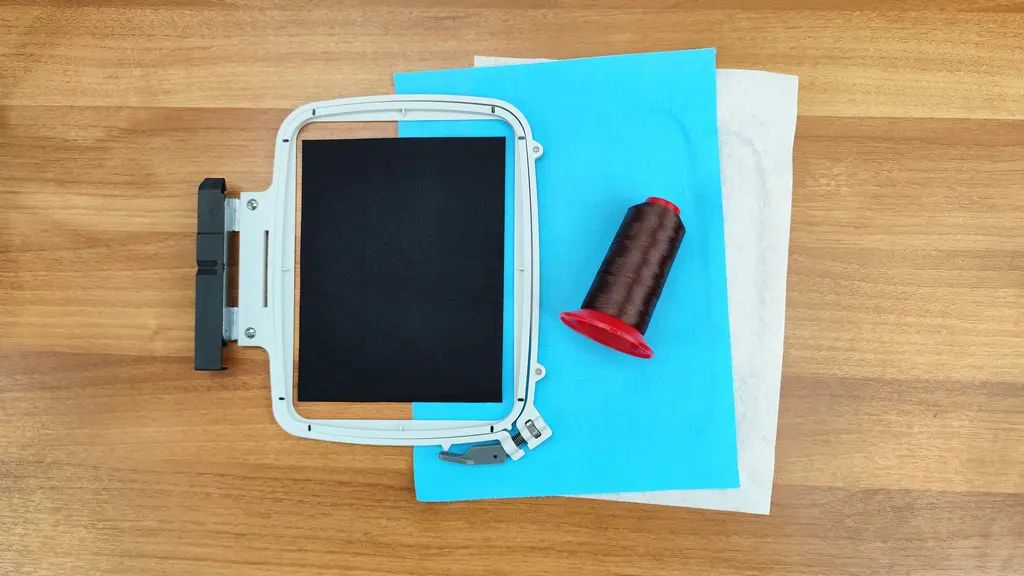
The choice of applique material matters significantly in the final result. Felt works particularly well for fur applications because it has a natural thickness that enhances the dimensional effect. The color of the applique fabric should complement your thread colors – choosing a felt that closely matches your fur color ensures that if any of the base material shows through the thread coverage, it will blend seamlessly rather than create unwanted contrast.
The Art of Layered Fill Patterns
Once the foundation is established, the magic of fur texture begins with the strategic layering of fill patterns. The Step Fill combined with specialized stitch types creates the basic texture that suggests fur, but the real sophistication comes from understanding how to combine multiple layers effectively.
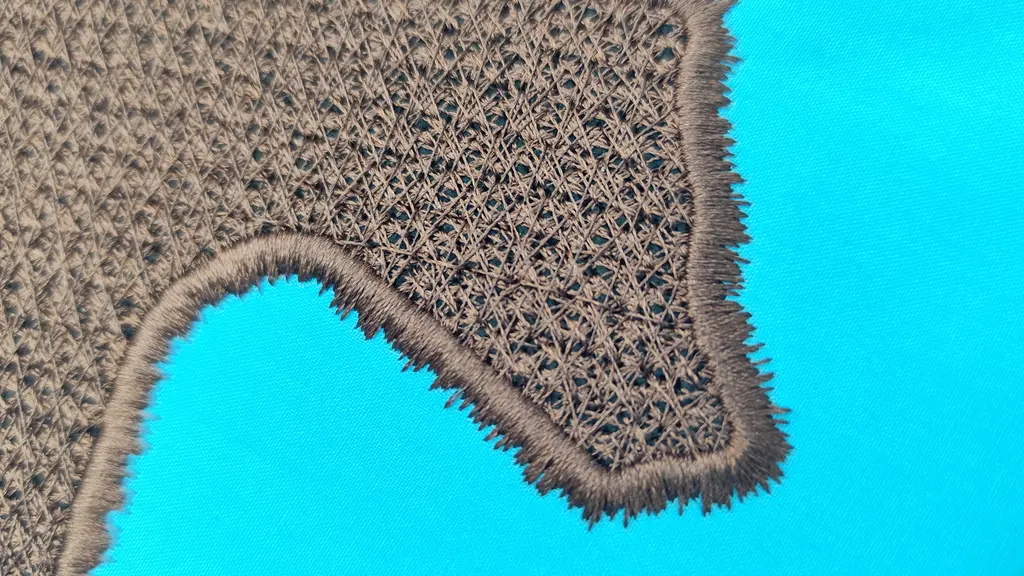
The Bouclette2 stitch type serves as an excellent starting point for fur texture because it naturally creates loops and irregularities that mimic the way individual fur fibers catch light and create shadow. This stitch type has built-in variation that prevents the mechanical look that can plague embroidery designs. When combined with pattern R5, the irregularity increases dramatically, moving the texture away from geometric precision toward organic randomness.

The density setting plays a crucial role in achieving the right balance. A density value of 5 creates a rich, full texture without becoming so dense that it loses definition. This setting allows individual stitch characteristics to remain visible while still providing good coverage. The key is finding the sweet spot where the texture reads as full and lush without becoming muddy or losing its textural interest.
Setting Remove Overlaps to Never is a technical detail that proves crucial for maintaining the integrity of your layered approach. This setting ensures that each layer maintains its independence, preventing the software from automatically combining or modifying layers in ways that might compromise the carefully planned texture buildup.
Creating Natural Variation Through Strategic Duplication
The second layer of fill pattern represents where technique becomes artistry. By duplicating the initial textured layer and modifying its parameters, you create variation that mimics the natural inconsistency found in real fur. This approach acknowledges that fur is never uniform – it has areas of different lengths, densities, and directions that create visual interest and authenticity.
When duplicating the pattern layer, changing the color during the design process helps track different layers and their effects. This working method prevents confusion and allows for precise control over each element. The decision to uncheck the density setting and return to auto-calculated values for the second layer creates natural variation in coverage. The software’s automatic calculations often produce slightly different results than manual settings, and this variation becomes a design asset rather than a limitation.
Adjusting the length value to 4mm for the second layer introduces another level of variation. This creates the effect of having fur of different lengths, which is exactly what occurs in nature. Short and long fibers intermingle, creating depth and preventing the uniform appearance that marks amateur digitizing.
Directing the Flow: The Power of Stitch Direction
Stitch direction might be the most underutilized tool in creating convincing texture. The Stitch Flow tool allows you to guide the direction of your fill patterns in ways that follow natural forms and create organic movement. This technique transforms mechanical-looking fills into textures that seem to grow naturally from the shape they’re covering.
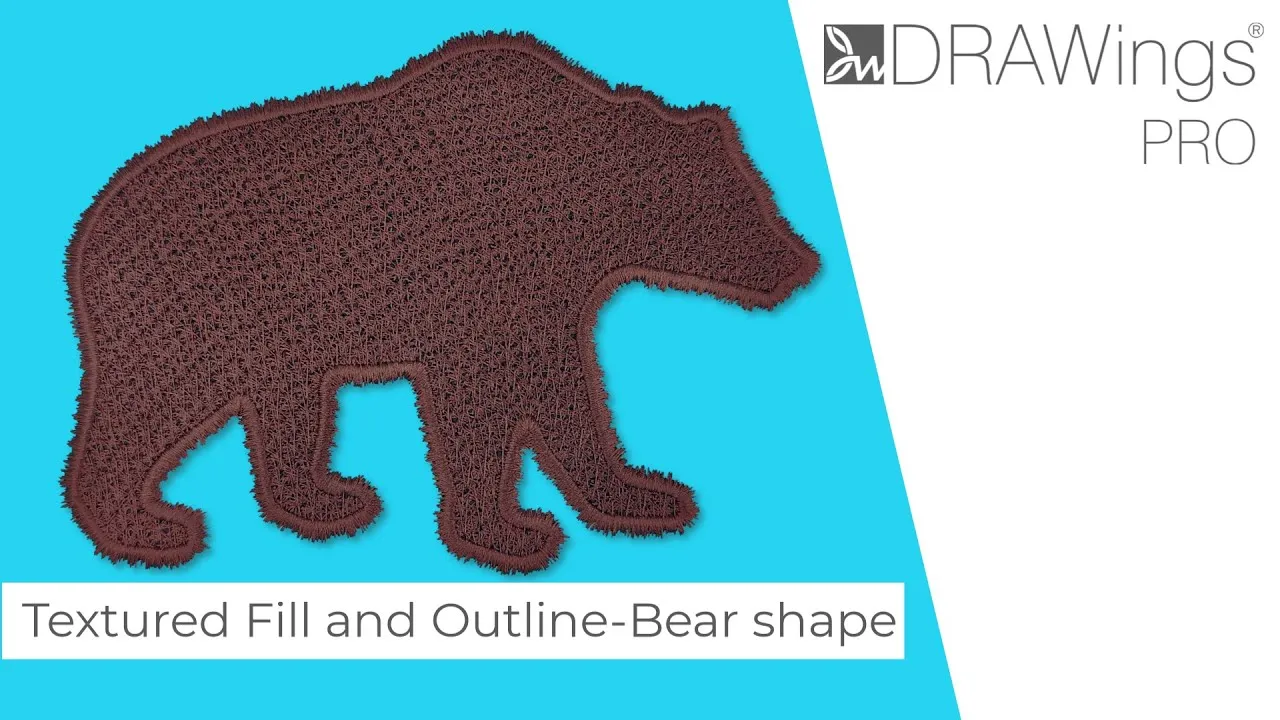
When working with curved shapes like animals, the stitch direction should follow the natural contours of the form. For a bear’s back, the stitches should curve along the spine, creating the impression that the fur grows in a natural direction. This attention to direction adds authenticity that viewers may not consciously notice but will definitely feel.
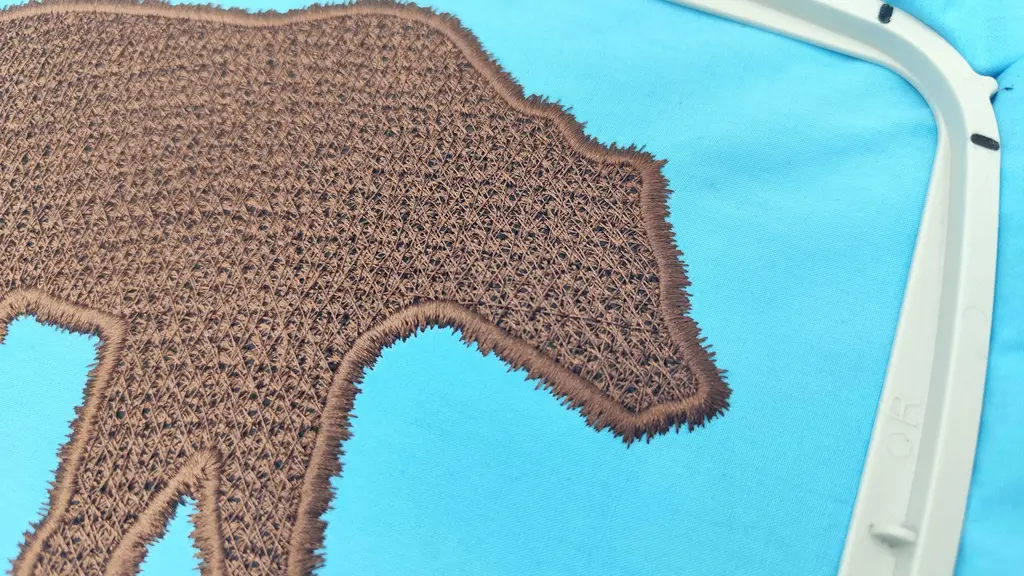
The ability to adjust curvature allows for fine-tuning that can make or break the illusion. Too much curvature can look artificial, while too little fails to capture the natural flow. The goal is to create direction that feels inevitable – as if the fur could grow no other way given the shape of the underlying form.
Contrasting directions between layers adds another dimension of realism. Real fur rarely grows in perfectly parallel lines. There are always areas where the grain changes, where fur grows at different angles, or where natural cowlicks create directional shifts. By applying different directional flows to different layers, you recreate this natural variation.
The Hide Selected feature becomes essential when working with multiple layers that need different directional treatments. This tool allows you to focus on individual layers without the visual distraction of other elements, ensuring that each layer receives the attention it deserves.
The Finishing Touch: Random Satin Outline
The outline treatment can make or break a textured embroidery design. A hard, perfect outline will immediately destroy the illusion of organic texture, while a well-executed random outline enhances the natural quality of the fill work.
The Satin serial outline provides the coverage and smoothness needed for a professional finish, but it’s the random percentage setting that transforms it from mechanical to organic. A 30% random setting introduces enough irregularity to suggest the natural edge variation found in real fur without creating chaos or losing the definition needed for a clean design.
The choice of which side receives the random treatment requires consideration of the design’s context. Setting the randomness to Side A (the outside edge) creates irregularity where it will be most visible and effective. This decision ensures that the random variation enhances the fur illusion rather than creating unwanted roughness on edges that should remain clean.
The width setting of 3.8mm provides sufficient coverage to frame the textured fills while remaining proportional to the overall design. This measurement works well for most applications, but understanding the relationship between outline width and design scale allows for appropriate adjustments when working with different sized designs.
Color Management and Visual Cohesion
The final step in creating convincing fur texture involves unifying the various layers through strategic color management. While working with different colors during the design process helps track layers and their effects, the final design requires careful color coordination to achieve the desired result.
The Color Manager tool provides the control needed to assign appropriate colors to different layers while maintaining the ability to make adjustments as needed. This stage is where the design transforms from a technical exercise into a unified artistic statement. The colors chosen should work together to enhance the textural illusion rather than competing for attention.
Understanding how different thread types interact with light becomes important at this stage. Some threads have more sheen than others, and this characteristic can be used to enhance the textural effect. Threads with slight sheen can simulate the way light catches on fur, while matte threads can provide depth and shadow areas.
From Digital Design to Physical Reality
The transition from digital design to actual embroidery requires understanding how the techniques translate to real thread and fabric. The applique process begins with positioning stitches that mark where the felt will be placed. This step is crucial for alignment and ensures that the dimensional foundation is correctly positioned.
The felt color choice becomes critical during actual production. Selecting felt that closely matches the thread color ensures that any areas where the base material shows through will blend seamlessly with the overall design. This attention to detail separates professional results from amateur attempts.
The trimming process requires patience and precision. Removing excess felt while preserving the exact shape requires sharp scissors and careful attention to the tack-down stitch lines. This step directly affects the final appearance, as any irregularities in the felt cutting will be visible in the finished embroidery.
Troubleshooting Common Challenges
Creating realistic fur texture presents several common challenges that digitizers must anticipate and address. Thread tension issues can cause loops or gaps in the textured areas. Understanding how to adjust machine settings to accommodate dense, layered fills prevents production problems.
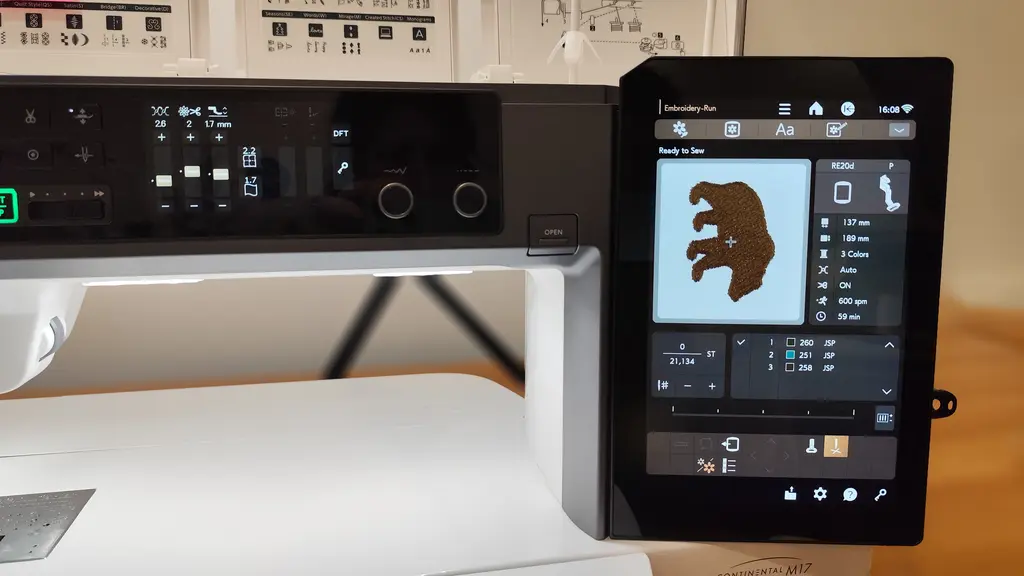
Fabric choice significantly impacts the final result. Stable fabrics that don’t stretch or distort during embroidery maintain the design integrity, while unstable fabrics can cause registration problems between layers. The stabilizer choice must support the density and complexity of the layered fills without adding unwanted stiffness.
Thread selection affects both the appearance and the embroidery process. Threads with too much stretch can cause problems with the specialized stitch types used for texture, while threads that are too stiff may not create the desired textural effects. Testing different thread types during the design development process helps identify the best options for each specific application.
Advanced Techniques and Variations
Once the basic fur texture technique is mastered, numerous variations become possible. Different stitch types can create different fur characteristics – longer pile, shorter nap, or even the appearance of wet or matted fur. Understanding the relationship between stitch type and visual effect opens up possibilities for more sophisticated applications.
Combining fur texture with other embroidery techniques creates opportunities for complex designs that showcase multiple textile qualities within a single piece. The key is understanding how different techniques interact and ensuring that each element supports the overall design rather than competing for attention.
Color gradation within the fur texture adds another level of sophistication. By carefully varying thread colors across different layers or different areas of the same layer, you can create the appearance of natural color variation, shadows, or highlighting that enhances the three-dimensional illusion.
Conclusion: Mastering the Art of Textile Illusion
Creating realistic fur texture in embroidery represents the intersection of technical skill and artistic vision. The techniques involved require understanding both the capabilities of modern embroidery software and the fundamental principles of how texture creates visual impact. Success comes from patience, attention to detail, and willingness to experiment with different approaches.
The layered approach described here provides a foundation for creating convincing fur texture, but the real mastery comes from understanding why each step contributes to the final result. When digitizers understand the reasoning behind each technique, they can adapt and modify the approach to suit different applications and achieve different effects.
The investment in learning these techniques pays dividends beyond single projects. The principles of layering, direction control, and strategic variation apply to many other textural challenges in embroidery. Understanding how to create one type of convincing texture provides the foundation for developing techniques for other materials and surfaces.
As embroidery technology continues to evolve, the possibilities for creating sophisticated textures will only expand. The digitizers who master these foundational techniques will be best positioned to take advantage of new capabilities and push the boundaries of what’s possible in embroidered textile art.


Happy crafting and don’t forget to share your creations with us in the
DRAWings PRO Help Group!
You can download the .DRAW file of the project and the image used, for free, from the link below:
- Project’s .DRAW file: How to Create Realistic Fur Texture in Your Embroidery Designs
It can open only with the XII and later versions of DRAWings embroidery software
We’d love to see your embroidered creations! Share your finished scalloped napkins with our community and don’t forget to follow us for more inspiration and tutorials that help you get the most from your embroidery software.
Share your experiences in our Facebook group, and don’t forget to subscribe to our blog for more innovative embroidery techniques and inspiration.
Check also, our related projects
How to Digitize a Freestanding Lace Spider Web
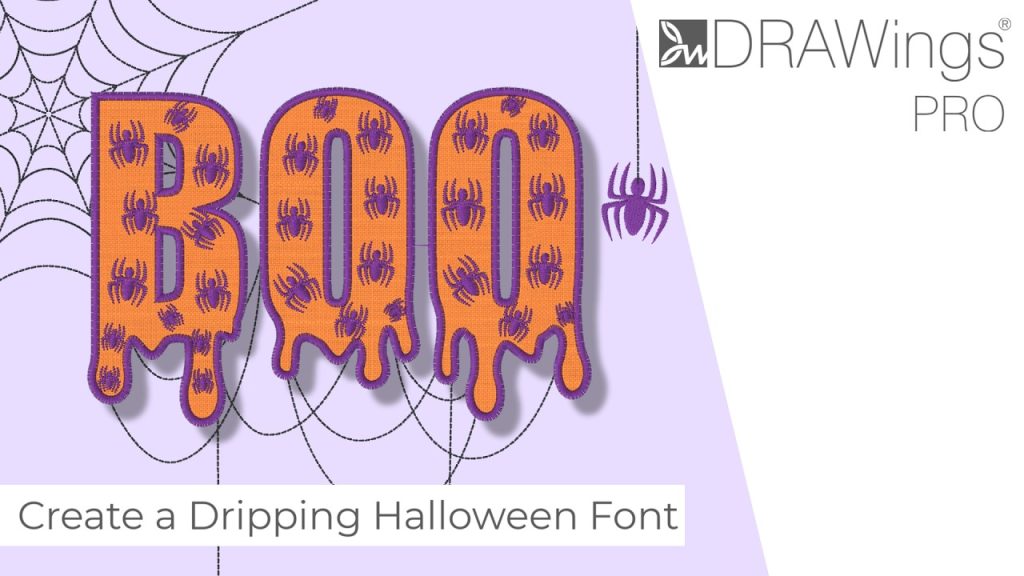
A spider web looks simple: a circle, some lines running out from the center, and a few curved lines connecting them. That simplicity is why it works well as a digitizing exercise in DRAWings PRO embroidery software.How to Modify Built-In Fonts into Custom Designs: Dripping Halloween Lettering
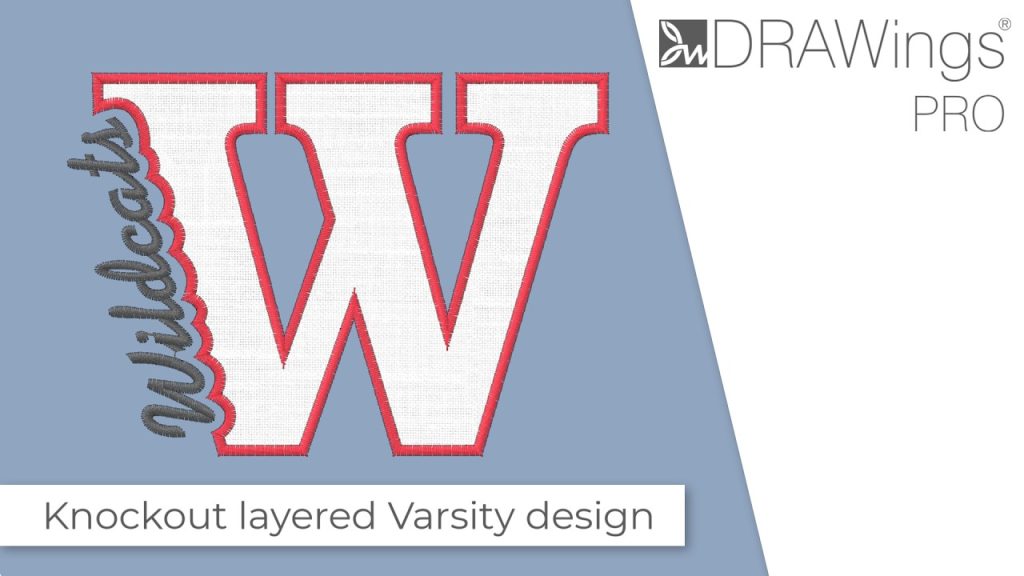
Every embroidery program ships with fonts that are already digitized. They stitch cleanly, and they are also the same fonts everyone else has.Digitizing a Knockout Layered Varsity Monogram with Nested Script Lettering
Layering script text over a bold collegiate letter is a staple in team apparel, varsity jackets, and custom fleece.