DIY Shooting Star Place Cards: Embroidery & Paper Craft Tutorial
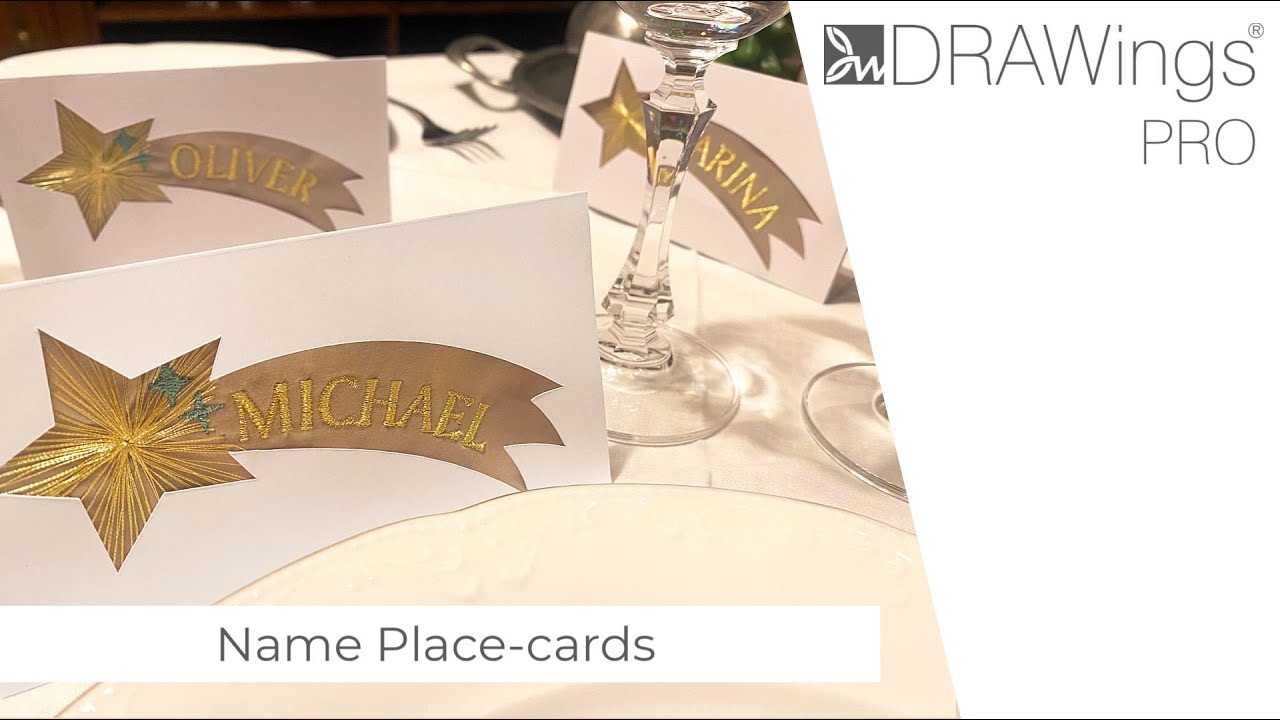
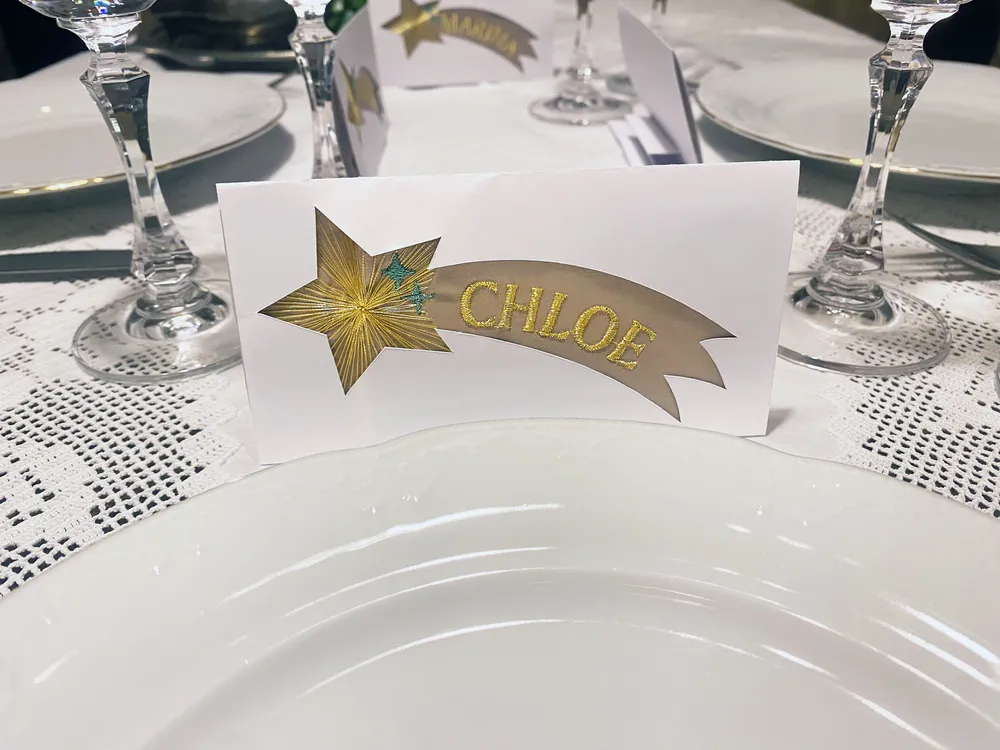
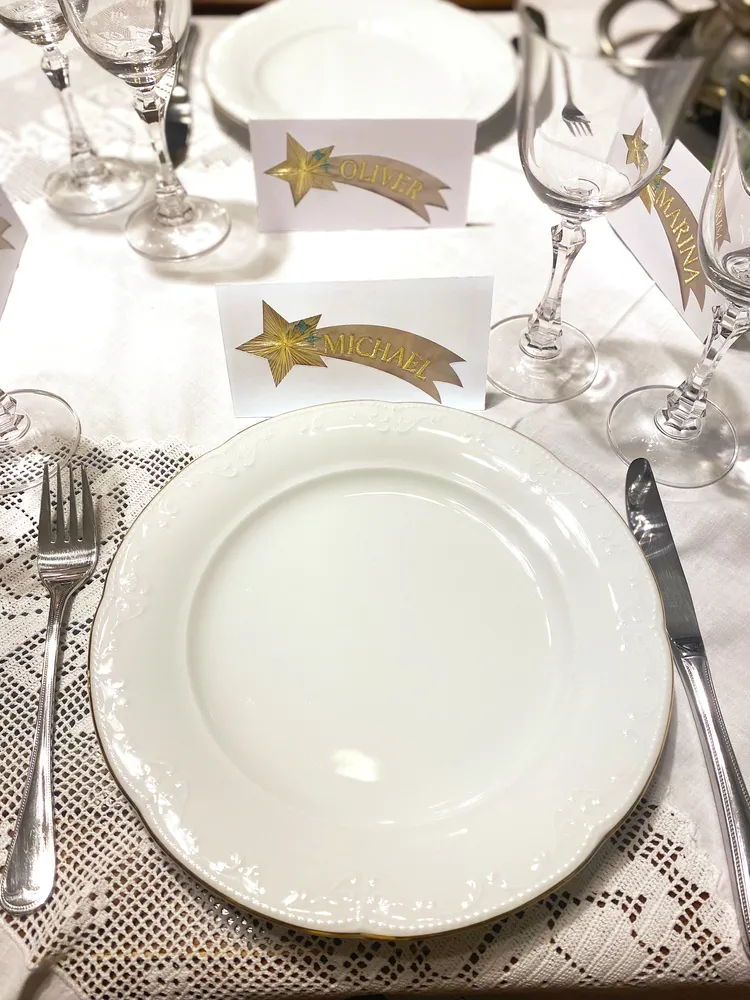
The holiday season calls for personal touches that make guests feel welcome, and nothing achieves this quite like handmade place cards. This tutorial combines the precision of DRAWings PRO’s cutting features with embroidery to create shooting star place cards where each guest’s name appears embroidered through a star-shaped window in folded paper.
Setting Up Your Paper Base
Start by enabling the Cut Technique in your Workspace through the Technique icon. This ensures DRAWings PRO recognizes which elements will be cut rather than stitched.
Create a rectangle using the Shapes menu and set its dimensions to 140mm by 210mm (approximately 5.5 by 8.5 inches) in the Selection pane. Center this in your hoop and remove the fill color, then set the outline to Cut from the Outline Properties. This forms your main paper card that will fold into a standing place card.
The size matters here because it provides enough surface area for the card to stand properly while leaving room for the embroidered design. Removing the fill ensures you’re working with just an outline that your cutter can follow.
Defining the Embroidery Zone
Next, draw a second rectangle measuring 140mm by 75mm (5.5 by 3 inches). This smaller rectangle marks where your embroidery will sit. Set the X axis to 0 to align it with the base center, then position it below the middle by setting the Y axis to -37.5mm.
Remove the fill color and apply an Outline Offset of -2mm. This offset creates a small buffer between where you’ll cut and where you’ll stitch, preventing the embroidery from getting too close to the paper edge. This cutting allowance is essential because it accounts for slight variations in hoop placement and ensures your embroidered fabric fits properly behind the cutout.
Creating the Star Window
Draw a star shape from the Shapes menu while holding the Ctrl key (Cmd on Mac) to maintain proportional dimensions. In the Selection pane, set the number of rays to 5 and check the Proportional box. Set the width to 50.0mm and adjust the Start angle to 110 degrees to give it a slight rotation. Position this star in the upper left corner of your embroidery rectangle.
Now use the digitizing tool to add a comet tail extending from the star. Press Shift when adding nodes to create cusp nodes where you need sharp direction changes. Once you’ve drawn the basic tail shape, start the Node editor and select the top-right node. Press the + key twice to insert two evenly spaced nodes, then convert them to cusps. Shape the curve to resemble a glowing comet trail flowing across your design.
The shooting star effect is what makes these place cards memorable. The tail provides visual movement and gives you a natural path for the guest’s name to follow.
Preparing the Cut and Embroidery Elements
Duplicate the star shape. Select both the duplicated star and the tail you just created, then use the Weld option from the Shaping menu. This combines them into a single shape. Remove the fill color and set the outline to Cut. This welded shape will create the window in your paper card where the embroidered star shows through.
Return to your original star, which will become the embroidered element. Remove its outline color and set the fill to Satin with a density of 2.00mm. Edit the fill color to your preference, then select Stitch Flow and check Point Directions. Add a point in the center of the star to create a radiating stitch effect that makes the star appear to glow. Remove any short or long stitches that might disrupt the smooth appearance.
Scale this embroidered star slightly larger than the cutout by dragging the scale handles while holding Shift. This ensures the embroidered star extends beyond the paper window, eliminating any gaps when you assemble the card. You can add extra sparkle by placing star symbols from the Wingdings 2 font as decorative elements around your main design.
Adding Personalized Names
Start the Lettering tool to add your first guest’s name. Set the starting point next to the star. Use capital letters and select font xpg001 at size 17.0. Under Placement options, choose “On arc” with Center Text alignment. Adjust the arc’s control handles so the name follows the natural flow of the comet tail.
This curved text placement transforms a simple name into part of the shooting star design. The arc creates visual harmony and makes each card feel like a complete artistic piece rather than just a label. Set a color for the name that complements your embroidery thread choices.
Sequencing for Production
Switch to manual mode to check your embroidery sequence. The order matters significantly for professional results. Move the rectangle border before the other embroidery parts because you’ll use it as a positioning stitch. Duplicate this rectangle and change its outline color to serve as a tack-down stitch. These two stitches work together: the first shows you where to place your fabric, and the second secures it to the stabilizer so nothing shifts during embroidery.
To create place cards for multiple guests, select the embroidery parts and right-click to access the Name Drop option. A dialog box appears with your current name. Press Enter and type each additional guest name on a new line. When you press OK, DRAWings PRO automatically generates a complete design for each name and inserts stops between them so you can change hoops for each card.
Review each design individually. You can hide other groups while editing one, making it easier to focus. Adjust font sizes for longer names to ensure they fit well within your design. This automation saves significant time compared to manually recreating the design for each guest.
Creating the Stand Mechanism
Your paper card needs to stand upright on the table. Draw a vertical line approximately 35mm tall and place it slightly under the top edge by setting the X axis to -35mm and the Y axis to 75mm. Duplicate this line and set its X value to 35mm to create a mirror image on the right side. Set both outlines to Cut.
Move these slot lines before the cutting rectangle base in your sequence, and place the star outline after them. This cutting order ensures clean results because the machine cuts the slots before removing the outer card shape, maintaining paper stability throughout the cutting process.
Preparing Your Materials
If you have a digital cutter, export your design through the Export to Cutters option and select your machine. If you’re cutting by hand, use the Print Artwork option from the File menu. Remove embroidery from the print items since you only need the cutting template. This printout guides your manual cutting with scissors or a craft knife.
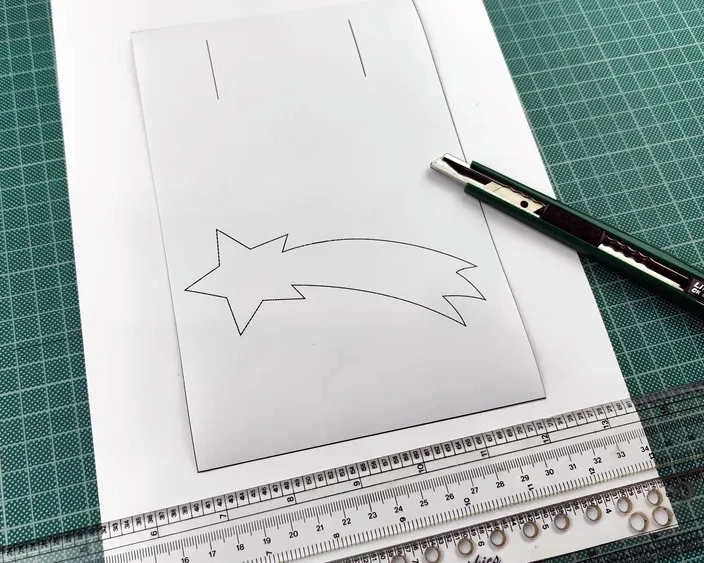
Set your paper on the cutting mat and process it through your cutter. Once cut, fold the paper vertically in half, then fold 3cm from each open edge. These folds create flaps that slide through the slots you cut earlier, allowing the card to stand upright.
Embroidering Your Designs
Select an appropriate hoop for your embroidery parts and export the design for your machine. Hoop a single layer of stabilizer and prepare your fabric with iron-on backing. This backing prevents the fabric from puckering and provides stability for detailed stitching.

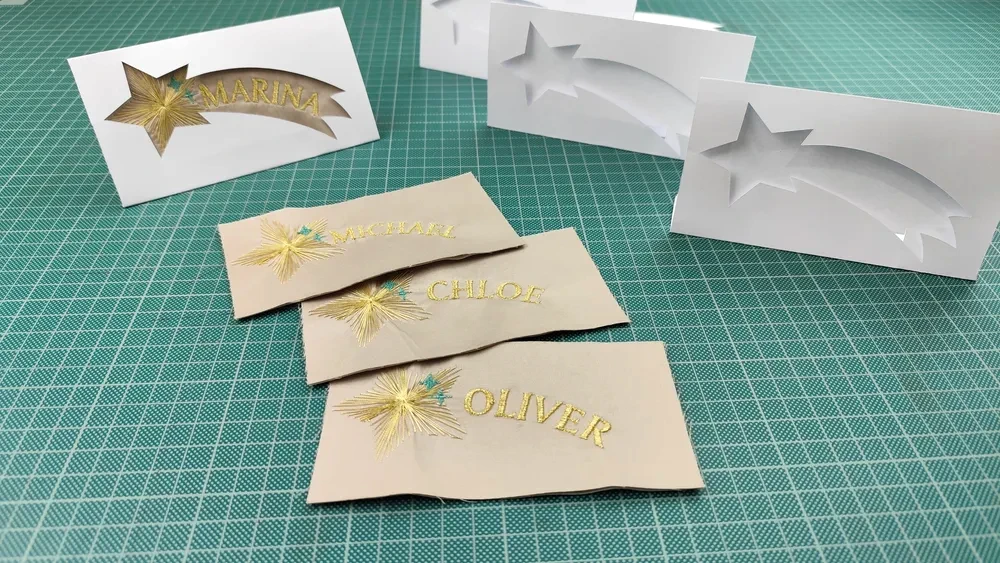
Load the design and start embroidering. The positioning stitch stitches first, showing you exactly where to place your fabric. Lay the fabric on top and continue with the tack-down stitch. Metallic threads work particularly well here for festive shimmer. The machine then embroiders the star, the name, and finally the decorations. When finished, it stops automatically so you can prepare the next hoop.
Assembly
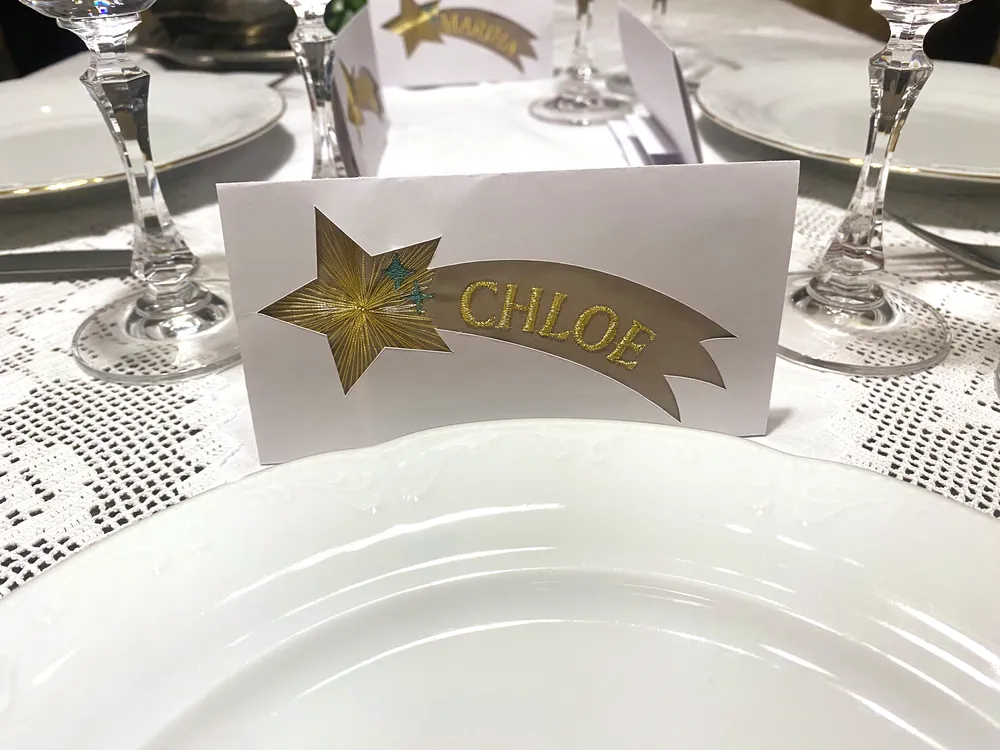
Cut the embroidered fabric along the border stitch and press it gently to remove any wrinkles. Position it behind the star cutout in your folded paper card and secure it with small pieces of double-sided tape. The embroidered star shines through the window, with the guest’s name flowing across the design like a genuine shooting star.
These place cards combine the technical precision of embroidery software with the warmth of handmade paper crafts. Each card takes time to create, but that investment shows your guests they’re valued. The combination of cut paper and embroidered fabric creates dimensional interest that printed place cards simply cannot match, and the automated name drop feature makes producing multiple cards far more manageable than starting from scratch each time.

Happy crafting and don’t forget to share your creations with us in the
DRAWings PRO Help Group!
You can download the .DRAW file of the project and the image used, for free, from the link below:
- Project’s .DRAW file: DIY Shooting Star Place Cards: Embroidery & Paper Craft Tutorial
It can open only with the XII and later versions of DRAWings embroidery software
Share your experiences in our Facebook group, and don’t forget to subscribe to our blog for more innovative embroidery techniques and inspiration.
Frequently Asked Questions
Check also, our related projects
How to Modify Built-In Fonts into Custom Designs: Dripping Halloween Lettering
Every embroidery program ships with fonts that are already digitized. They stitch cleanly, and they are also the same fonts everyone else has.Digitizing a Knockout Layered Varsity Monogram with Nested Script Lettering
Layering script text over a bold collegiate letter is a staple in team apparel, varsity jackets, and custom fleece.How to Embroider a Photo onto a T-Shirt with PaintStitch™ and Sketch
A favorite vacation photo does not have to stay on your phone or disappear into a folder. With DRAWings PRO embroidery software, you can turn a photo into an embroidery design and stitch it onto a T-shirt as a wearable keepsake.