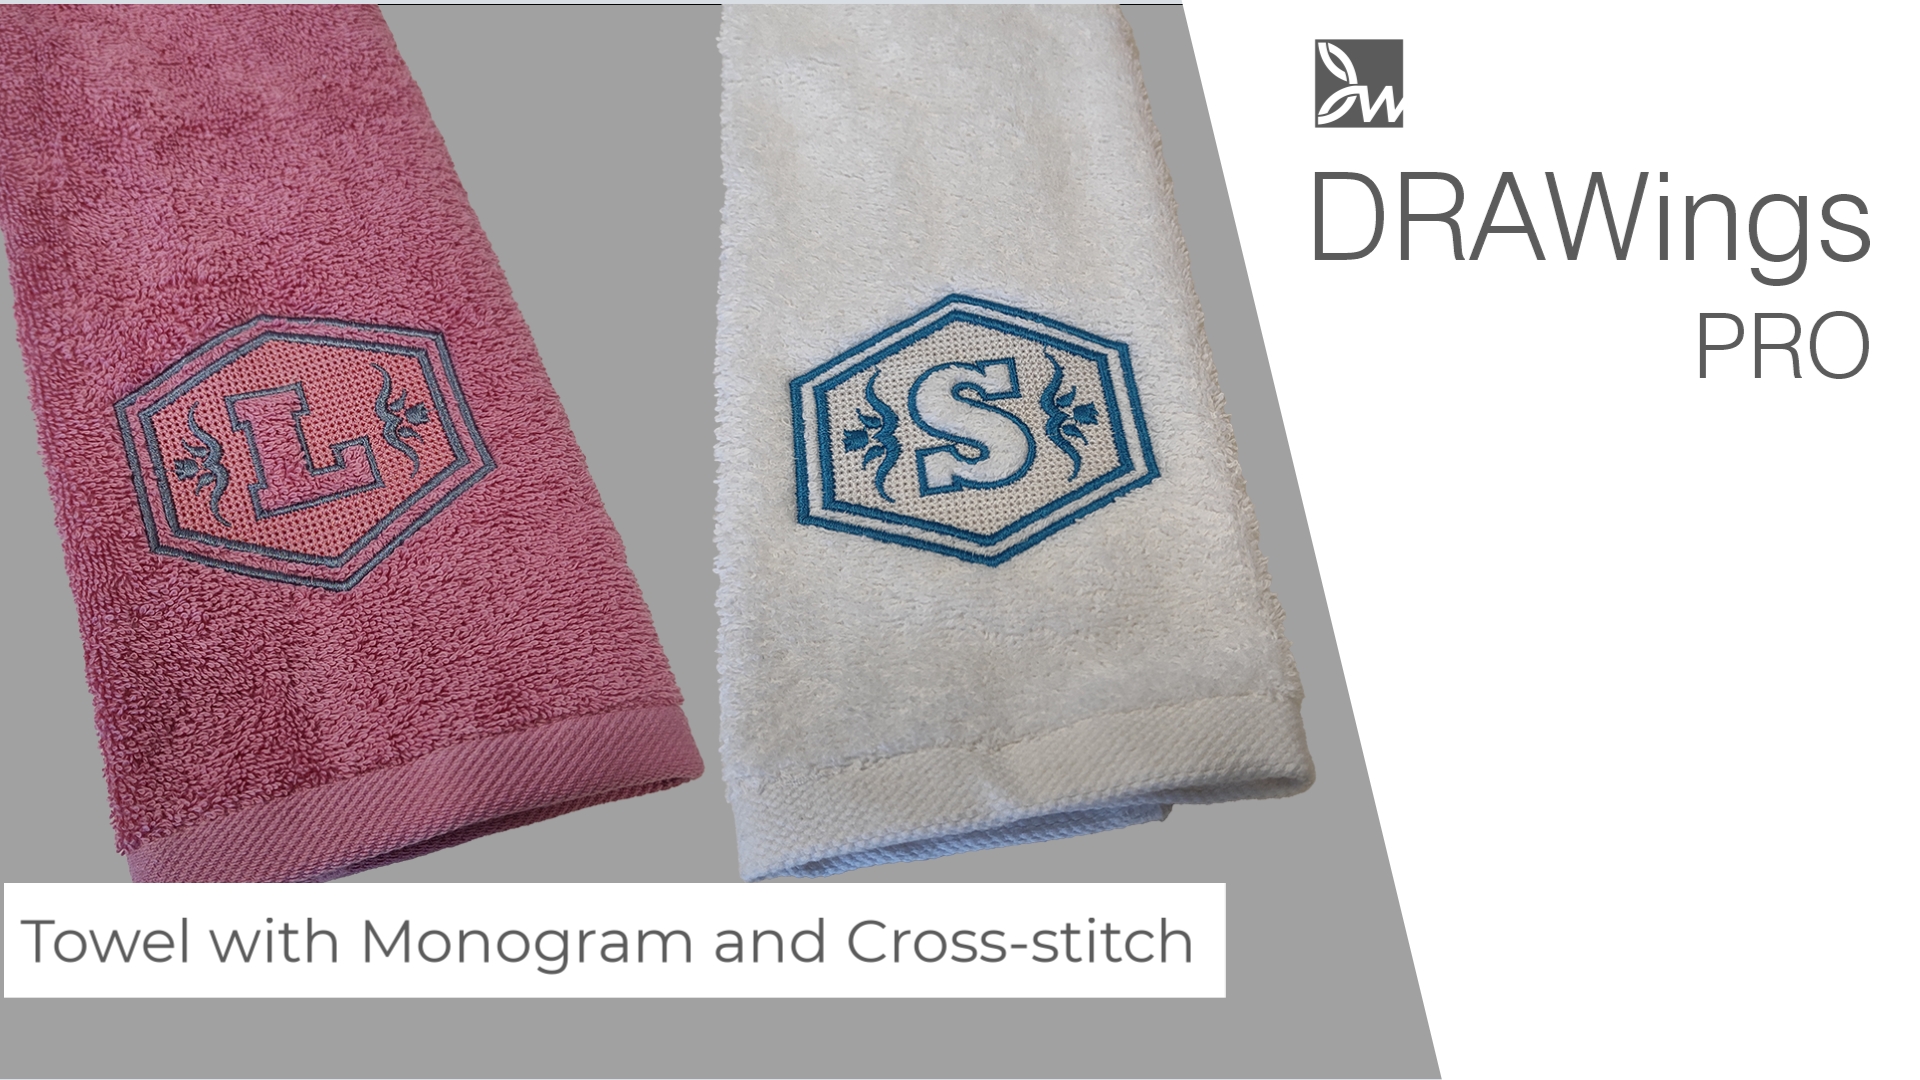
Personalize Your Towels with Monograms, Exposed Loops and Cross-Stitch Magic
Learn how to elevate your towels with a personalized touch! In this tutorial, we demonstrate the step-by-step process of embroidering your monogram using DRAWings PRO Embroidery software. Utilizing a terry cloth towel and a combination of exposed loop sections and cross-stitch, create a unique design that showcases the fabric’s texture.
Follow along as we guide you through selecting fabric, setting up the project, designing the cross-stitch shape, adding a monogram, and applying colors. We’ll also cover the embroidery process, including hooping the stabilizer, marking the center, and using the floating technique for optimal results. Experiment with colors and customize your towels or make thoughtful gifts. Start embroidering with confidence!

Setting the Stage
To begin your project, select a terry cloth towel known for its distinctive loops. In DRAWings PRO, choose Towelling Fabric from the Normal Light category to accurately visualize your design. Set the fabric color to match your towel for a precise preview. The finished project size is approximately 9 cm x 8 cm (3.5 x 3.1 inches), so choose a hoop accordingly.
Creating the Base
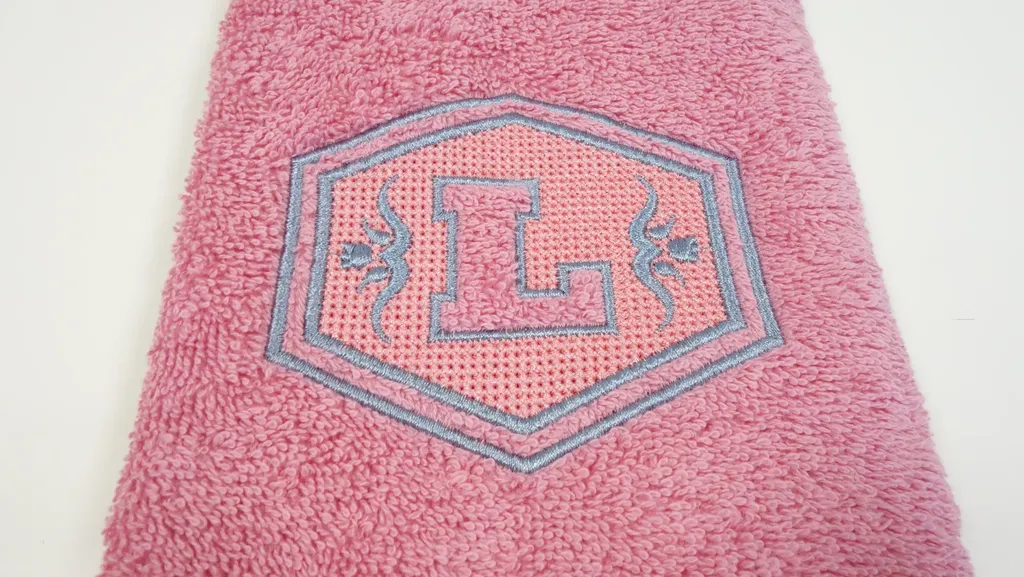
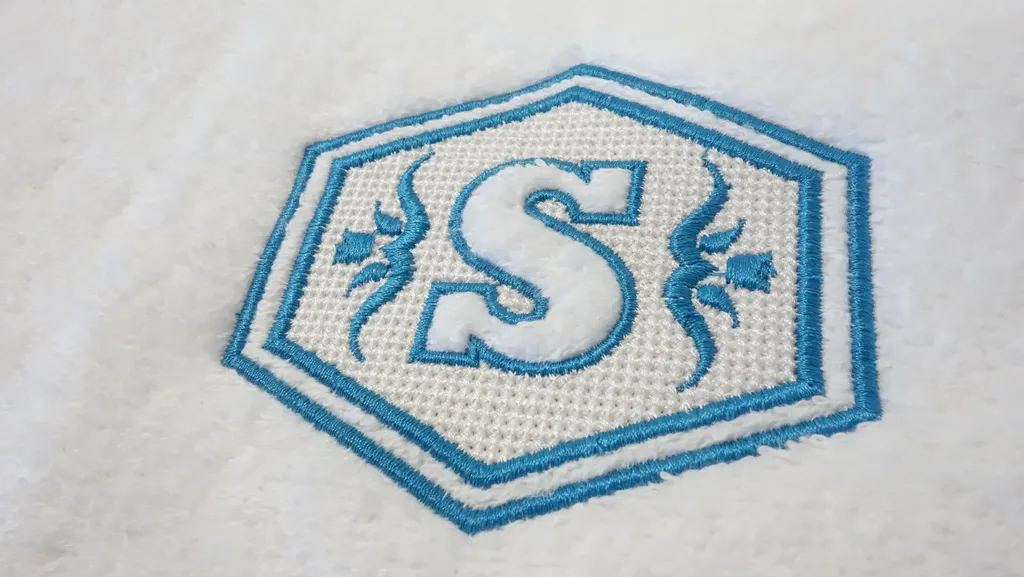
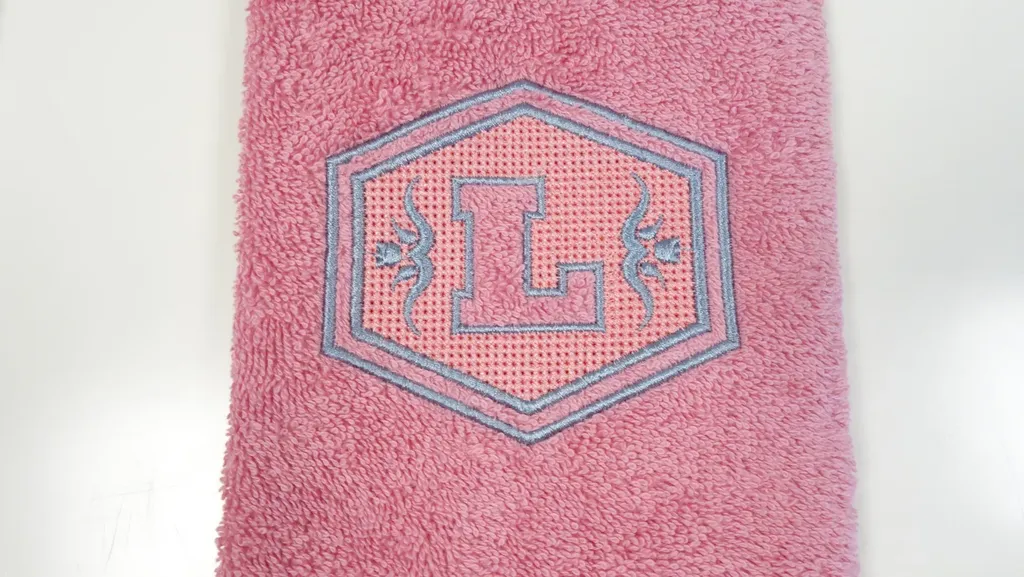
Start by drawing a polygon with six sides and a 90-degree angle. Adjust its shape and size, ensuring it is 80mm in width by 72mm in height. Center it in the hoop, remove the outline color, and set the fill type to Cross-stitch with Repeats set to 2 and a Cell size of 2.0.
Adding the Monogram
Utilize the Lettering tool to type a letter, positioning it at the center with a thick font. Apply the Trim option to create a hole in the cross-stitch shape matching the letter’s outline. Duplicate the cross-stitch, remove the fill, and set the outline color. Break apart the outlines and adjust their widths and densities for a polished look.
Enhancing the Design
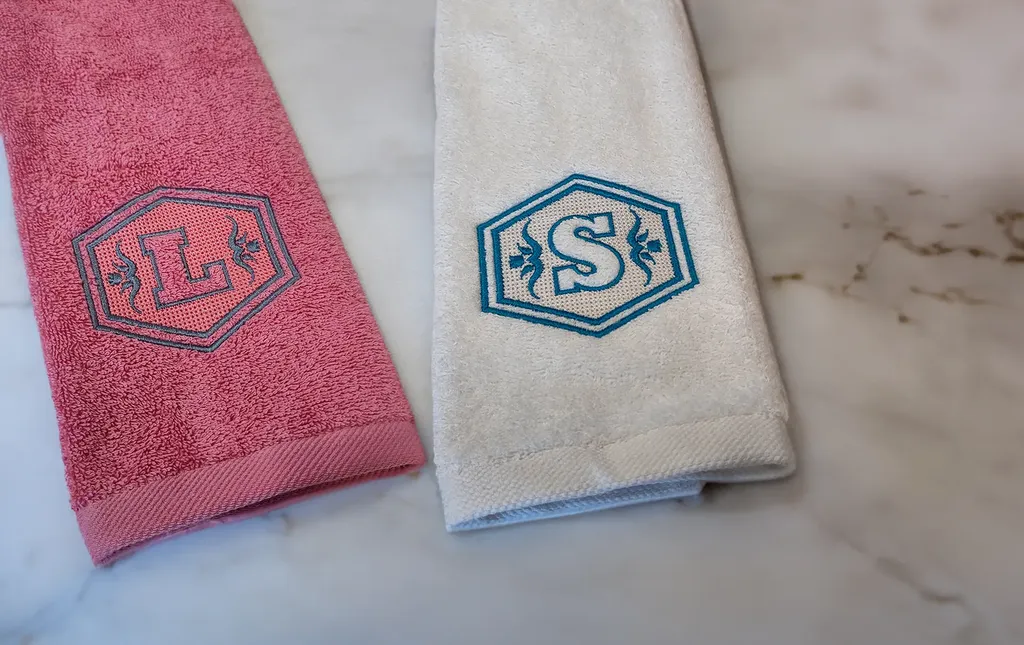
Explore the Clipart library to find decorative elements for the sides of the letter. Insert and duplicate elements, mirroring them for balance. Ensure your color choices complement the towel color, with the cross-stitch close to the towel shade and other elements in a monochromatic scheme.
Materials Needed
- Terry cloth towel
- Tear-away stabilizer
- Water-soluble stabilizer
- Embroidery threads (matching the colors you want to use)
- Hoop
- Embroidery machine
- Design printout
- Adhesive spray
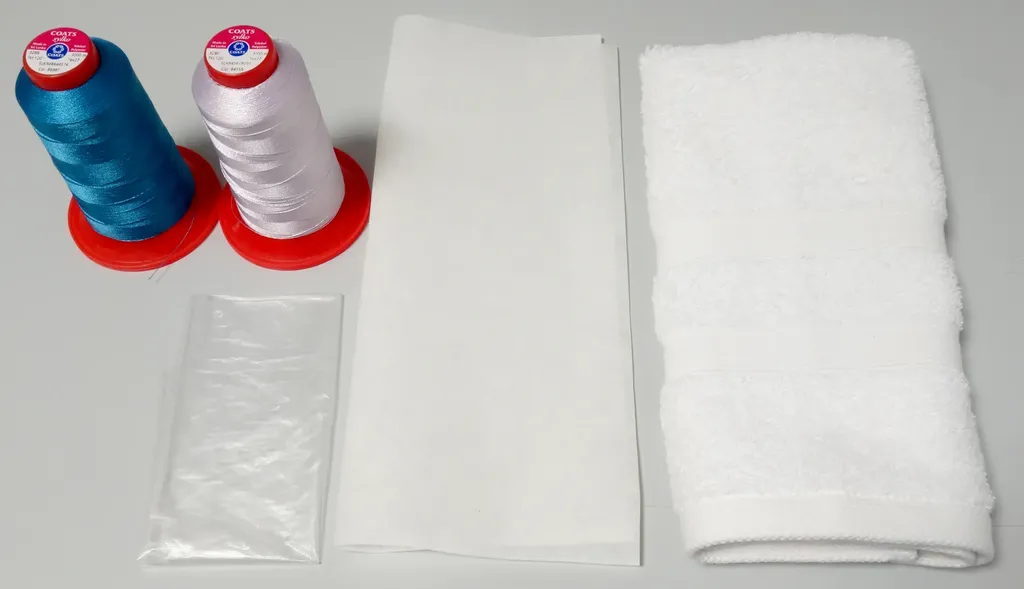
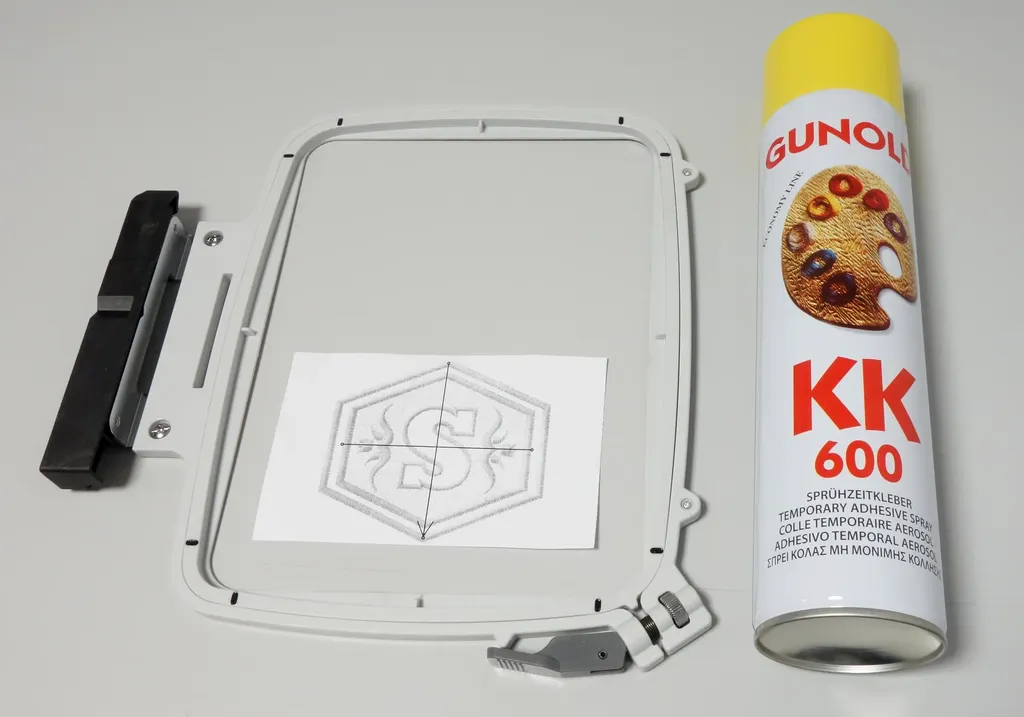
Embroidery Preparation
Prepare for the embroidery process by gathering a terry cloth towel, tear-away stabilizer, water-soluble stabilizer, selected threads, and a hoop. Hoop the tear-away stabilizer, mark the center point, and align the towel using pins and adhesive spray. Layer water-soluble stabilizer for a smoother embroidery surface.
The Embroidery Process
Load the design into your embroidery machine, starting with the cross-stitch part. Follow with the decorative elements using different thread colors. Once completed, remove the hoop, pins, tear-away stabilizer, and water-soluble stabilizer. Address any remaining water-soluble residues with a light mist and quick removal.
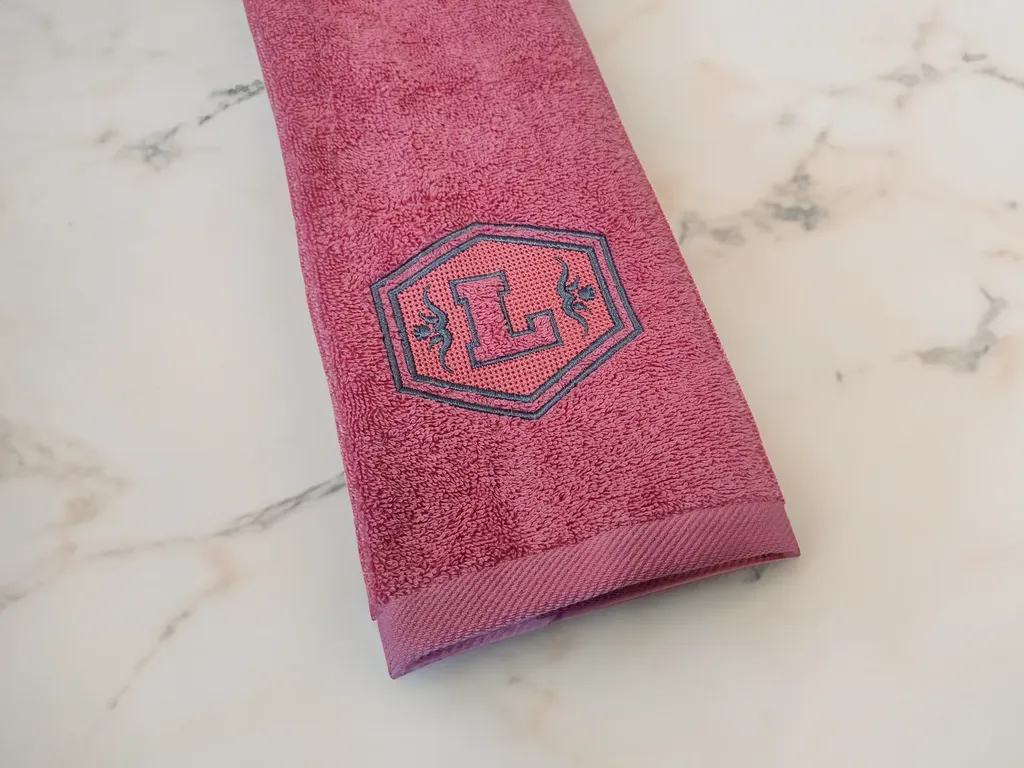
Conclusion
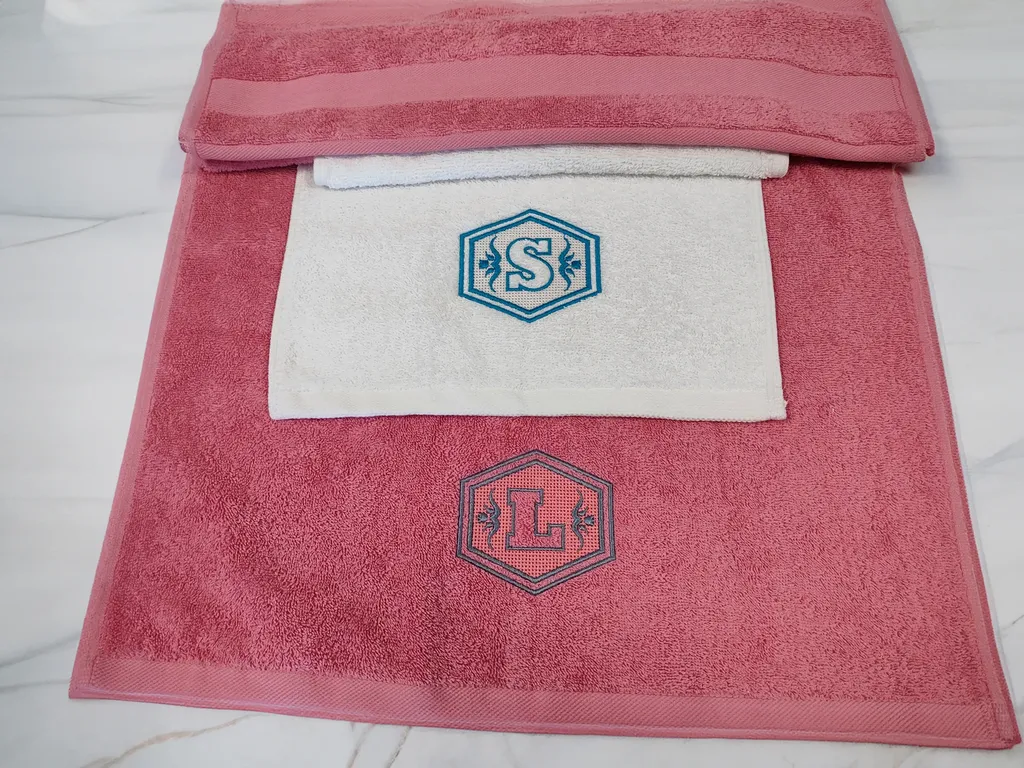
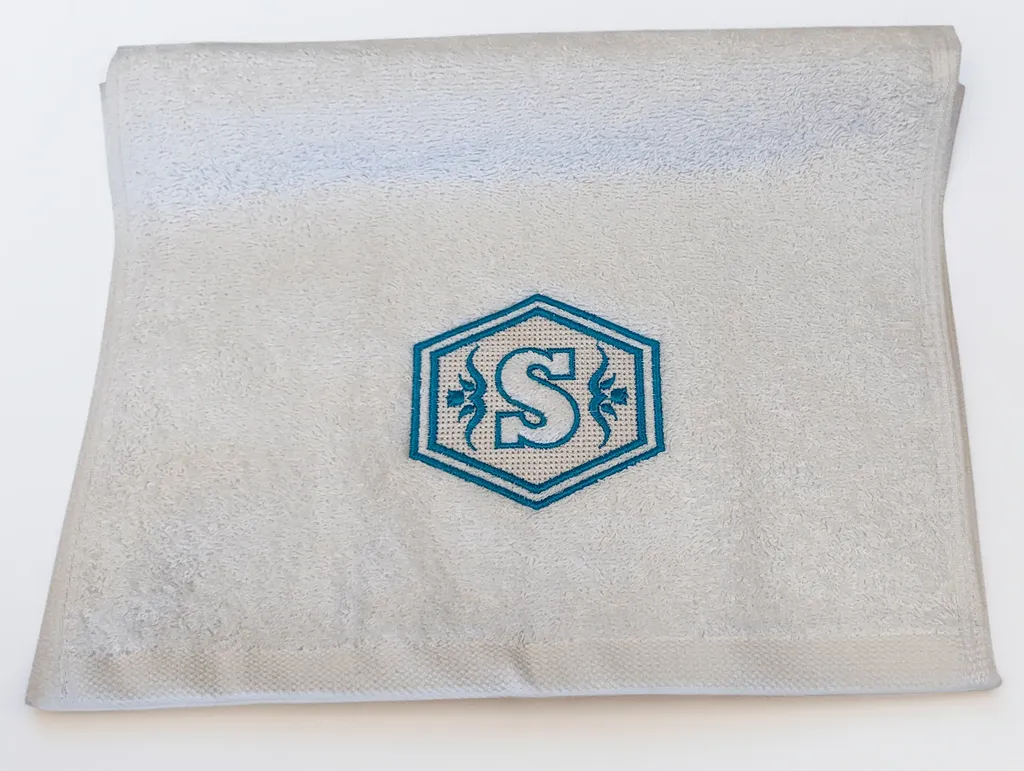
Congratulations, you’ve transformed an ordinary towel into a personalized masterpiece! Experiment with color combinations using DRAWings PRO Embroidery software to create unique gifts or customize towels for any occasion. Let your creativity shine, and enjoy the process of turning everyday items into works of art. Happy embroidering!
You can download the .DRAW file of the project, for free, from the link below:
- Project’s .DRAW file: Towel with Monograms, Exposed Loops and Cross-Stitch
It can open only with the XI and later versions of DRAWings embroidery software
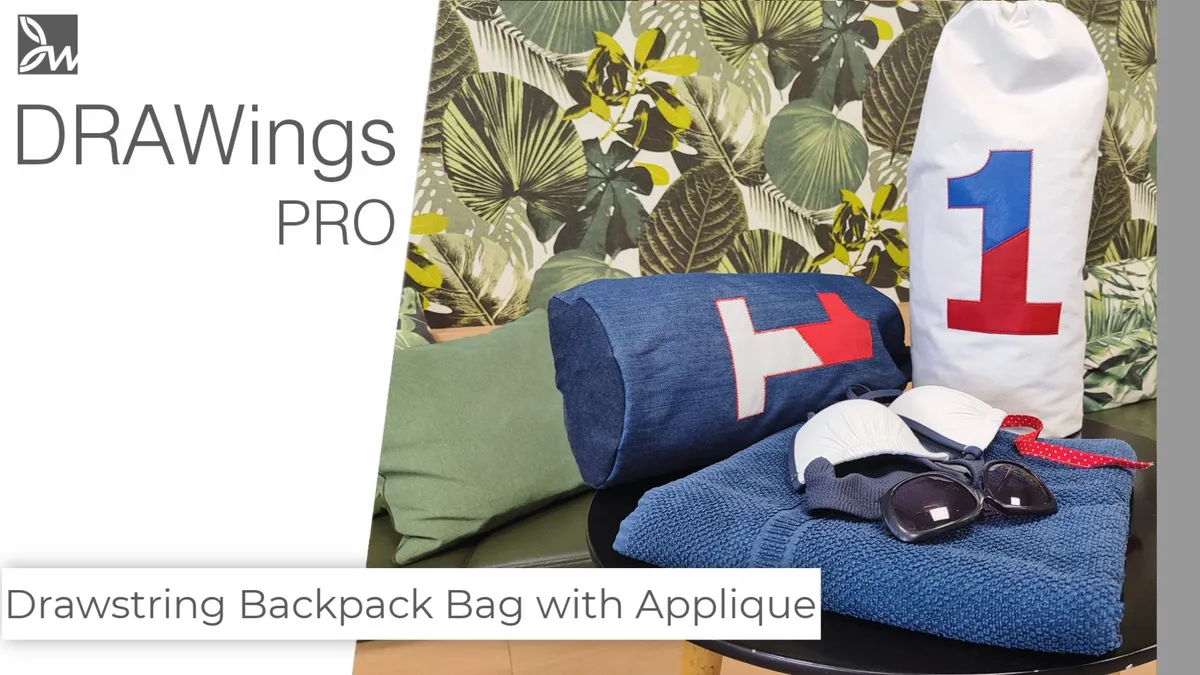
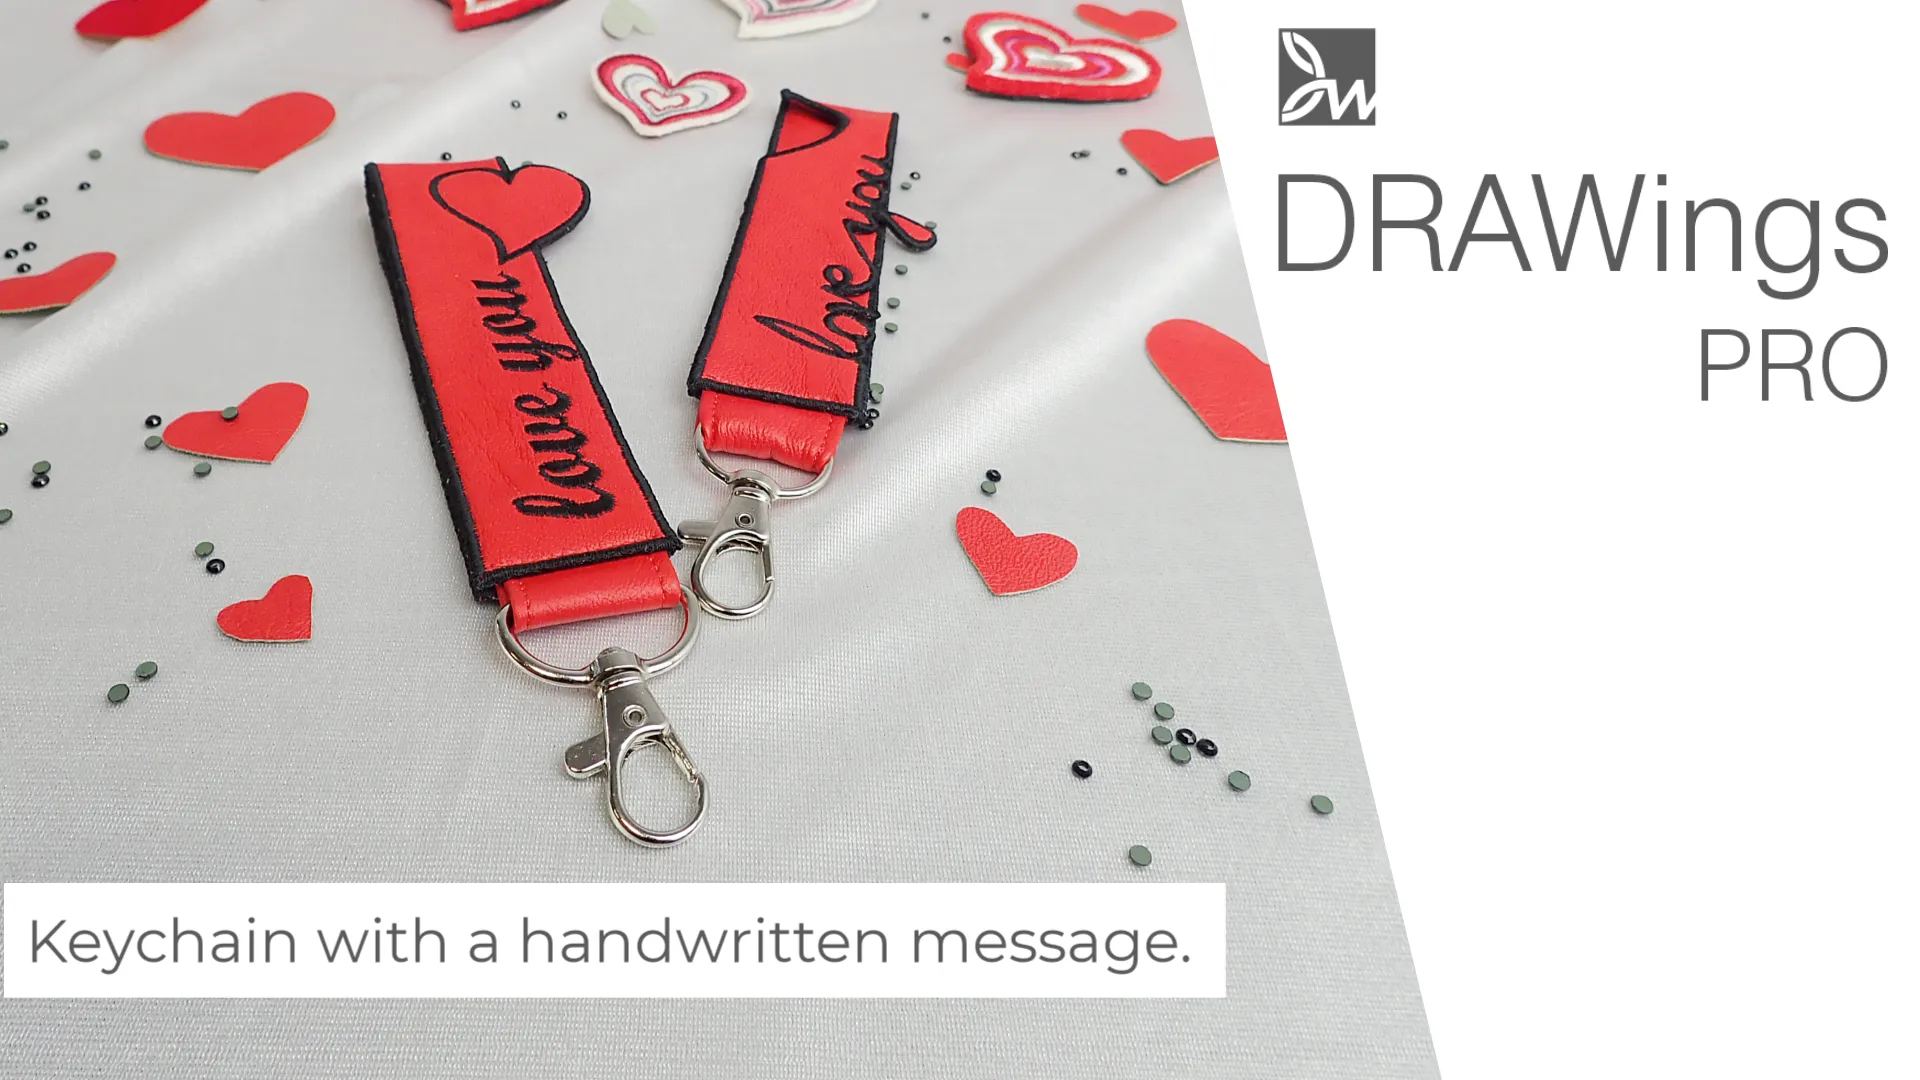
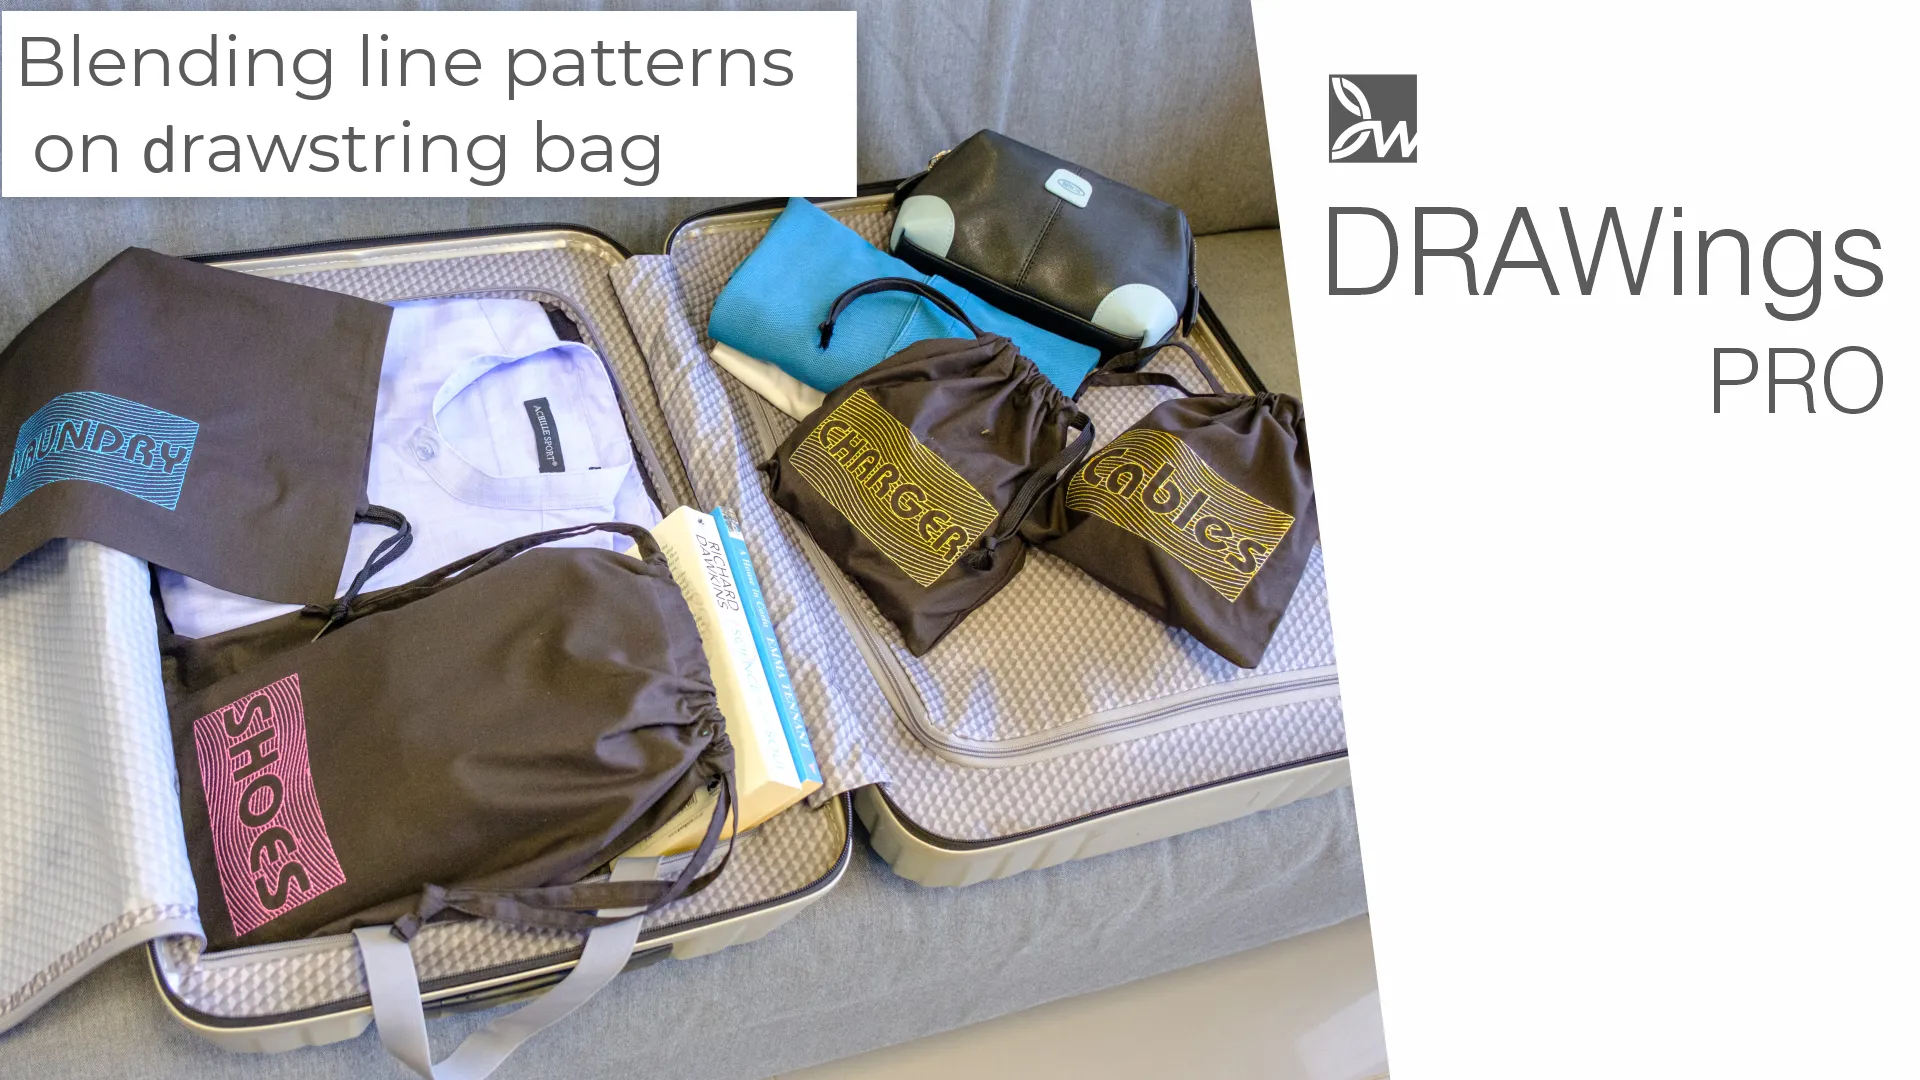
Check also, our related projects “Christmas Free-Standing Lace Tree“, “DIY Drawstring Backpack with Applique Decoration“, “How to Make a Detachable Collar with an Embroidered Monogram” & “HOW TO MAKE A BEAUTIFUL RABBIT KEY COVER FROM SCRATCH” & “DIY: HOW TO MAKE A CUSTOM GLASSES CASE WITH YOUR OWN DESIGN“
Remember, DIY projects are all about creativity and adaptability, so don’t hesitate to experiment and make the drawstring backpack truly your own. Happy crafting!