How to Use Stitch File Alphabet Characters in DRAWings PRO: Creating Professional Logos with Individual Letter Files
When working with embroidery design software, you encounter different approaches to creating text-based designs. While modern lettering tools offer convenience and automation, there are times when you need the precision and character that comes from working with individual stitch file alphabet characters. This method gives you complete control over each letter’s placement, spacing, and appearance, making it ideal for creating custom logos and branded designs that stand out.
Understanding when to use individual stitch files versus built-in lettering tools will expand your creative possibilities and help you achieve professional results that match your exact vision.

Understanding Individual Stitch File Characters
Individual stitch file alphabet characters represent a different approach to text creation in embroidery design. Instead of relying on fonts that generate stitches automatically, these characters are pre-digitized embroidery designs, with each letter carefully crafted and saved as a separate file. An uppercase “A” exists as one file, a lowercase “a” as another, and so on throughout the entire alphabet.
The beauty of this system lies in its precision. Each character has been digitized by hand, with careful attention paid to stitch direction, density, and the unique requirements of that particular letter shape. When you work with calligraphic fonts in this format, you gain access to the nuanced details that make each character unique, including the flowing connections and varied stroke weights that give calligraphy its distinctive appearance.
This method becomes particularly valuable when you need to create designs that feel more organic and handcrafted. Since each letter is an independent design element, you can manipulate them individually, creating custom spacing, overlapping effects, and unique arrangements that would be difficult to achieve with standard font-based lettering tools.
Setting Up Your Import Process
Before importing characters, understanding how DRAWings PRO handles file importation helps streamline your workflow. The software treats each imported stitch file as a separate object within your design workspace, which means you’ll be building your text design by combining multiple independent elements rather than working with a single text string.
The import process begins with accessing the “Import From File” function, which allows you to browse and select the specific letter files you need. Having your character files well-organized in folders makes the selection process much smoother and more efficient.
When creating a word like “Drawings,” you start by importing the capital “D” as your first character. The import process brings this character into your workspace as a complete embroidery object, with all its stitch information intact. This means the letter arrives with its original size, color, and density settings.
Efficient Character Import Techniques
After importing the first letter, subsequent imports place new characters at default positions, often overlapping or appearing in unexpected locations. This is normal behavior, as the software has no way of knowing your intended layout until you provide that guidance.
The ability to import multiple characters simultaneously can speed up your workflow significantly. By holding the Control key on Windows or Command key on Mac while clicking on multiple letter files, you can select and import several characters in one operation. This batch import approach is particularly useful when you know exactly which letters you need for your design.
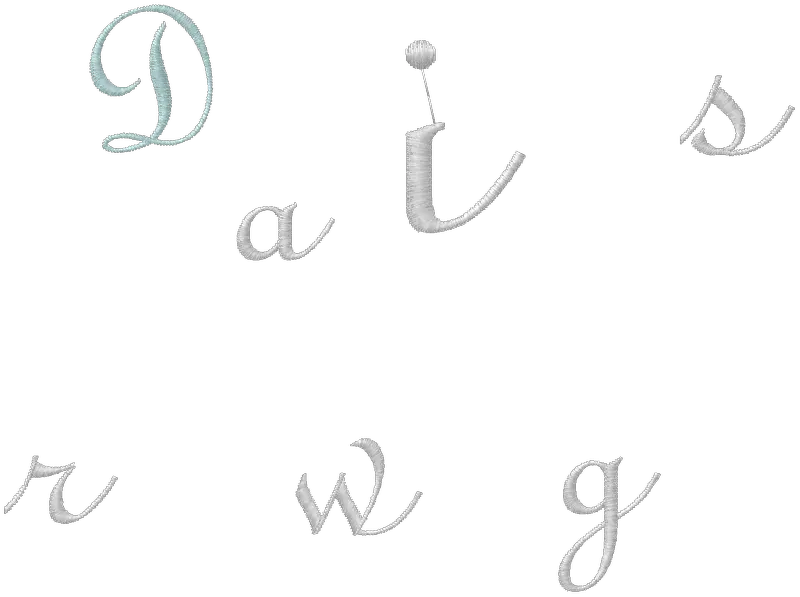
Once imported, you’ll need to move each character to create the basic structure of your word. During this initial positioning stage, you’re establishing the general flow and arrangement rather than focusing on perfect alignment or precise spacing.
Manual Alignment and Positioning
The alignment process for individual stitch file characters requires understanding both visual and technical aspects. Unlike digital fonts that sit on consistent baselines, individual stitch files may have slight variations in their positioning. This means achieving proper alignment requires careful attention to the visual relationship between characters.
When you select all characters by right-clicking and choosing “Select all,” the Align icon appears in the toolbar. The alignment tools become valuable during this process, particularly the “align to bottom” function for establishing a baseline. However, these tools work best when you understand the principles behind good alignment rather than applying them automatically.
For characters with descenders like the letter “g,” special handling is required. To maintain proper flow while accommodating the descender, you can select the descender character along with an adjacent normal character. When aligning, the last selected object acts as the reference, so selecting the letter “n” after the “g” and choosing “Top” from the Align menu will properly position the descender.
Spacing and Distribution Strategies
Proper spacing between individual stitch file characters involves more than equal distances. Good spacing creates optical balance, where the visual weight between characters feels consistent even if actual measurements vary. The “Equal horizontal spacing” function provides a starting point for distribution, but should be viewed as a foundation rather than a final solution.
Understanding kerning principles helps when working with individual characters. Certain letter combinations naturally require closer or wider spacing to maintain visual consistency. This becomes particularly important with calligraphic fonts where character shapes vary significantly.
For handwritten effects, you can adjust characters to slightly overlap the previous one, giving the text a more natural appearance. This overlapping technique transforms individual stitch files from obviously separate elements into a cohesive, flowing design.
Precision Movement Controls
Fine-tuning character positions often requires more precision than mouse dragging can provide. DRAWings PRO offers keyboard-based movement controls that allow for exact positioning adjustments. To move characters horizontally while maintaining alignment, hold the Control or Command key while dragging.
The arrow key controls provide two levels of precision: standard movement at 1mm increments and fine movement at 0.1mm increments when combined with the Shift key. This dual-precision system allows you to make both coarse adjustments for general positioning and fine adjustments for detailed refinement.
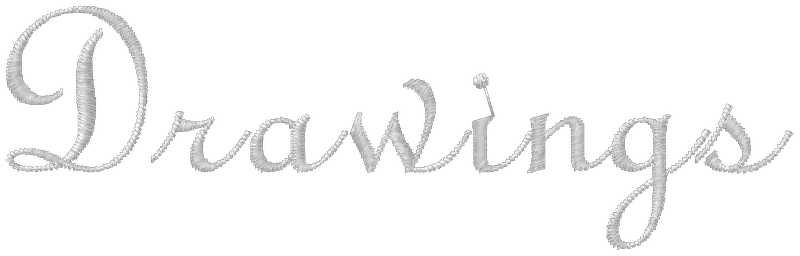
Developing comfort with these keyboard controls speeds up your workflow and improves consistency in your designs. Rather than repeatedly clicking and dragging with varying accuracy, keyboard controls allow for repeatable, measurable adjustments.
Individual Character Transformation
One of the most powerful aspects of working with individual stitch file characters is the ability to transform each letter independently. Transform handles around each selected character provide intuitive control over scaling and rotation, allowing you to see changes in real-time.
You can use the highlighted handles to transform characters visually, or change numeric values for precise scaling. Rotation can add dynamic energy to individual characters, creating the impression of hand-lettered text where each character sits at a slightly different angle. This technique works particularly well with calligraphic fonts.
Before changing sizes, ensure that the “Auto-density adjust” option is enabled. This allows the software to automatically adjust the density of the object to match its new size, maintaining proper embroidery quality across different character sizes.
Technical Considerations and Optimization
When scaling individual stitch file characters, the relationship between size and embroidery quality becomes important. Unlike vector graphics, embroidery designs have optimal size ranges where they perform best. The “Auto-density adjust” feature addresses this by automatically recalculating appropriate stitch density for new sizes.
You can fine-tune density further to manually increase or decrease each letter’s density based on its specific requirements. Different characters within the same word might benefit from different density settings based on their size, complexity, or position within the design.
Color customization offers complete control over individual character appearance. Unlike font-based text where all characters typically share the same color, individual characters can each have unique colors, opening up creative possibilities for gradient effects or alternating color schemes.
Comparison with Automated Systems
Understanding when to use individual stitch file characters versus automated lettering tools helps you choose the right approach for each project. Automated lettering tools that work with TrueType and pre-digitized fonts (installed in the software) offer significant advantages in speed and consistency for standard text applications.
Automated systems handle baseline alignment, kerning pairs, and spacing calculations automatically. They maintain proper baseline alignment even for letters with descenders and support kerning pairs that ensure optimal spacing between characters. The program also arranges entry and exit points based on the text, improving the embroidering process.
These systems also provide flexibility in editing as the program recalculates embroidery parameters automatically. Text options can be adjusted as necessary, making the design process faster and more precise for standard applications.
However, automated systems trade convenience for reduced flexibility in creative manipulation. The choice between approaches often depends on whether your project prioritizes efficiency and consistency or creative control and customization.
Professional Results and Best Practices
Achieving professional results with individual stitch file characters requires attention to both technical execution and design principles. The additional control these characters provide comes with the responsibility to use that control wisely, creating designs that are both visually appealing and technically sound.
Consistency in your approach to spacing, alignment, and character relationships creates professional-looking results even when working with highly customized arrangements. While individual character manipulation allows for creative freedom, maintaining underlying structure and rhythm ensures readability and visual coherence.
Testing your designs at actual embroidery size helps identify potential issues before production. What looks good on screen doesn’t always translate perfectly to stitched reality, and working with individual characters can sometimes create unexpected interactions between adjacent elements.
The investment in time and skill required to master individual stitch file character techniques pays dividends in the uniqueness and quality of your final designs. While automated tools serve many purposes efficiently, the ability to create completely custom text treatments sets your work apart and provides solutions for design challenges that automated systems can’t address.
Conclusion
Working with individual stitch file alphabet characters in DRAWings PRO opens up creative possibilities that go beyond standard text generation. While this method requires more manual work than automated lettering tools, it provides unmatched control over spacing, alignment, and individual character appearance.
The key to success lies in understanding both the creative potential and technical requirements of this approach. By mastering the import process, alignment techniques, spacing strategies, and transformation options, you can create custom logos and text designs that stand out from automated alternatives.
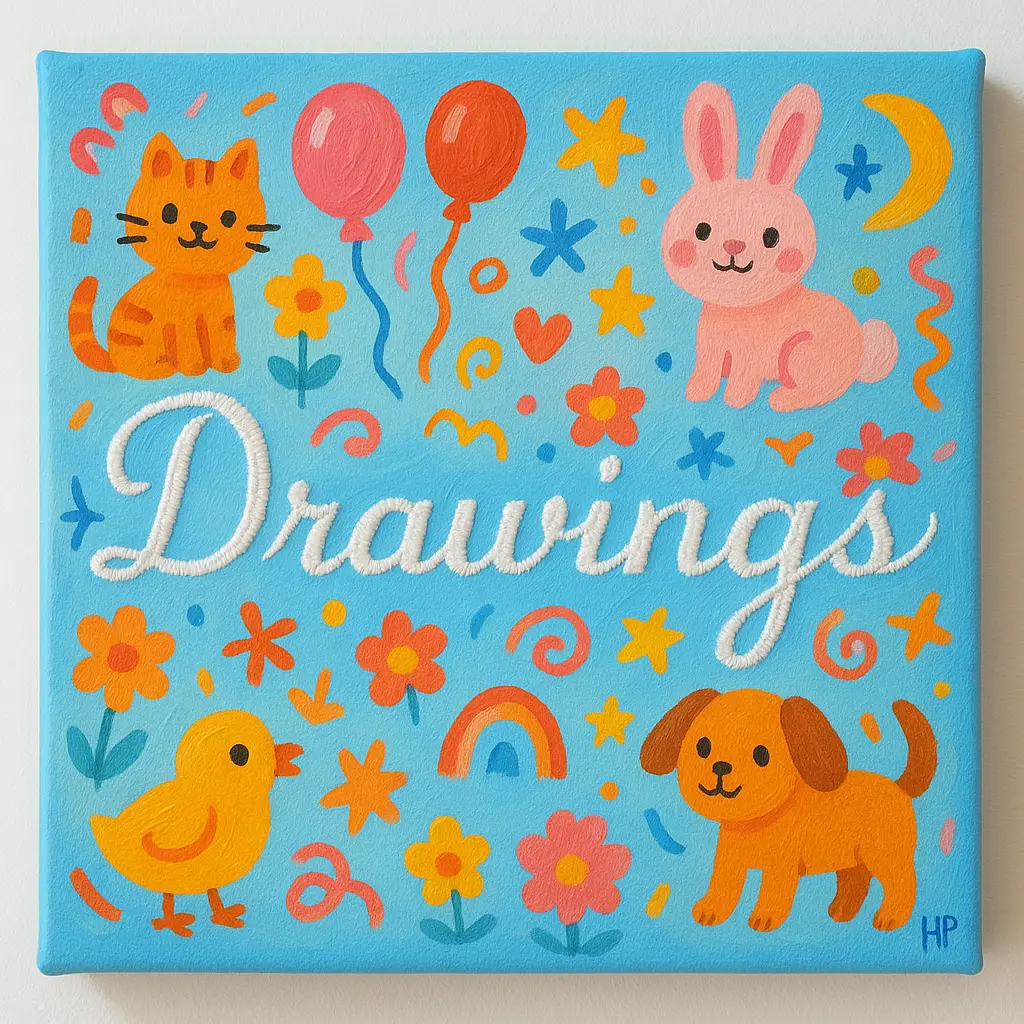
Happy crafting and don’t forget to share your creations with us in the
DRAWings PRO Help Group!
Share your experiences in our Facebook group, and don’t forget to subscribe to our blog for more innovative embroidery techniques and inspiration.
Check also, our related projects
How to Modify Built-In Fonts into Custom Designs: Dripping Halloween Lettering
Every embroidery program ships with fonts that are already digitized. They stitch cleanly, and they are also the same fonts everyone else has.Digitizing a Knockout Layered Varsity Monogram with Nested Script Lettering
Layering script text over a bold collegiate letter is a staple in team apparel, varsity jackets, and custom fleece.How to Embroider a Photo onto a T-Shirt with PaintStitch™ and Sketch
A favorite vacation photo does not have to stay on your phone or disappear into a folder. With DRAWings PRO embroidery software, you can turn a photo into an embroidery design and stitch it onto a T-shirt as a wearable keepsake.