How to create Mixed-Media Embroidered Greeting Cards
There’s something special about receiving a handmade card. It shows thought, effort, and care in a way that store-bought cards simply can’t match. But what if you could take your card-making to the next level by combining traditional printing with embroidery? That’s exactly what we’re exploring today.
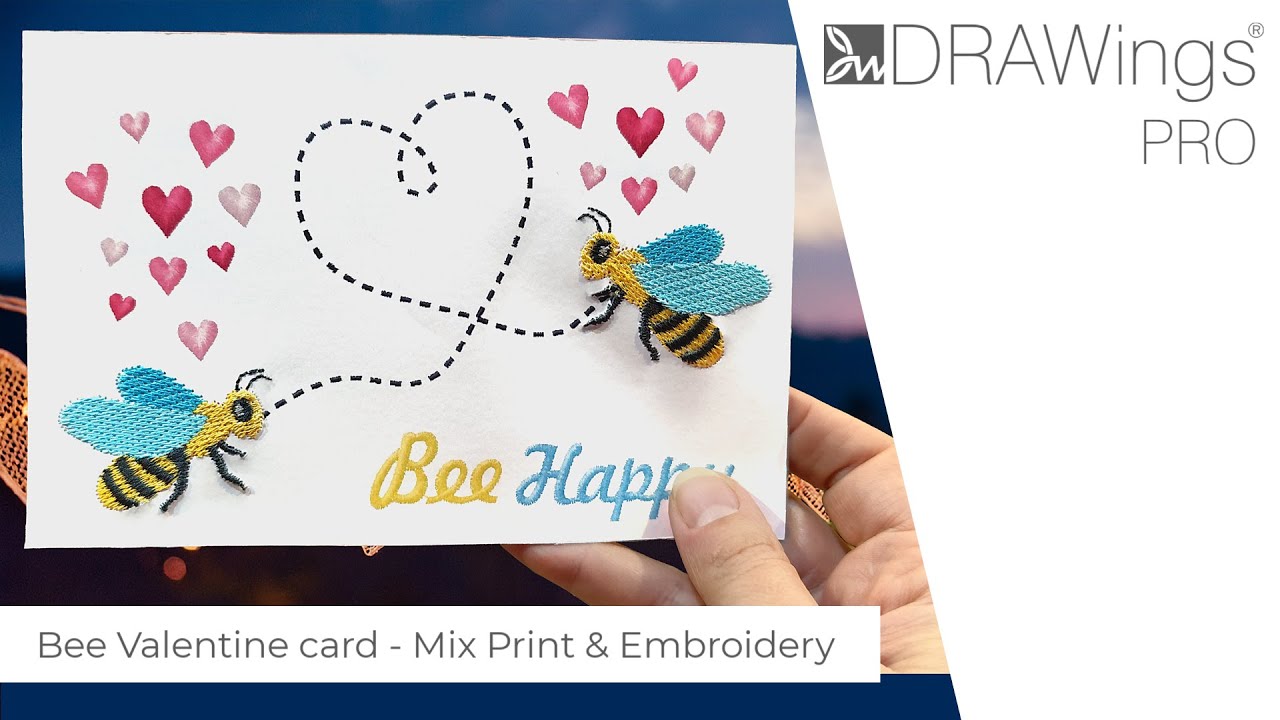
In this post, We’ll walk you through the process of creating a mixed-media greeting card that combines printed and embroidered elements. The result is a card that’s not just visually interesting but also rich in texture and dimension. We’ll be working with bee designs, heart motifs, and a combination of techniques that make the most of what DRAWings PRO can do.
Why Mixed-Media Works for Greeting Cards
Before we get into the details, let’s talk about why this approach makes sense. Traditional embroidered cards can be bulky and sometimes too heavy for standard envelopes. They can also take a long time to stitch, especially if you’re doing intricate designs. On the other hand, printed cards lack the tactile quality that makes handmade items memorable.
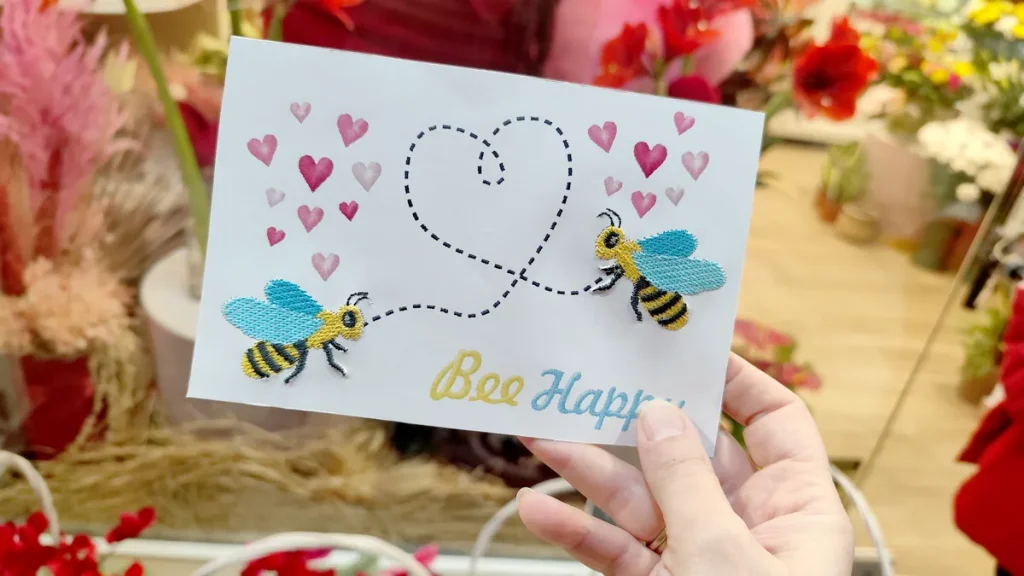
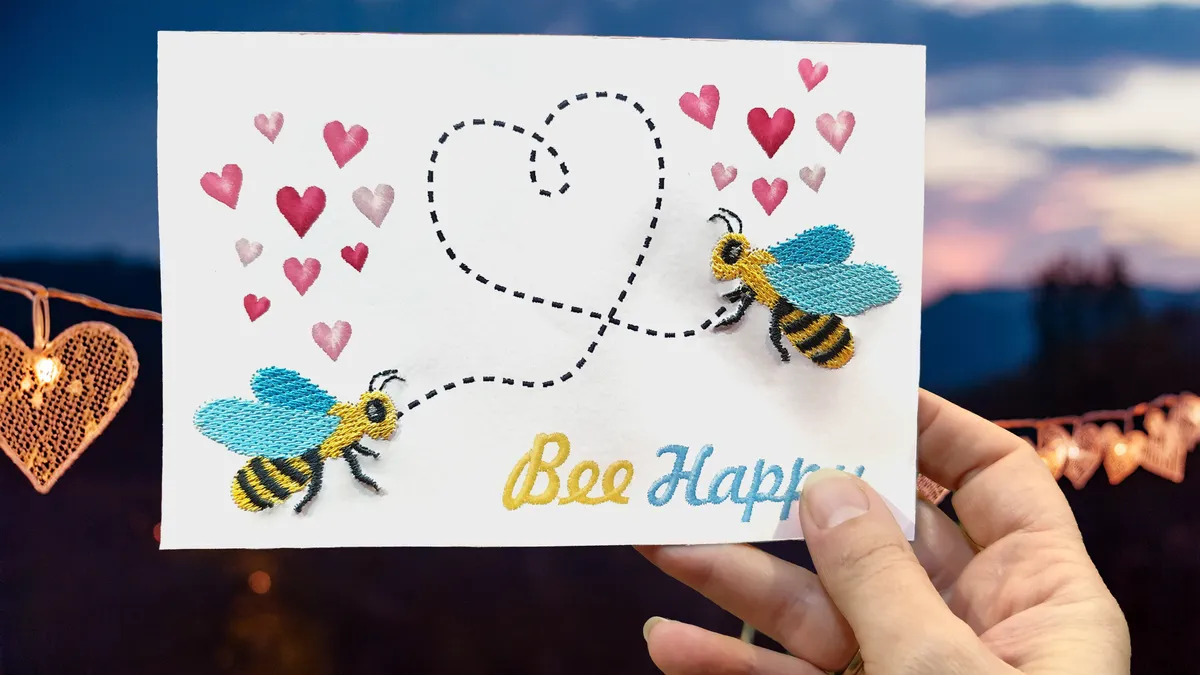
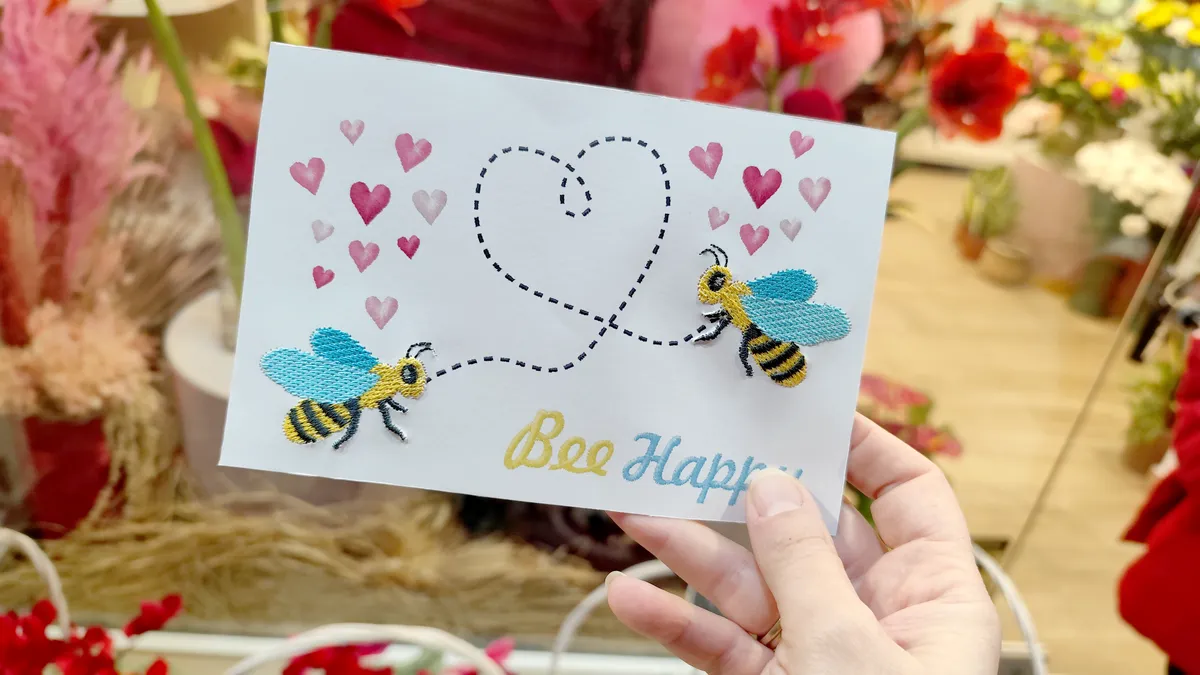
By splitting your design between printed and embroidered elements, you get the best of both worlds. The printed portions add color and detail without adding bulk or stitch time. The embroidered portions add that premium, handcrafted touch that people remember. For this project, we’re printing the decorative hearts and connecting lines, then embroidering just the bees on top. This keeps the card light, reduces embroidery time, and creates a layered effect that’s visually engaging.
Setting Up Your Canvas
Every good design starts with proper planning. For this card, we’re working with a specific size: 180mm wide by 120mm tall. This isn’t arbitrary—it’s a practical size that fits into standard envelopes while giving you enough space to work with.
Start by drawing a rectangle in DRAWings PRO and set these dimensions. The key here is to remove the fill color and center it to your hoop. This rectangle isn’t going to be part of your final design; it’s your guide. Think of it as the borders of your canvas. Having this visual reference while you design ensures that nothing important gets too close to the edge where it might be cut off or look cramped.
Centering to the hoop is particularly important because it helps you visualize how your design will sit during embroidery. You want to make sure everything stays within the hoopable area and that you’re not fighting with your stabilizer placement later.
Working with Sample Designs
One of the strengths of DRAWings PRO is the Sample Designs library. This is a collection of free designs that you can use as-is or customize to fit your needs. For this project, we’re using a bee design from this library.
From the Welcome screen, click Browser and navigate to the Favorites tab to access Sample Designs. Browse through until you find the bee design. The beauty of working with these sample designs is that they’re already properly digitized, so you’re starting from a solid foundation. But that doesn’t mean you have to use them exactly as they are.
Simplifying and Customizing the Bee
The original bee design has multiple layers that create depth and shading. While this looks great on fabric, we’re embroidering on paper, which changes our requirements completely. Paper can’t handle the same stitch density as fabric—it will tear or pucker. So we need to simplify.
Start with the wings. Keep only the base layer and set the front wing to a light blue color. This color choice isn’t just aesthetic; it creates a sense of depth by suggesting that one wing is in front of the other. Even with simplified embroidery, you can still create visual interest through color choices.
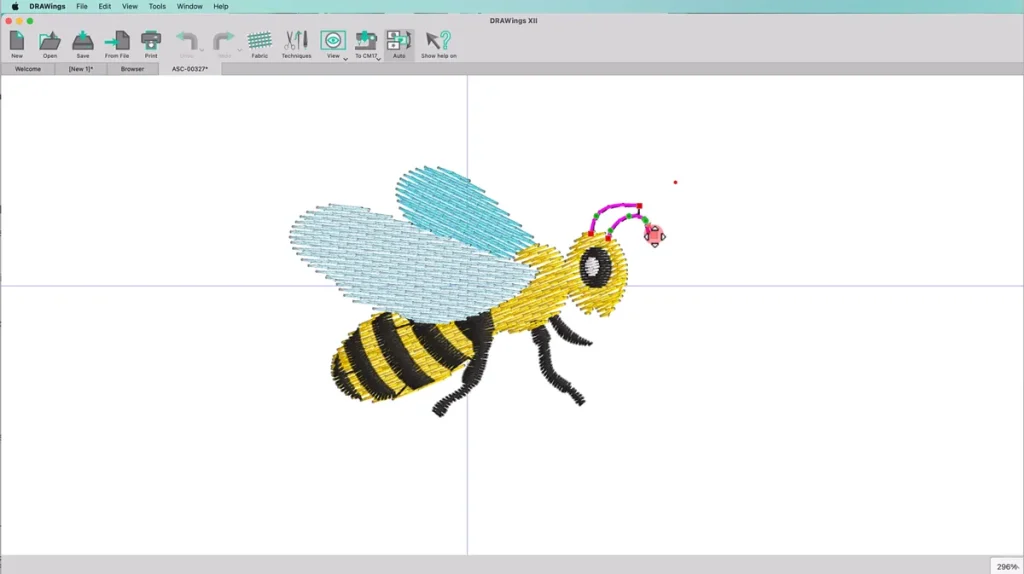
For the body, again keep only the base layer and set it to yellow. Once you’ve removed the extra layers, select all the body parts and weld them together using the Shaping menu. Welding combines separate objects into one, which reduces jump stitches and creates a cleaner stitch-out.
The legs need attention too. Break the object apart, delete two of them (the bee looks fine with fewer legs and it reduces stitch count), and move the remaining ones slightly. You can smooth the tips of the legs for a softer look and use the Stitch Flow tool to control how the stitches run. This matters because stitch direction affects how light hits the thread, which impacts the final appearance.
Adjusting for Paper Embroidery
Here’s where we really optimize for the medium. Paper requires a light stitch count, so select the wings and body and set the density to 0.80mm. This is much less dense than you’d use on fabric, but it’s necessary to prevent tearing. From the Fill Properties panel, set the underlay to Tacking. Tacking stitches are minimal and help hold the design in place without adding bulk.
For the antennas, right-click and choose “Convert fill to Center Line.” This creates line objects instead of filled shapes, which is perfect for thin elements like antennas. A satin stitch or fill would be too heavy here—a simple line communicates the shape while keeping the stitch count low.
Building Your Layout
Once your bee is ready, copy it and paste it into your card file. Scale it down to 90% of its original size—this makes it proportional to the card without overwhelming the design. Position it in the bottom-left corner.
Now duplicate this bee, mirror it on the x-axis, and position the copy in the middle of the right side. Mirroring creates visual balance while keeping the design from feeling too repetitive. You can rotate the bees slightly for a more playful, natural look. Bees don’t fly in perfectly straight lines, after all.
Creating the Connection
To connect the two bees, we’re drawing a heart-shaped line using the Freehand shape tool. Here’s a tip: press and hold the Shift key while drawing. This gives you smoother curves right from the start, which means less cleanup work later.
Once you’ve drawn the basic shape, start the Node editor. Select the nodes and convert them to Auto-smooth from the right-click menu. Auto-smooth nodes create gentle curves instead of sharp corners. You can add, delete, or move nodes until you’re happy with the heart shape. This is where you refine the flow and curve of the line until it feels right.
Making It Dotted
A solid line would work, but a dotted line adds visual interest and gives the design a lighter feel. To create this effect, draw a tiny rectangle—3mm by 1.5mm. Remove the outline and set its fill to black.
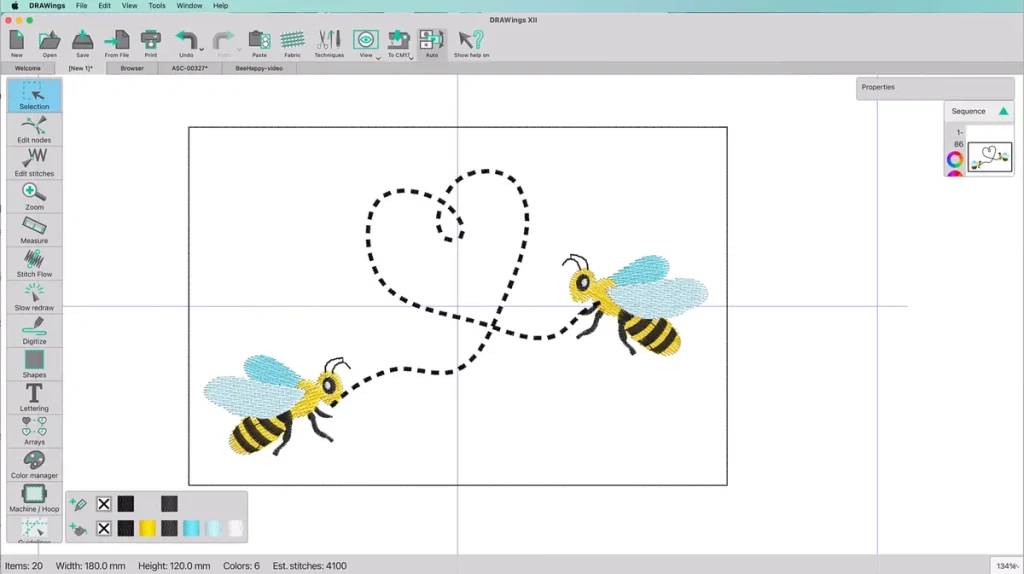
Select both the rectangle and the heart line, then choose “Create Outline from Shapes” under the Array submenu. This forms the basis of your dotted line. In the Outline Properties, set the spacing to 2mm. This creates just enough gap between the rectangles to read as a dotted line without looking sparse. Delete the original shape once you’re done—you only need the array.
Adding Decorative Hearts
Above the bees, we’re adding clusters of decorative hearts. This is where the design gets really playful. Insert a heart symbol from the Symbol fonts and remove its outline.
Now draw a soft, cloud-like shape using the Digitizer tool. This shape will define where your hearts appear. Select both the shape and the heart, right-click, and from the Array menu choose “Create Fill from Shapes” inside your cloud shape.
Set the type to Space fill. This is brilliant because it creates a dynamic, organic arrangement. The hearts aren’t in a rigid grid—they’re scattered naturally within the cloud shape. Adjust the fill parameters like spacing and scale until it looks right. You’re controlling the density and size of the hearts, which affects the overall visual weight of this element.
One of the best parts about this method is that it’s still editable. You can adjust the cloud shape even after creating the fill, and the hearts will automatically redistribute to match the new outline. This flexibility is huge when you’re trying to balance multiple design elements.
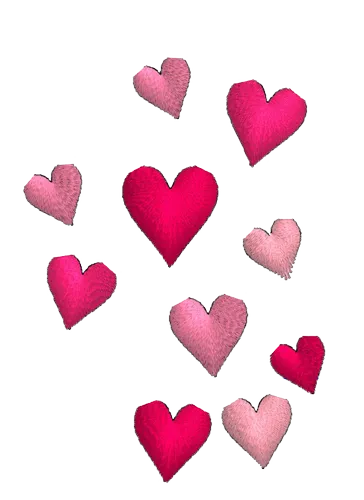
Make sure you remove any outline color from the shape itself. Then, from the Properties menu, separate the array fill into individual objects. Select all the hearts and set the fill to Satin with a density of 0.20mm. This is even lighter than the bees because these hearts are part of the printed design—we want minimal stitching. Ungroup them so you can work with each heart individually.
The Color Fun
Color choice can make or break a design. You can manually assign colors, but here’s a technique that makes it easier and more cohesive: use a bitmap color palette for inspiration.
Import a bitmap file that has your preferred color palette. This could be a photo, a piece of artwork, or a color swatch image. Use Auto-digitize and choose “Trace to outlines.” Move this imported palette to the side of your workspace and hide the background from the View menu.
Now all those palette colors appear in your Used Colors bar. This is your color picker for the project. Select groups of hearts and assign them colors by clicking on the fill color in the color bar. This method ensures your colors work well together because they came from the same source.
Don’t feel locked into your first choices. Experiment by moving hearts around or recoloring them. Sometimes you don’t know what works until you see it in context. Duplicate some hearts and place them above the other bee to maintain balance across the design.
Once you’re satisfied, delete the palette and the original heart symbol—you don’t need them anymore.
Adding Your Message
In the space where the palette was, you can add your message. You have two options here: either leave the space blank and handwrite your message after embroidering, or use the Lettering tool to add a printed message.
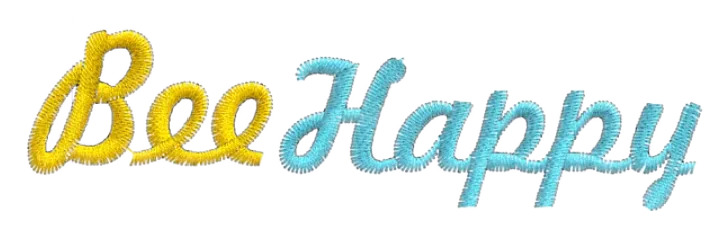
Handwriting adds a personal touch that’s hard to replicate digitally. It makes each card unique. Using the Lettering tool gives you consistency and saves time if you’re making multiple cards. Both approaches work—it depends on your preference and how much time you have.
Preparing Two Files
Here’s the critical part: we’re splitting the design into two separate files. One file is for printing, the other is for embroidery. This is what makes the mixed-media approach work.
Create two copies of your complete file. For the embroidery file, keep just the bees and the card outline—delete everything else. The outline is important because you’ll stitch it first as a placement guide. Send this file to your embroidery machine.
Switch to your print file and delete the two bees since they’ll be embroidered later. This file has all the hearts, the dotted line, and any text you added. From the File menu, choose “Export to Image” and save it to your preferred location.
Printing at Original Size
Print the exported image at its original size. DRAWings PRO gives you a reliable way to do this. Open a new file and import your saved image as a backdrop. From the File menu, choose “Print Artwork.” In the dialog box, select “Design only” and click Print.
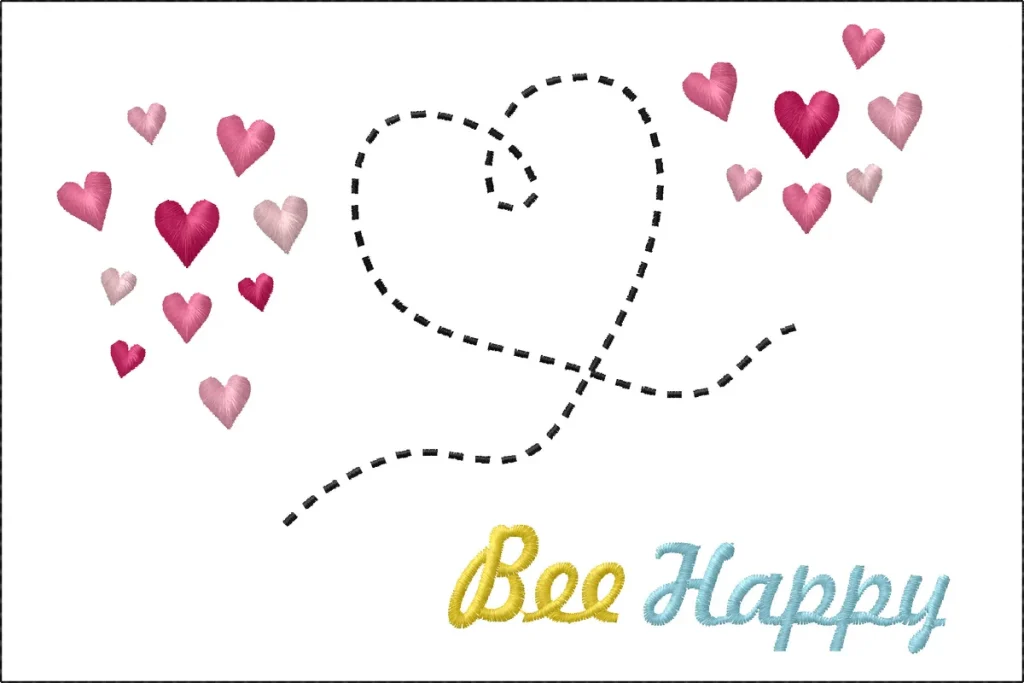
This method ensures the proportions are exactly right. Your printed card will align perfectly with your embroidered outline because they’re both based on the same dimensions you set at the start.
Cut the card along the outline once it’s printed. Take your time with this step—clean edges make a difference in the final appearance.
The Embroidery Process
Hoop a piece of tear-away stabilizer. This is crucial because you’re embroidering on paper, which needs support. Attach the hoop to your machine and stitch just the card outline to the stabilizer first. This creates your placement line.
Align your printed card on that stitched outline. The outline you stitched serves as a perfect guide. Use paper tape to secure the card in place. Paper tape is better than regular tape because it’s easier to remove and won’t damage your card or leave residue.
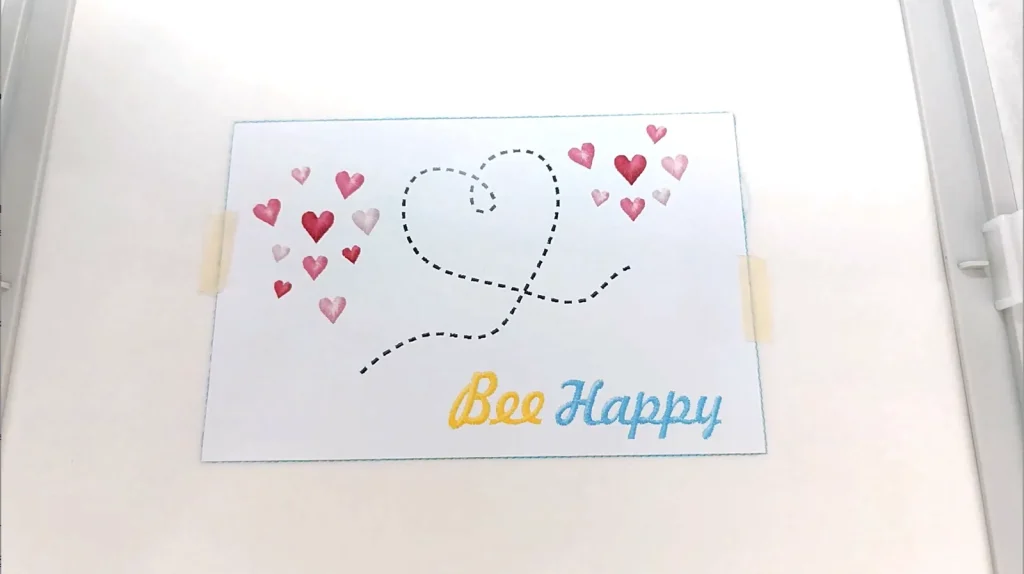
Continue with the rest of the embroidery. Switch threads as your machine prompts until both bees are complete. The beauty of this simplified design is that embroidery time is relatively short. You’re not sitting there for hours—you’re getting a handmade result in a reasonable timeframe.
Finishing Touches
Remove the hoop from the machine and carefully remove the design from the hoop. Gently remove the stabilizer from the back of the card. Tear-away stabilizer should come off cleanly, but work slowly to avoid tearing the paper.
For a clean, professional finish, cover the back with another piece of decorative paper. This hides the thread ends and gives the card a polished look when someone opens it. Use a glue stick or double-sided tape to attach the backing paper.
Why This Approach Works
Let’s talk about why this mixed-media technique is worth the extra steps. First, it’s practical. Pure embroidery on paper is tricky—too many stitches and the paper tears or puckers. By printing most of the design and embroidering only the focal points, you avoid these issues while still getting that handmade quality.
Second, it’s efficient. If you were embroidering all those small hearts, the stitch time would multiply quickly. Printing them takes minutes. This matters if you’re making multiple cards or working on a deadline.
Third, it creates depth and interest. The printed elements sit flat while the embroidered bees have dimension. When someone holds the card, they can feel the difference. That tactile quality is what makes handmade items special.
Fourth, it’s flexible. Once you understand the process, you can apply it to other designs. Maybe you print a background scene and embroider a focal character. Or print a border and embroider a monogram. The technique works for any design where you can separate background from foreground elements.
Technical Considerations
A few things to keep in mind: paper weight matters. You want something heavy enough to support embroidery but not so thick it jams your printer. Cardstock around 200gsm works well. Test your specific paper before committing to a full batch.
Stabilizer choice is important too. Tear-away works for this project because the design is light. If you were doing denser embroidery, you might need a different type. Always test on scrap paper first.
Thread quality affects the final look. Rayon thread gives a nice sheen that catches light. Polyester is more durable if the card might be handled frequently. Cotton gives a matte finish that’s more subtle. Choose based on the look you want.
Making It Your Own
This tutorial uses bees and hearts, but the concept applies to any theme. For a birthday card, you might print balloons and embroider the age number. For a wedding card, print a floral background and embroider the couple’s initials. For a holiday card, print a winter scene and embroider a snowflake focal point.
You can also scale this up or down. A smaller card uses less material and stitches faster, making it perfect for quick gifts. A larger card gives you more space for detailed designs and longer messages.
The color palette technique works for any project. Building your colors from a source image ensures harmony without needing formal color theory knowledge. Just find an image with colors you like and extract them.
Final Thoughts
Creating mixed-media cards combines the precision of digital design with the warmth of handcrafted items. It’s a technique that respects both time and materials while delivering something that genuinely stands out.
The process requires planning—you can’t just wing it and expect perfect alignment between printed and embroidered elements. But that planning pays off when you see the finished card. The printed hearts add color and visual interest. The embroidered bees add texture and that undeniable handmade quality. Together, they create something more interesting than either technique alone could achieve.
DRAWings PRO makes this possible by giving you control over every aspect of the design. You can simplify sample designs, adjust stitch density for different materials, create dynamic fills, and export files in the formats you need. The software handles the technical stuff so you can focus on the creative decisions.
If you’ve been looking for a way to make your greeting cards special, this mixed-media approach is worth trying. Start with this bee design to learn the process, then branch out into your own themes and styles. The people who receive these cards will notice the difference—and they’ll keep them a lot longer than they’d keep a store-bought card.
Give it a try, and watch their faces light up when they realize you didn’t just buy a card—you designed and made it specifically for them.
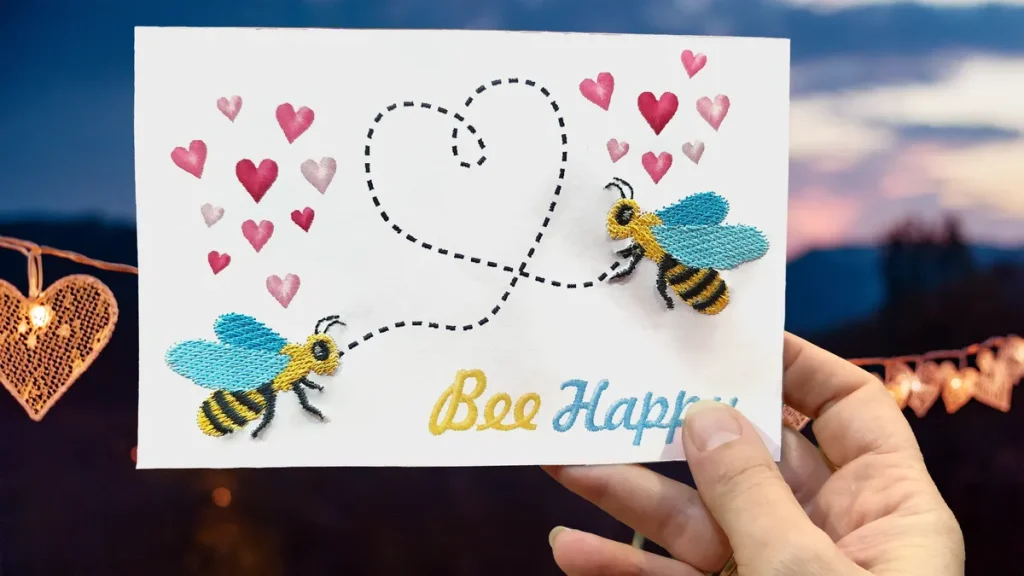
Happy crafting and don’t forget to share your creations with us in the
DRAWings PRO Help Group!
You can download the .DRAW file of the project and the image used, for free, from the link below:
- Project’s .DRAW file: How to create a Mixed-Media Embroidered Greeting Card
It can open only with the XII and later versions of DRAWings embroidery software
Share your experiences in our Facebook group, and don’t forget to subscribe to our blog for more innovative embroidery techniques and inspiration.
Frequently Asked Questions
Check also, our related projects
How to Modify Built-In Fonts into Custom Designs: Dripping Halloween Lettering
Every embroidery program ships with fonts that are already digitized. They stitch cleanly, and they are also the same fonts everyone else has.Digitizing a Knockout Layered Varsity Monogram with Nested Script Lettering
Layering script text over a bold collegiate letter is a staple in team apparel, varsity jackets, and custom fleece.How to Embroider a Photo onto a T-Shirt with PaintStitch™ and Sketch
A favorite vacation photo does not have to stay on your phone or disappear into a folder. With DRAWings PRO embroidery software, you can turn a photo into an embroidery design and stitch it onto a T-shirt as a wearable keepsake.