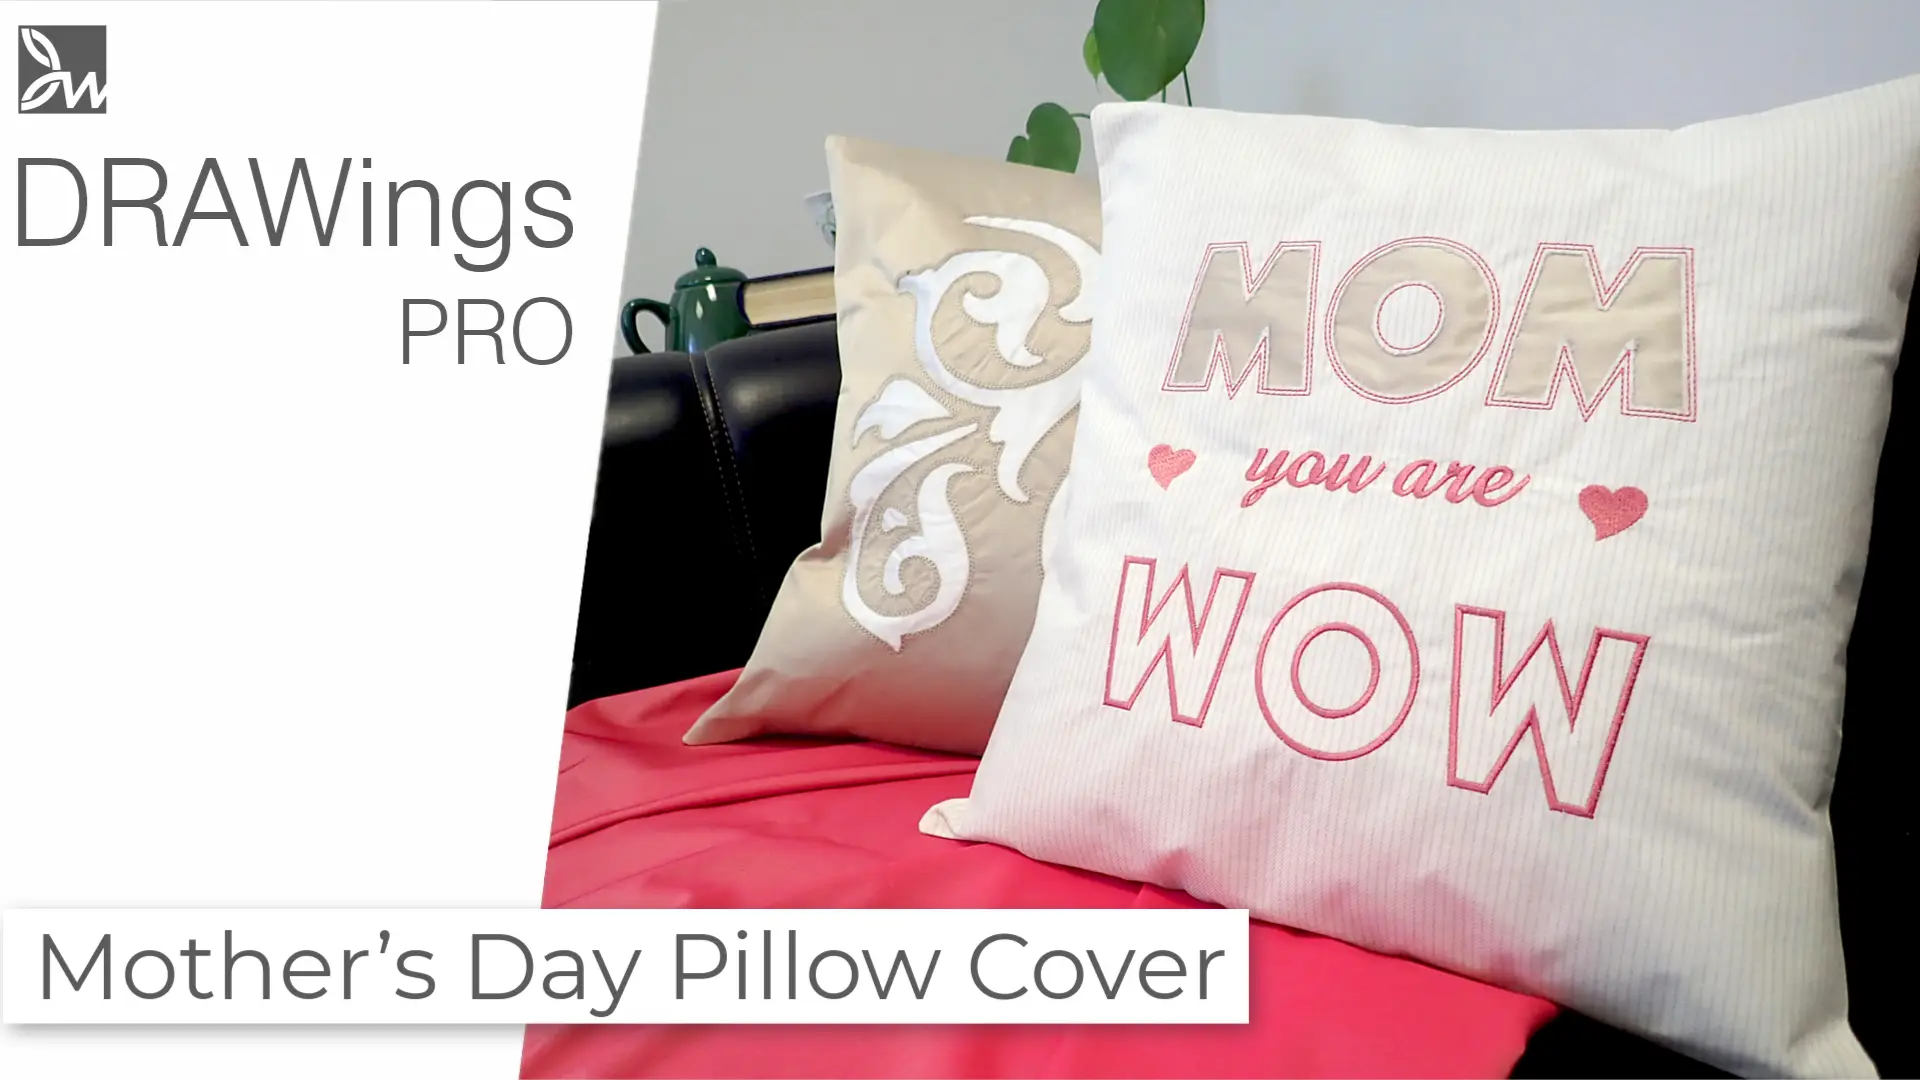
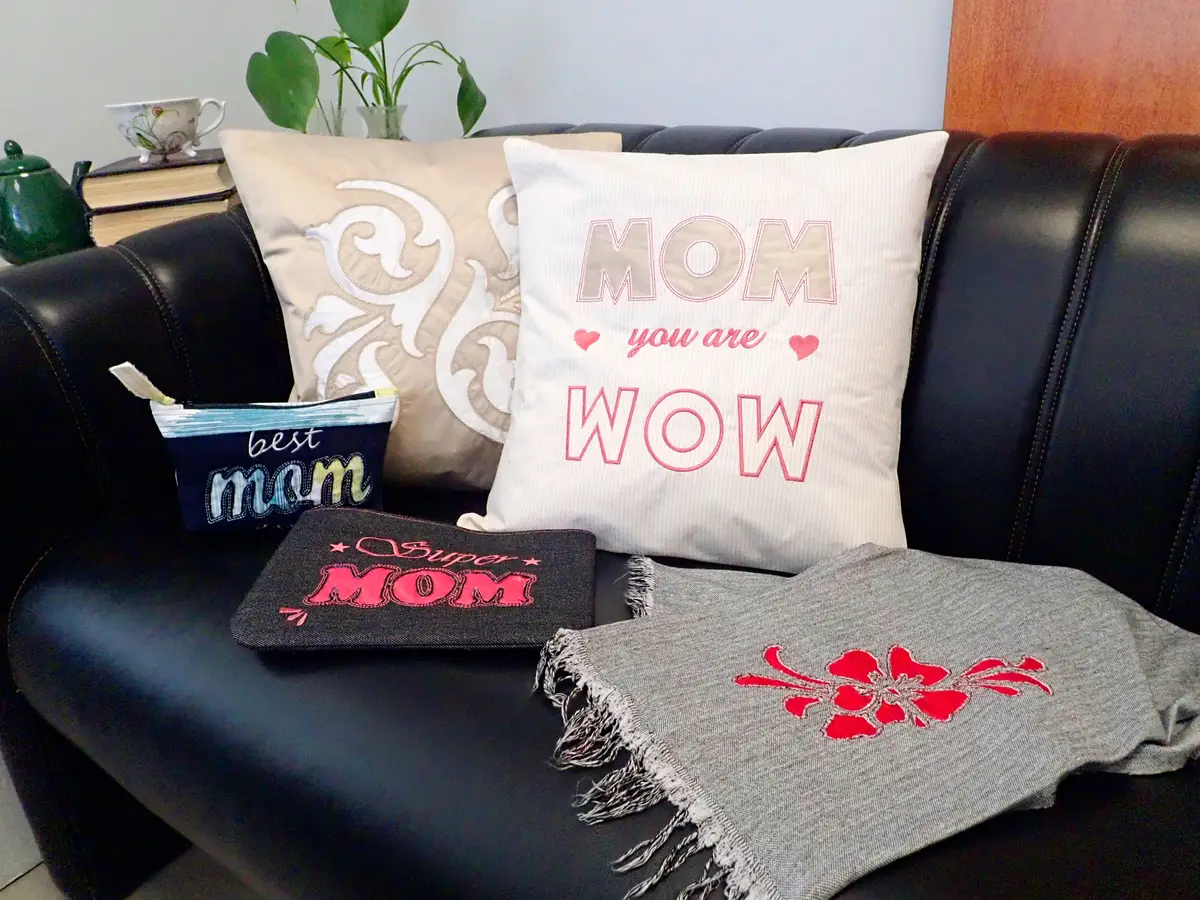
DIY Reverse Applique Pillow Cover Tutorial | Handmade Mother’s Day Gift Idea
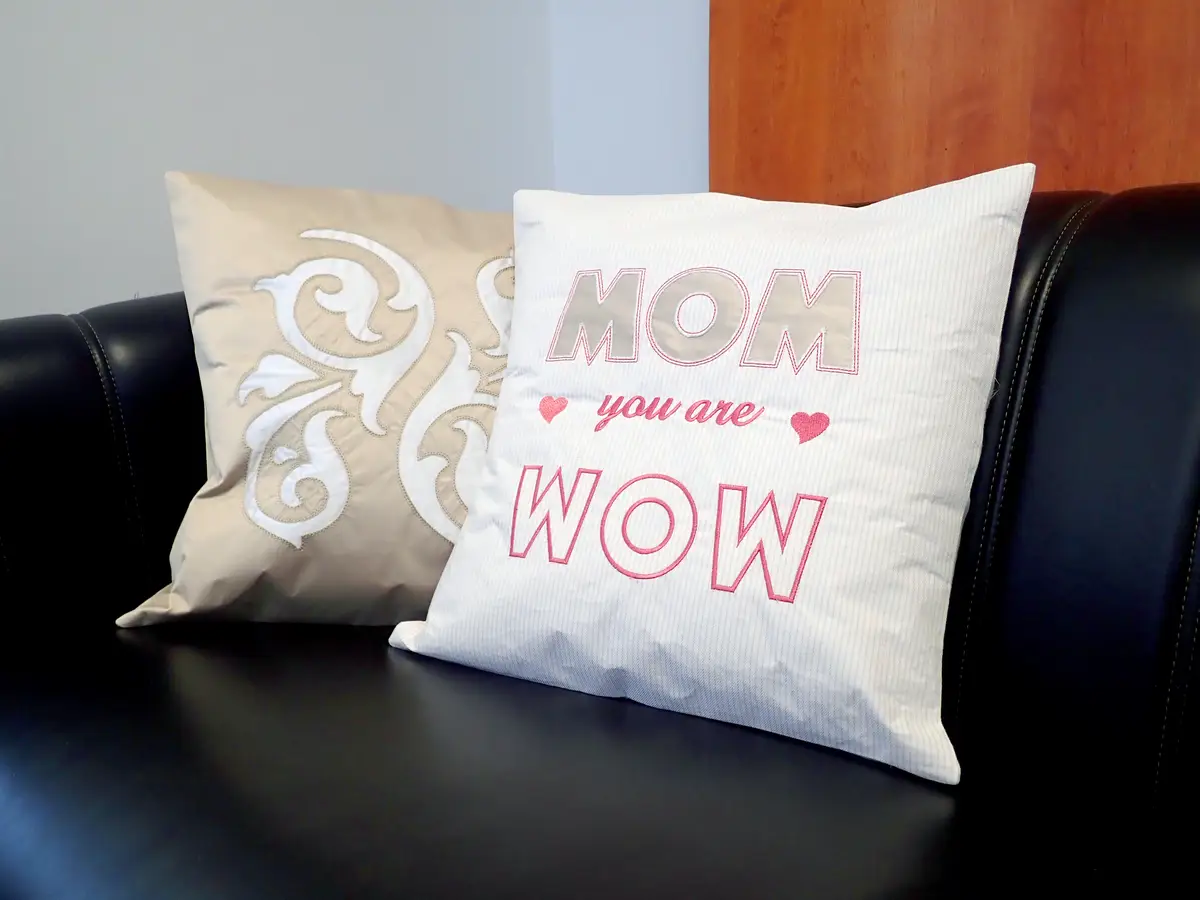
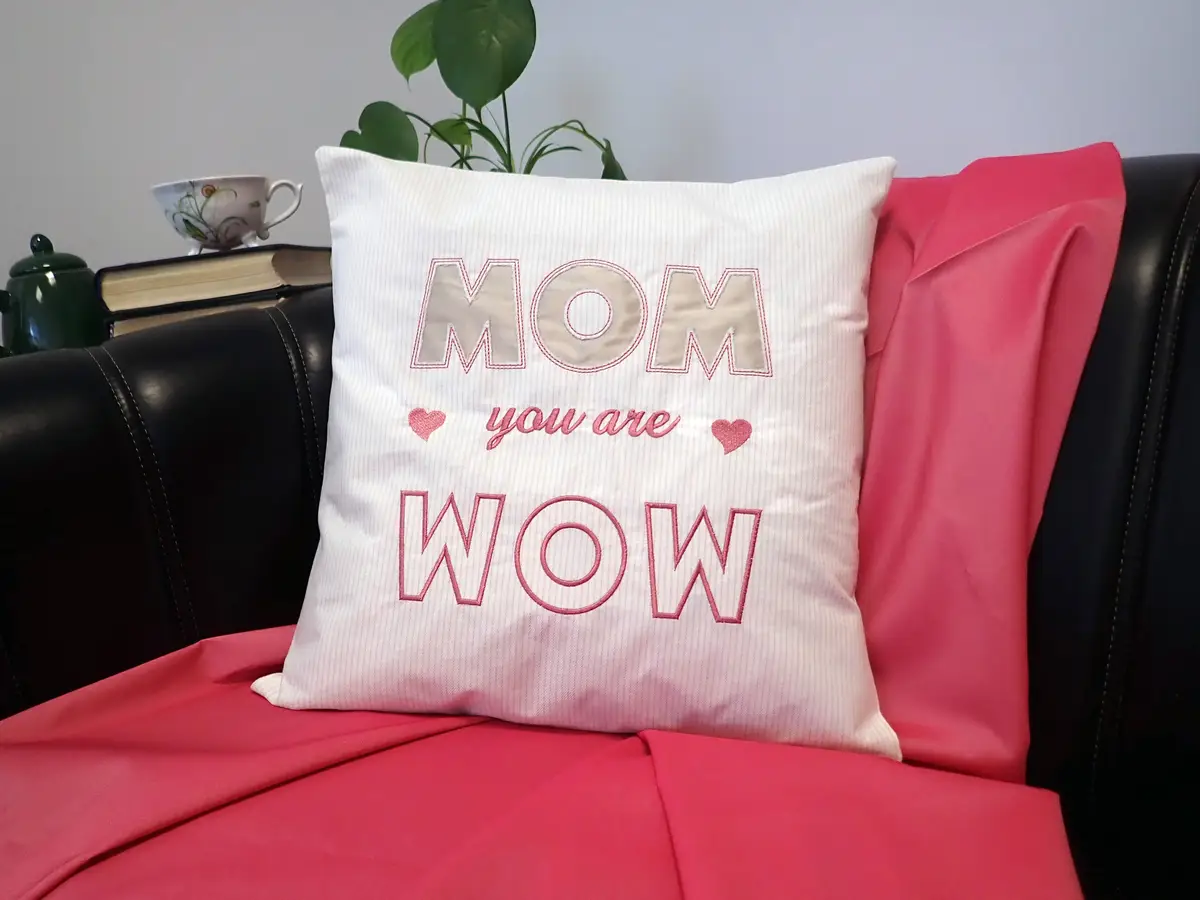
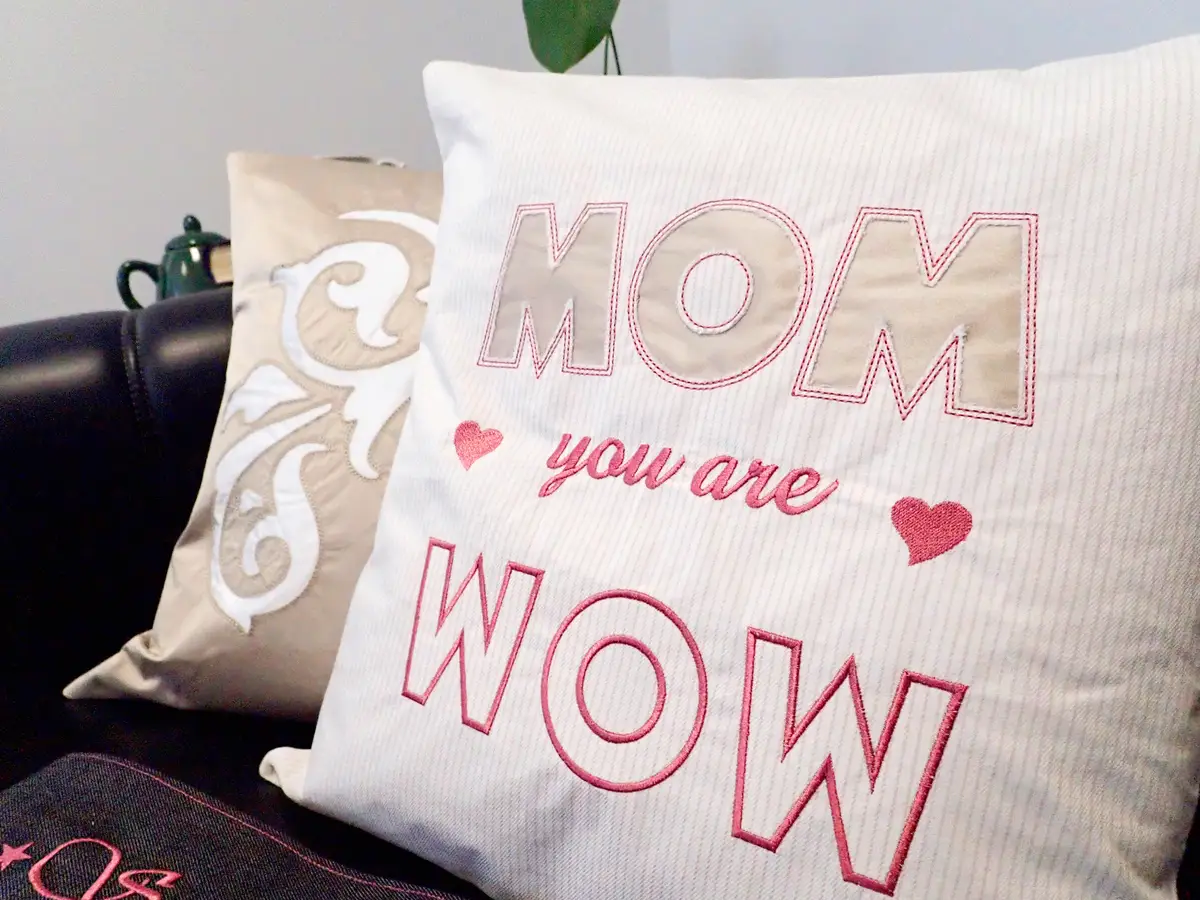
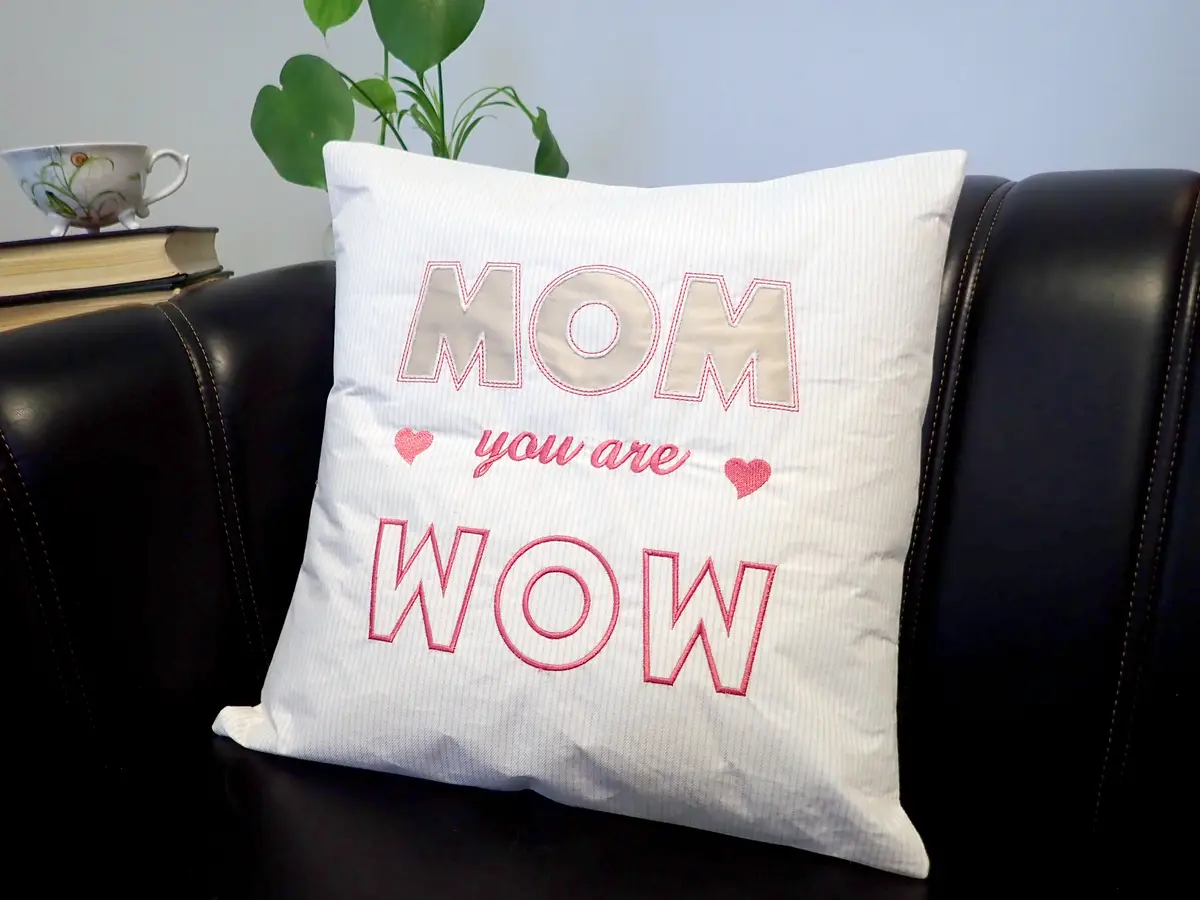
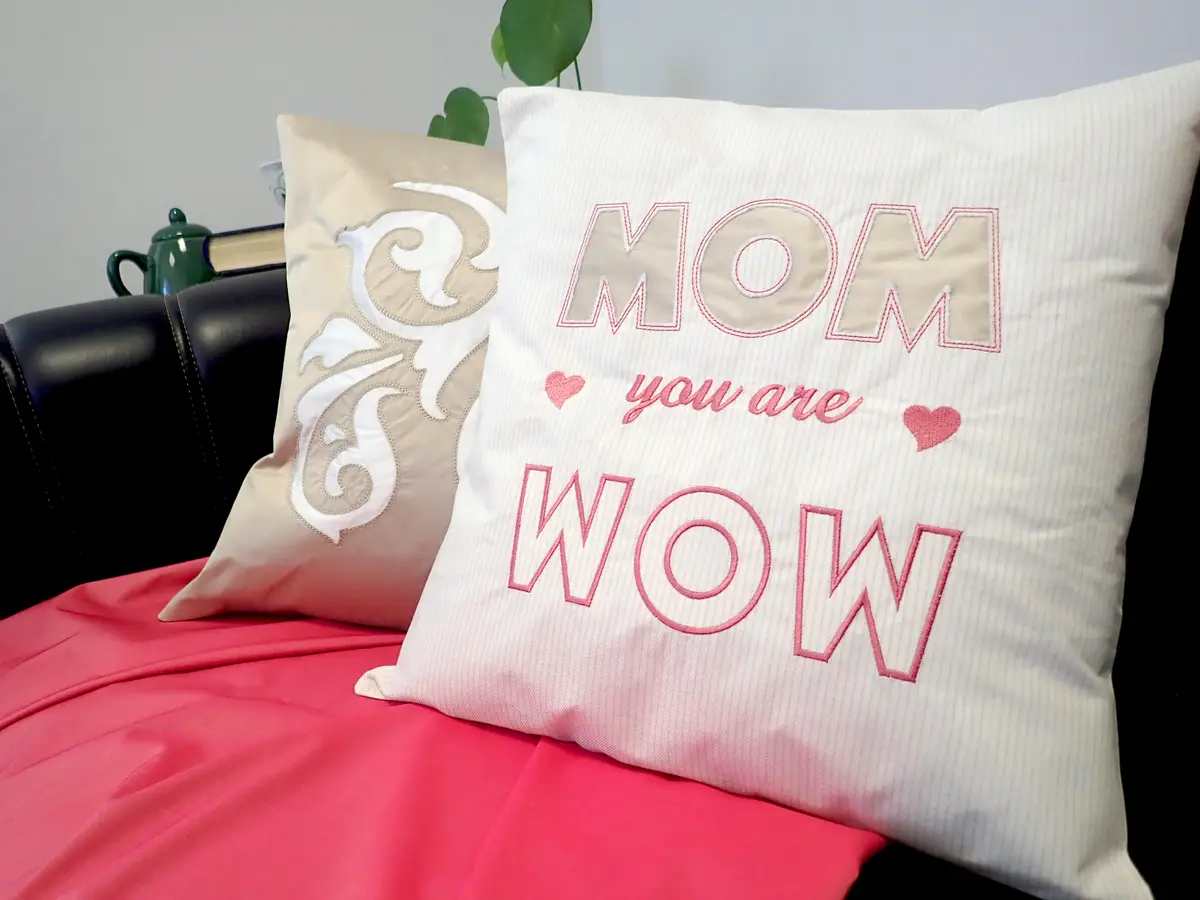
In this step-by-step tutorial, we’ll guide you through creating a beautiful reverse applique pillow cover adorned with the endearing quote “MOM you are WOW”. This project combines embroidery, cutwork, and layering techniques to achieve a stunning textured effect. Whether you’re crafting for your own mother or a special mother figure in your life, this personalized gift is sure to make them feel loved and appreciated.

Designing Your Reverse Applique Pillow Cover:
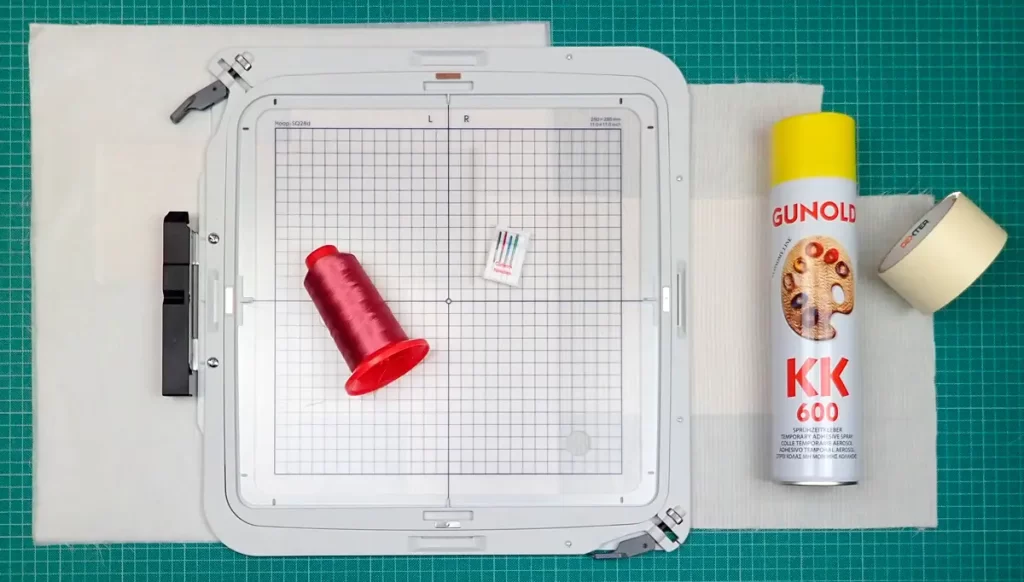
When starting your project in DRAWings PRO, one of the first steps is selecting the appropriate hoop size. This ensures that your design fits perfectly and allows for easy embroidery. Remember, you can always resize the design to suit your preferences or available hoops.
Utilize the lettering tool to add the text “you are” in a suitable font and size, ensuring it’s centered within the hoop. This step lays the foundation for your design and sets the tone for the rest of the project. Don’t forget to add decorative elements such as heart shapes to enhance the visual appeal of your pillow cover.
Preparing for Embroidery:
Before diving into the embroidery process, it’s crucial to choose coordinating fabric for your pillow cover and applique. This ensures a cohesive look and allows your design to stand out. Make sure to properly stabilize your fabric with iron-on stabilizer to prevent puckering or distortion during embroidery.
Once stabilized, align the center of your fabric with the center of the hoop and load the design onto your embroidery machine. Starting with the text “you are” followed by decorative elements sets the stage for the subsequent embroidery steps.
Incorporating Cutwork Needles:
For the intricate cutwork portion of the design, consider using cutwork needles for precise cutting. These specialized needles make the process easier and ensure clean, accurate cuts. However, if cutwork needles are not available, alternative methods can be used to achieve similar results.
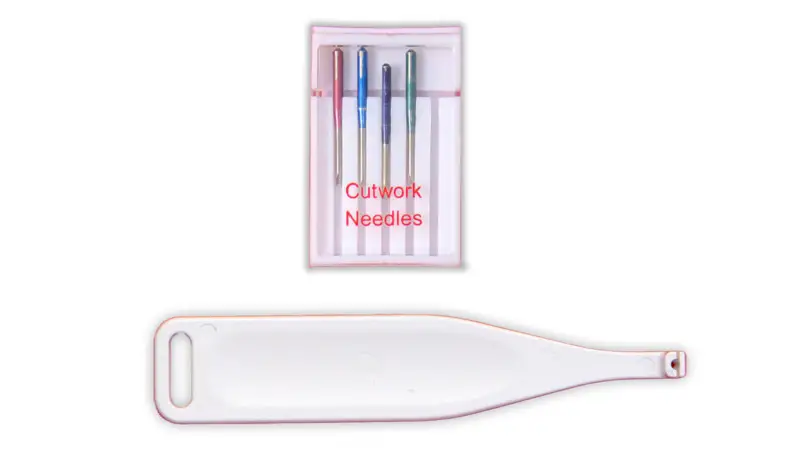
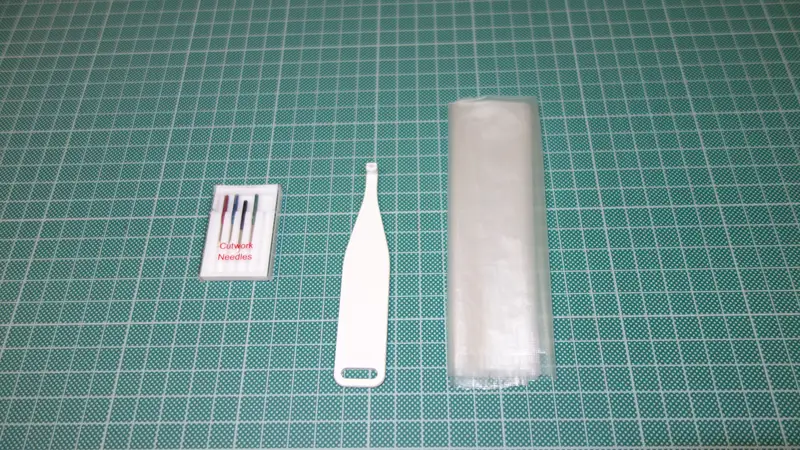
Follow the software’s prompts to change needles as needed, ensuring each cut is precise. Stabilize the cut fabric and apply the applique fabric using adhesive spray and paper tape for a seamless finish.
Finishing Touches:
Completing the embroidery process involves careful attention to detail, especially when stitching around the word “MOM” to secure both fabrics together. This step ensures that your applique is firmly in place and adds dimension to your design. Consider adding additional decorative stitches as desired to further personalize your pillow cover.
Once the embroidery is complete, carefully remove the hoop from the machine and trim any excess fabric and threads for a clean, polished finish. Ironing the embroidered fabric ensures a crisp look and enhances the overall appearance of your creation.
Assembling Your Pillow Cover:
Assembling your pillow cover involves preparing the remaining fabric pieces by hemming the edges. This step adds a professional touch to your project and ensures durability. Layering the decorated front piece with the back pieces, ensuring right sides are facing together, sets the stage for stitching along the edges.
Using clips or pins to secure the layers in place prevents shifting during stitching and ensures a seamless finish. Leaving a seam allowance allows for easy insertion of a cushion insert and adds structure to your pillow cover.
Finalizing Your Handmade Gift:
The final step in creating your handmade reverse applique pillow cover is to turn it right side out and insert a cushion insert. This transforms your creation into a functional and stylish decor piece that will be cherished for years to come.
Celebrate the love and appreciation for mothers and mother figures everywhere with this heartfelt gift. Whether it’s for your own mother or a special mother figure in your life, this handmade creation is sure to bring joy and warmth to any space. Happy crafting!
Conclusion of the Reverse Appliqué Pillow Cover Tutorial: A Handmade Mother’s Day Gift Idea
With the advanced features of DRAWings PRO Embroidery software, creating personalized gifts like this reverse applique pillow cover has never been easier. Celebrate Mother’s Day in style by crafting a meaningful and heartfelt gift that will be cherished for years to come.
Happy crafting and don’t forget to share your creations with us!
You can download the .DRAW file of the project, for free, from the link below:
- Project’s .DRAW file: DIY Reverse Applique Pillow Cover Tutorial | Handmade Mother’s Day Gift Idea
It can open only with the XI and later versions of DRAWings embroidery software
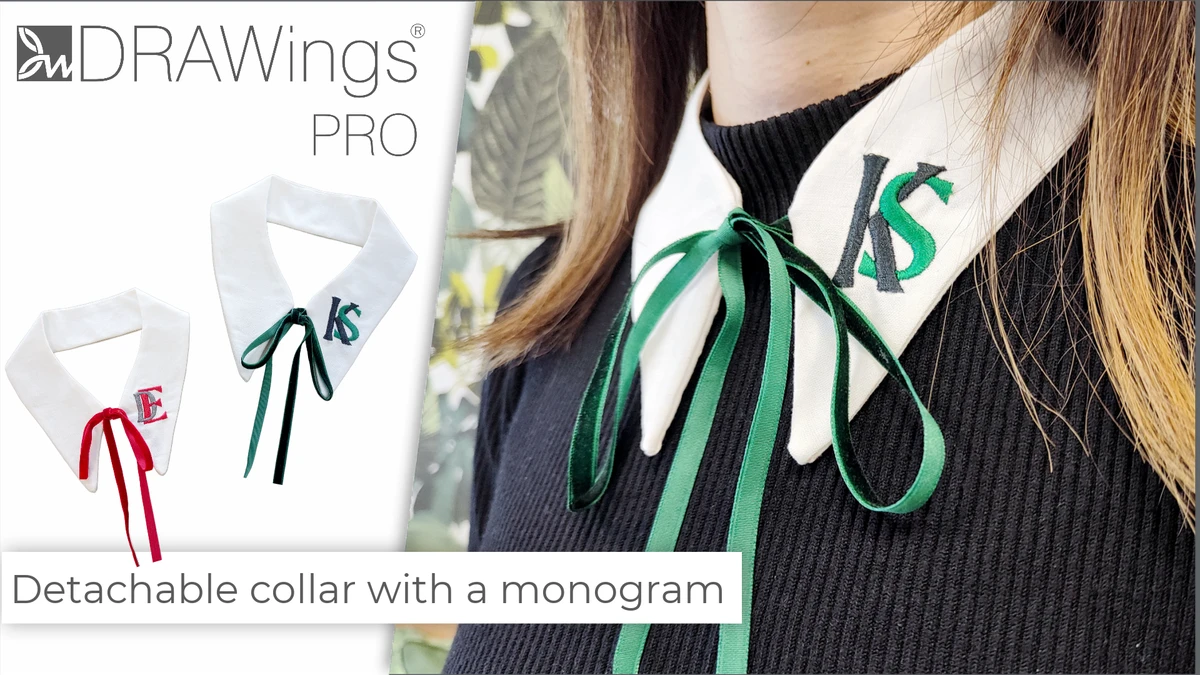
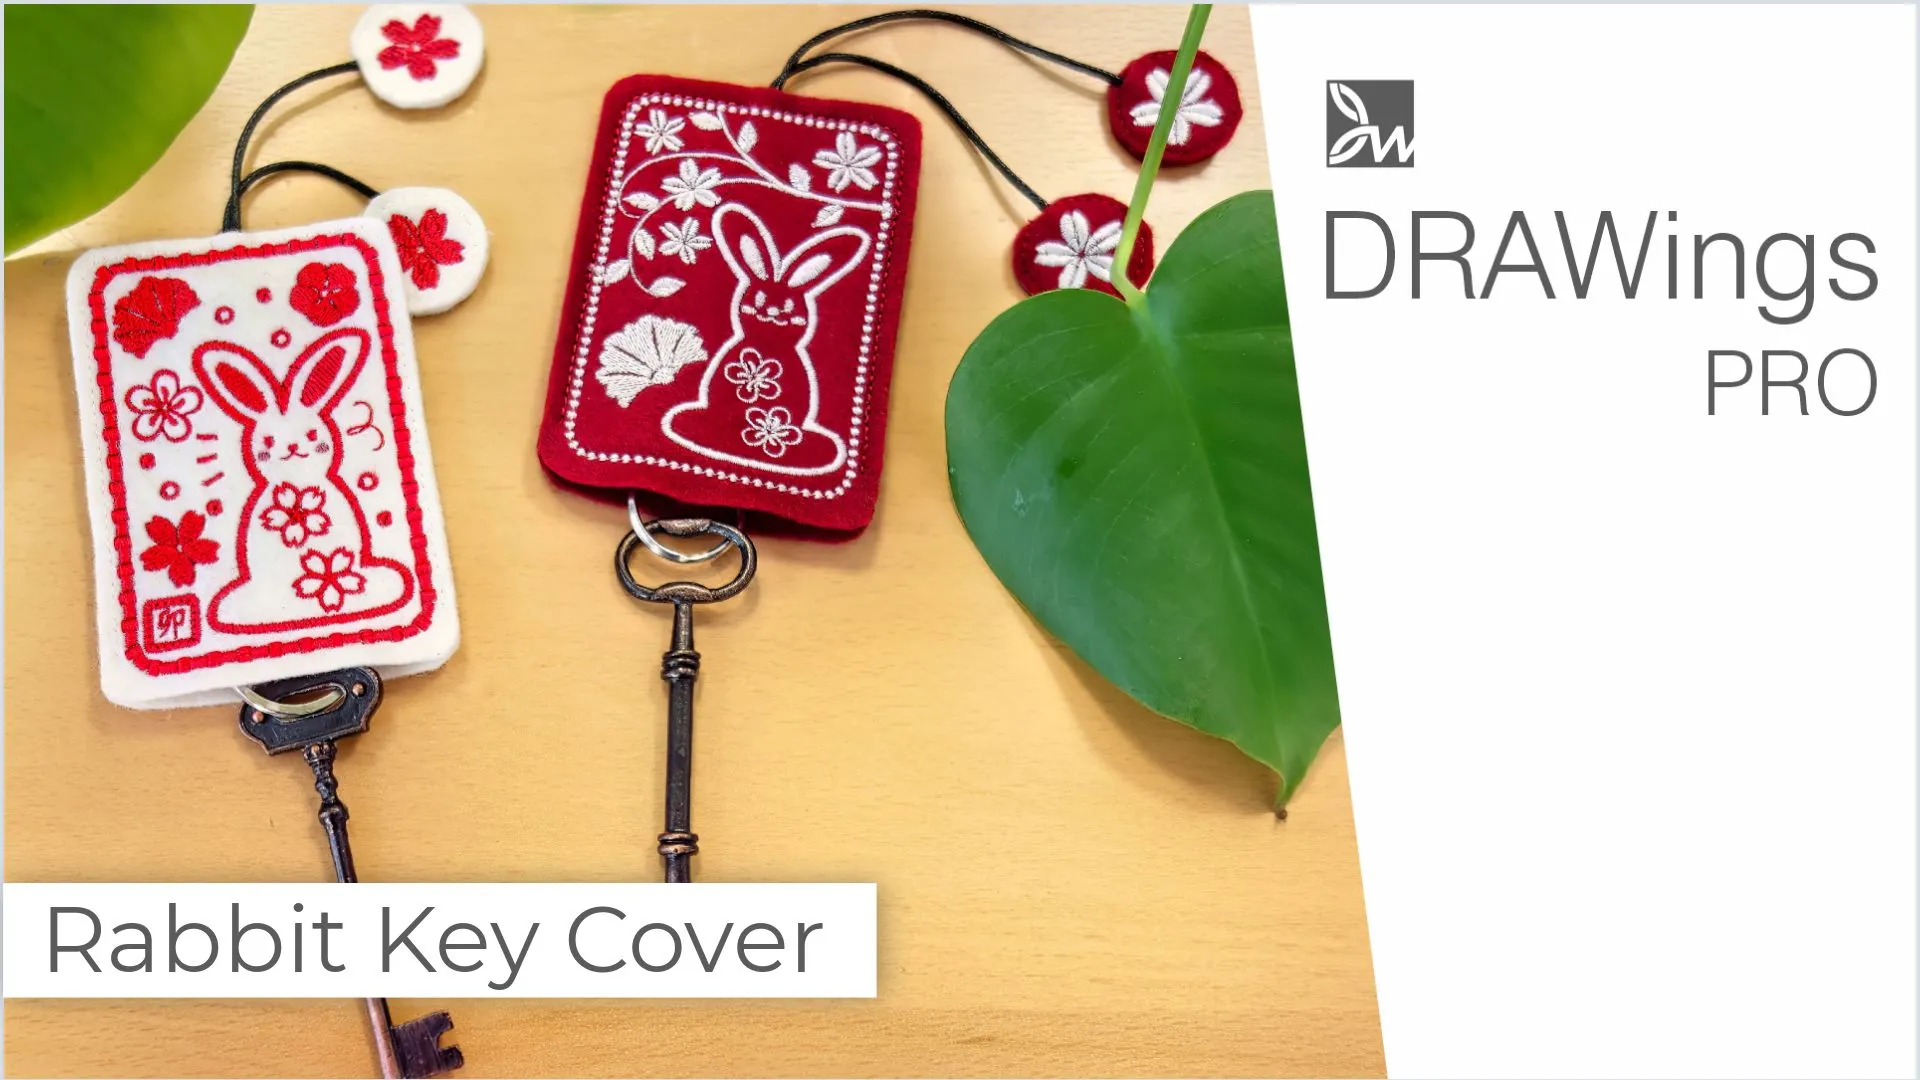
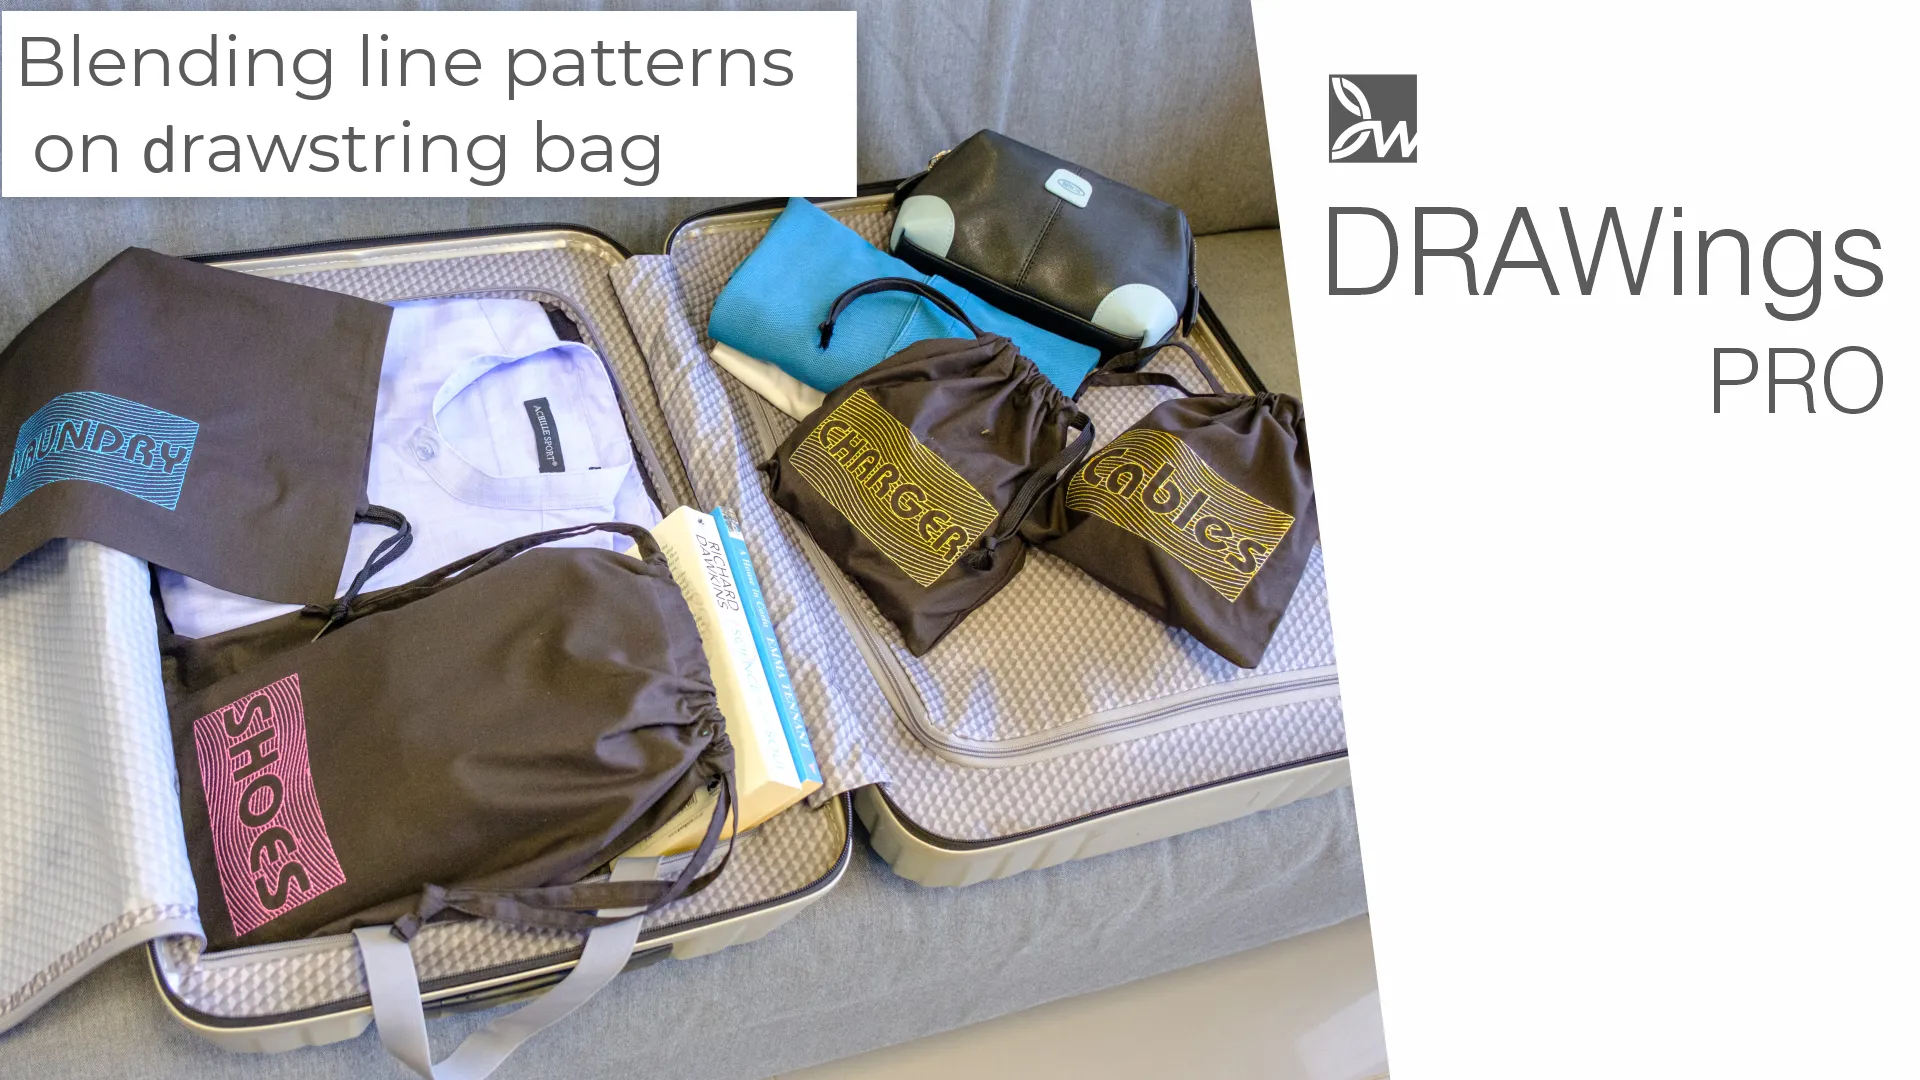
Check also, our related projects “Puff Foam embroidery: Mastering 3D Embroidery on Hats“, “DIY Drawstring Backpack with Applique Decoration“, “How to Make a Detachable Collar with an Embroidered Monogram” & “HOW TO MAKE A BEAUTIFUL RABBIT KEY COVER FROM SCRATCH” & “DIY: HOW TO MAKE A CUSTOM GLASSES CASE WITH YOUR OWN DESIGN“,”DIY Valentine’s Day Special: Create Your Own Split Heart Keychain“