How to Modify Built-In Fonts into Custom Designs: Dripping Halloween Lettering
Every embroidery program ships with fonts that are already digitized. They stitch cleanly, and they are also the same fonts everyone else has. If you want lettering that looks like your own, you don’t have to digitize each letter from scratch. You can modify an embroidery font that is already in the software and change its shape.
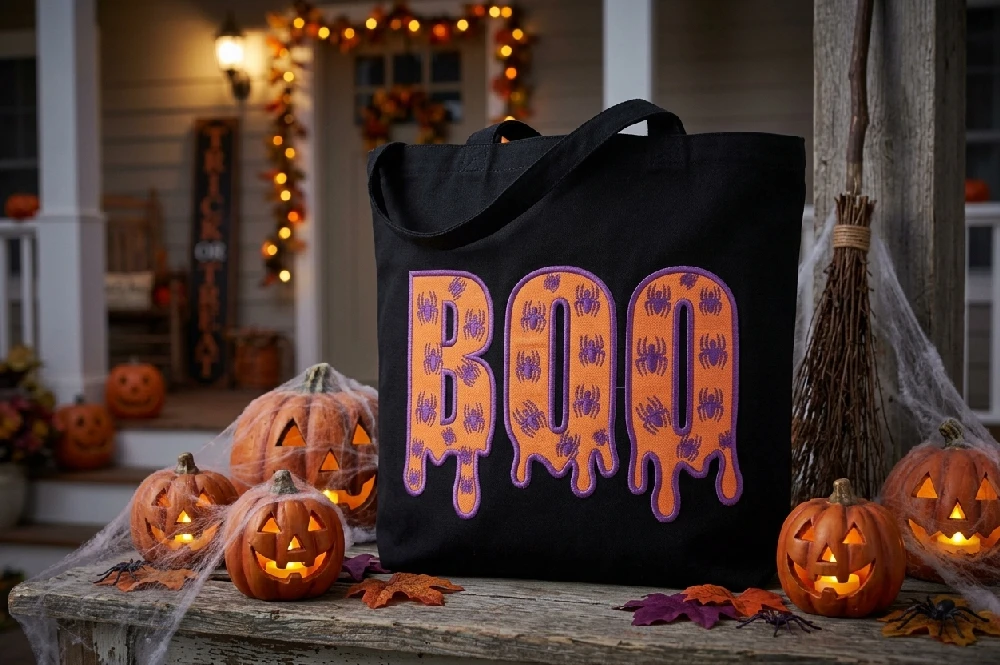
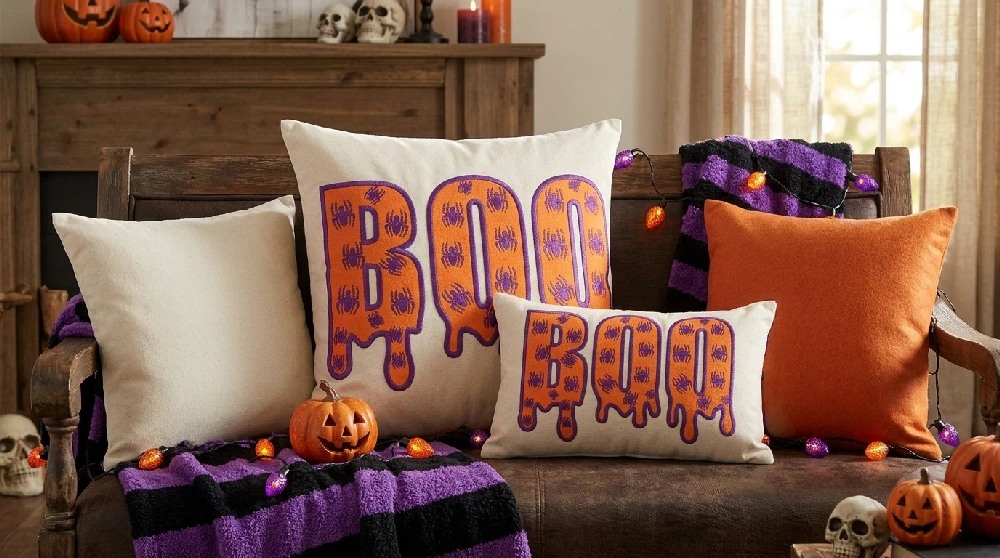
This post builds a Halloween embroidery design around a dripping “BOO.” We start with a built-in font, convert it to editable shapes, pull the bottom edge into drips, and then add a spider fill over an applique layer. The method works with any word. Halloween is a reason to practice the tools, and once you know the sequence you can reuse it for team names, shop names or anything else that needs custom embroidery lettering.

Why start from a built-in font
Drawing letters from nothing takes time, and proportions are easy to get wrong. Letter widths, spacing and the way strokes meet all need attention, and none of that is what makes a design memorable. A built-in font has already solved those problems, so your effort goes into the part that is different: the edges, the colors and the fill.
It also lowers the skill you need. Editing nodes on an existing shape is closer to adjusting a vector drawing than to digitizing a design from zero. If you can move a point and drag a handle, you can do this project.
The original font also acts as a reference. When you reshape only the bottom edge, the rest of the word keeps the proportions of the font, so the drips read as part of the same word and not as something added on top.
Decide a few things before you start
Spend a minute on decisions before you open the Lettering tool. Settle the word and its spelling, because the conversion in a later step is a one-way change for the text. Pick a color pair for the lettering (a fill and an outline) and a second color for the symbol fill that contrasts with the first. Think about where the piece will be stitched, since the symbol size, the outline width and the drip length all depend on the final size.
This takes little time and saves rework. Changing a color later is a single click. Changing a misspelled word after you have edited dozens of nodes means starting over. For this project we use the values from the video, so you can match the result exactly and then change them on your own version.
Choosing the font and typing the word
Start the Lettering tool and type BOO in capital letters. Choose the pre-digitized font XPG 053 and set the Font size to 80. If you want the same result as in the video, use the same font and size.
Capital letters work well here because each letter has a clear bottom edge, and that edge is the part we reshape later. Size 80 also leaves enough room inside the letters for the spider fill, which uses 12 mm symbols. A smaller word would leave little space for a pattern, and the spiders would crowd the outline.
If you try another built-in font later, pick one with simple, open letter shapes. Fonts with heavy decoration already carry their own detail, and drips tend to get lost in them.
Converting the text to curves
Switch to Selection mode, right-click the text and choose Convert to Curves from the context menu.

Until now the word is a text object. You can change the font, the size and the wording, but you can’t change the shape of a single letter. After the conversion it is a curved object, and you can edit its nodes and segments as you would with any other object in the design. This step turns a font into a drawing you can change.
There is a trade-off. Once the text is converted, you can’t change the font or the spelling with the Text tool, which is why the planning step matters. Our guide to converting text to curves and node editing goes through the conversion in more detail, including how to work on one letter at a time.
Adding color and an outline
Keep the object selected. On the Used Colors bar, click the bucket icon with the plus sign and choose an orange from the color wheel. That is the Fill. Then click the pen icon with the plus sign and choose a purple for the Outline.
Open the Outline Properties rollup and set the Outline type to Satin Serial and the Width to 2 mm. The Satin Serial guide covers the type in more detail.
We set the colors before editing nodes on purpose. The outline changes how the bottom edge looks, and it is easier to judge a drip when you see it with its real color and border width instead of a plain shape. A 2 mm outline also frames the letters, so the word still reads from a distance once the spider fill goes inside. Orange against purple gives the edge enough contrast for that.
Shaping dripping letters with Edit Nodes
Switch to Edit Nodes mode to see all the existing nodes on the object. To change the lower part of the letters, click and drag to select the nodes along the bottom.
Press the + key. The software adds nodes to the curve segments before the selected nodes. Press + again if you need more. The extra nodes matter because a drip needs several points to form a curve. If you only use the original nodes, you end up pulling long straight segments, and the result looks like a spike.
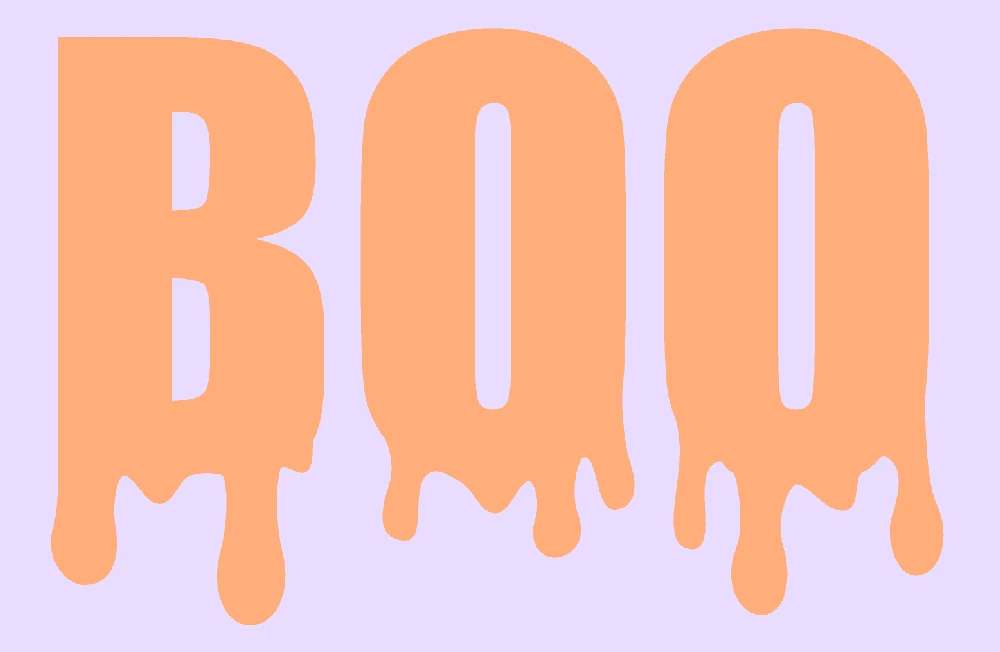
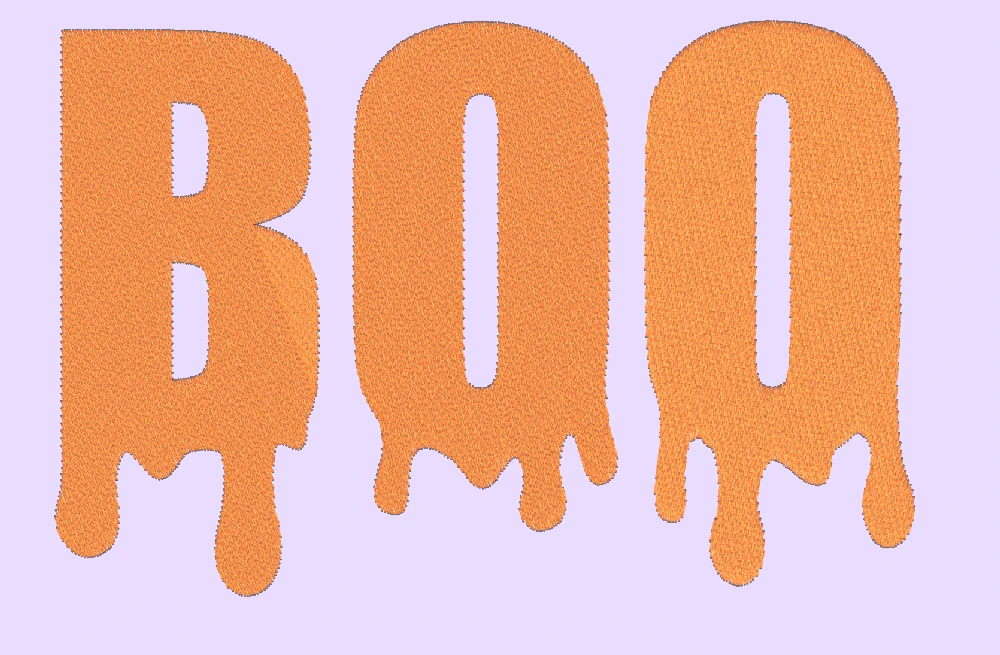

To make the first drip, select one node, right-click it and choose Auto Smooth Node. Then drag the node downward. Auto Smooth gives the node control handles, so the pull produces a rounded end instead of a corner. You can fine-tune the shape by adjusting the control handles of the smooth nodes.
From there, add more nodes and convert others to Auto Smooth, depending on the look you want. Drips of different lengths and widths look more natural than a row of identical ones, so vary them.
One tip from our text editing guide: if a selection box picks up nodes from the neighboring letter, right-click a node of the letter you want and choose Select Polyline. Only that letter’s nodes stay selected.
This is a creative process, so take your time. It is also the step that decides how the lettering reads, and it is where the design stops looking like a stock font.
Adding a spider Array Fill
You can use the design as it is. We took it one step further with an Array Fill made from a spooky symbol, stitched over an applique layer. The fill adds texture inside the letters, and the applique gives it a base. It also shows that a modified font can go through the same steps as any other shape in the software.
Inserting the symbol
Expand the Tools menu and select Insert Symbol. In the dialog box, find the spider under the Webdings font. Select it and click Insert. Your cursor becomes a crosshair, so click and drag to place the spider in the workspace, and then close the dialog box.
Set the spider to about 12 mm wide. With it still selected, go to the Used Colors bar and click the X next to the pen icon to remove its outline. At this size an outline would crowd the shape and make it harder to read. Then click one of the color swatches next to the bucket icon to choose a new Fill color. Pick one that stands apart from the orange.
Symbol fonts like Webdings are a quick source of small shapes. You don’t need to find artwork or import a file.
Turning the symbol into a fill
With the spider still selected, hold the Shift key and click the dripping BOO word, so both objects are selected. Right-click, open the Array submenu and choose Create Fill Out of Shapes. The spider is now placed as a fill inside the word.
In Array Properties, select the Space Fill pattern type. Space Fill scales and rotates the spider copies randomly. A regular grid of identical shapes looks mechanical, and the random variation adds dimension and texture. Some other programs call a similar feature a motif fill.

Adjust the settings to your liking. For reference, these are the values used in the video: Rotation 70%, Scale 120%, Spacing 120%, Min Size 40% and Max Size 120%. Rotation controls how much the copies turn, Scale and the Min and Max sizes control how much they vary in size, and Spacing controls the distance between them. Finally, set Offset to 1 mm. This pushes the fill slightly over the outline, so the two meet without a gap.
We covered this feature in more detail in our Array – Space Fill video.
Placing an applique layer underneath
The last change is about stitching order. Duplicate the Array layer. On the duplicate, set the fill to Applique from the Properties rollup. Go to the Used Colors bar and click the X next to the pen icon to remove the outline, since the original layer already has one. Right-click, open the Order submenu and select To Back of Design.

Moving the layer to the back makes the applique stitch before the Array Fill. The fabric piece goes down first, and the spiders and the outline are stitched over it. Depending on the spacing, the fabric shows between the spiders, which adds color and a surface that thread alone doesn’t give. It also changes the job the fill does: the fabric covers the area, so the thread only has to carry the pattern.
If you are new to applique in the software, our guide to multi-piece applique designs explains how the layers work. The Sequence Manager guide helps if you want to check or change the stitching order later.

Settings in one place
| Element | Setting |
|---|---|
| Text | BOO, capital letters, Lettering tool |
| Font | XPG 053, size 80 |
| Conversion | Convert to Curves (Selection mode, right-click) |
| Fill / Outline colors | Orange / purple |
| Outline type | Satin Serial, 2 mm |
| Drips | Edit Nodes, + key to add nodes, Auto Smooth Node, drag down |
| Symbol | Webdings spider, about 12 mm wide, outline removed |
| Array Fill | Create Fill Out of Shapes, Space Fill |
| Space Fill values | Rotation 70%, Scale 120%, Spacing 120%, Min Size 40%, Max Size 120%, Offset 1 mm |
| Applique layer | Duplicate of the Array layer, fill set to Applique, outline removed, To Back of Design |
Check the design before you stitch
Before you stitch the final piece, run the design through a simulation. Our guide to Slow Redraw shows how to watch the stitching order on screen. For this design, check that the applique layer comes first, that the outline sits on the edge of the letters, and that the spiders stay inside it. Fixing the order on screen takes seconds. Fixing it after the machine has stitched costs fabric.
A test on scrap fabric is also worth the time, especially with applique, because the screen can’t show how the fabric piece sits under the stitches. Once the design is right, save it in the format your machine reads. Our guide to saving and exporting designs lists the options.
Using the method on other projects
Nothing in this workflow depends on the word BOO. A business name on a shirt, a team name or a name on a hat all use the same sequence: pick a font, convert it, edit the nodes, add a fill. Only the creative choices change.
The node edits can go in other directions. Pulling corner nodes outward gives spiked edges instead of drips. The symbol can come from any font in the Insert Symbol dialog, so snowflakes, stars or hearts work as well as spiders. The Array values are also worth testing. Change one at a time and watch what it does to the fill, which is the quickest way to learn what each setting controls.
Wrapping up
Modifying a built-in font is a fast way to get lettering that nobody else has. You use the digitized letter shapes, change the parts that matter, and add a fill that fits the project. DRAWings PRO is embroidery digitizing software that keeps lettering, vector editing, fills and export in one program, so a project like this goes from font to machine file without switching tools. For anyone who uses machine embroidery software for custom orders, that saves time on every job.
If you make the dripping BOO, share it in the DRAWings PRO Help Group. We would like to see which colors and drip shapes you chose.
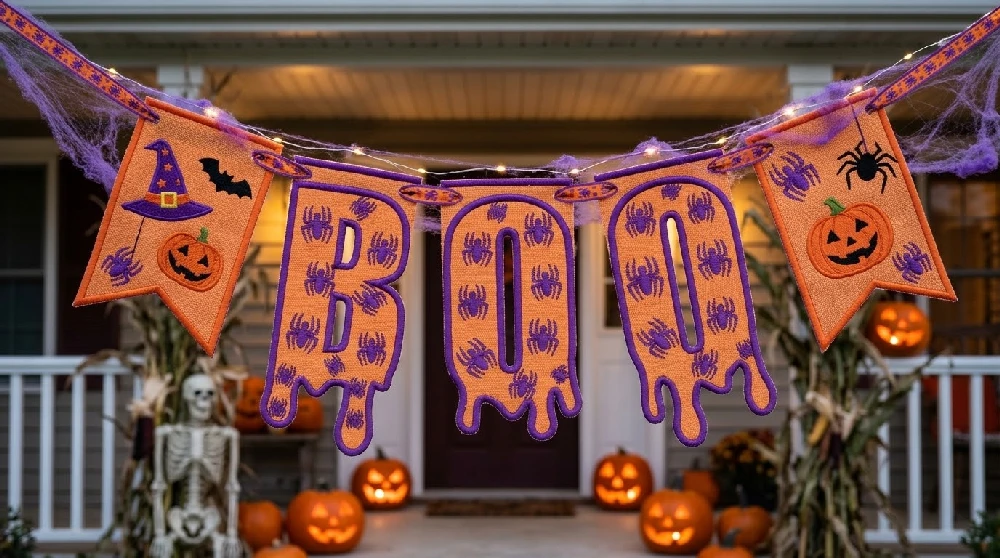

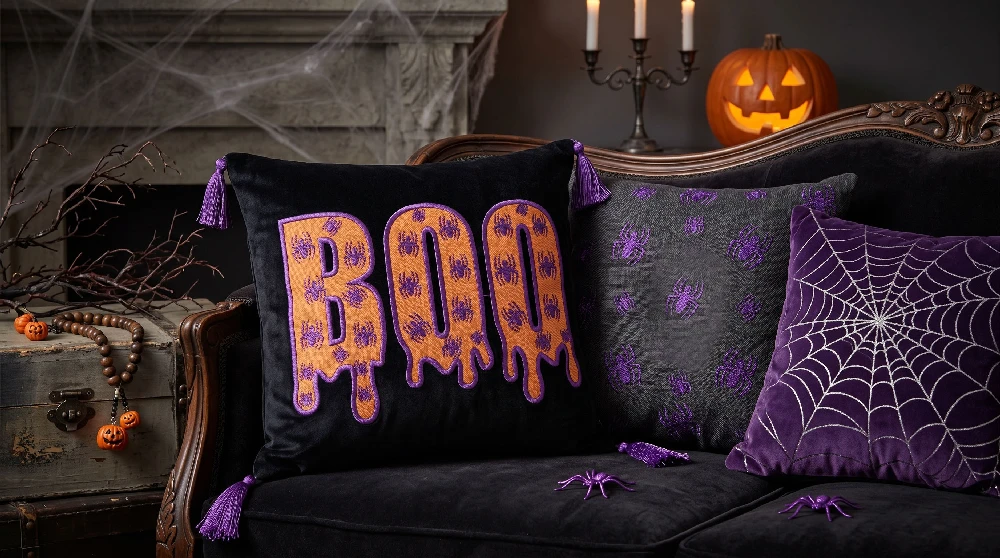
Happy crafting and don’t forget to share your creations with us in the
DRAWings PRO Help Group!
You can download the .DRAW file of the project and the image used, for free, from the link below:
- Project’s .DRAW file: How to Modify Built-In Fonts into Custom Designs: Dripping Halloween Lettering
It can open only with the XII and later versions of DRAWings embroidery software
Share your experiences in our Facebook group, and don’t forget to subscribe to our blog for more innovative embroidery techniques and inspiration.