How to Digitize an Elegant Butterfly Design with Gradient Step Fills
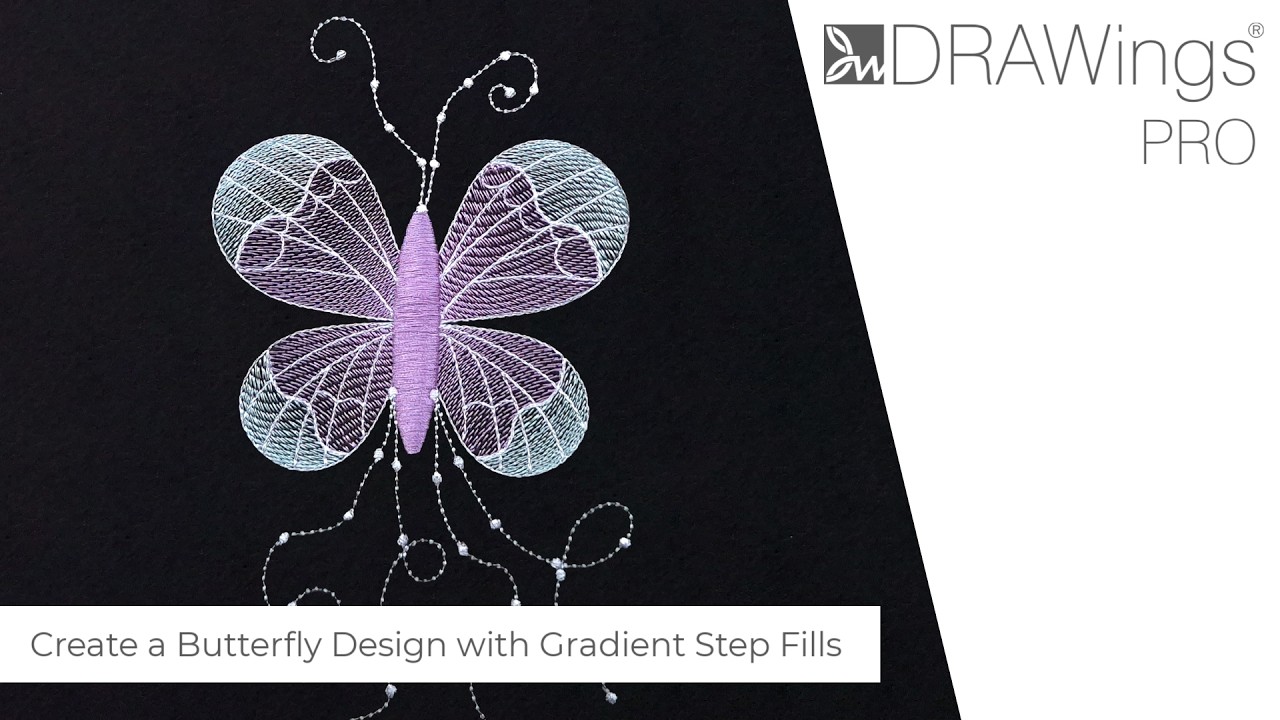
There’s something about butterflies that makes them one of the most requested embroidery subjects — the layered wings, the fine veins, the sense of fragility. Getting all of that to translate into stitches is where things get interesting. In DRAWings PRO, there’s a workflow that handles this type of design particularly well, combining a Gradient Step Fill with curved stitch directions to capture both the structure and the lightness of the wings. This post walks through how it’s done and, more importantly, why each part of the process works the way it does.

Building the Wing Shape
Everything starts with a single wing. Draw a 45x45mm ellipse, then convert it to curves — this unlocks the individual nodes so you can shape it freely. Convert one of the side nodes to a Cusp, then use the Right arrow key to move it outward and start forming the drop-like point of the wing. Once the basic shape is there, disable Proportional in the tools pane and set the width to 70mm to elongate it into the right proportions. Adjust handles and nodes until the wing reads the way you want it.
Take your time here. The quality of the final embroidery depends heavily on how clean the outline is at this stage. Once you’re satisfied with the form, use the Digitize tool to draw a wavy line across the wing, then use the Knife tool to split it into two sections. This division is what creates the visual separation between the upper and lower portions of the wing — each section will get its own color and stitch density later, which is how you get the subtle shading effect.
Once you’re happy with the split, assign colors to each section. In the upper row of the Colors bar — where outline colors are displayed — click the empty slot above the white rectangle to assign white to the outline. Then select the larger wing section, click the Bucket icon with the plus sign to add a new fill color, and use the Color Selector wheel to pick a lilac shade. Repeat for the other section and choose a mint color. Then rotate both sections slightly — a small tilt makes the wing feel more natural and less geometric.
Creating the Lower Wing
Once the upper wing looks right, duplicate it and flip it using the Mirror Y option. Scale it down to 80% (with proportional scaling enabled) and move it below the first wing. This becomes the lower wing of the butterfly.
The size difference is deliberate. Real butterfly wings aren’t symmetrical between top and bottom, and that 20% reduction gives the design the right proportions without requiring you to draw an entirely new shape. It also means the lower wing shares the same node structure as the upper one, which keeps things consistent when you get to the stitching stage.
Adding the Veins
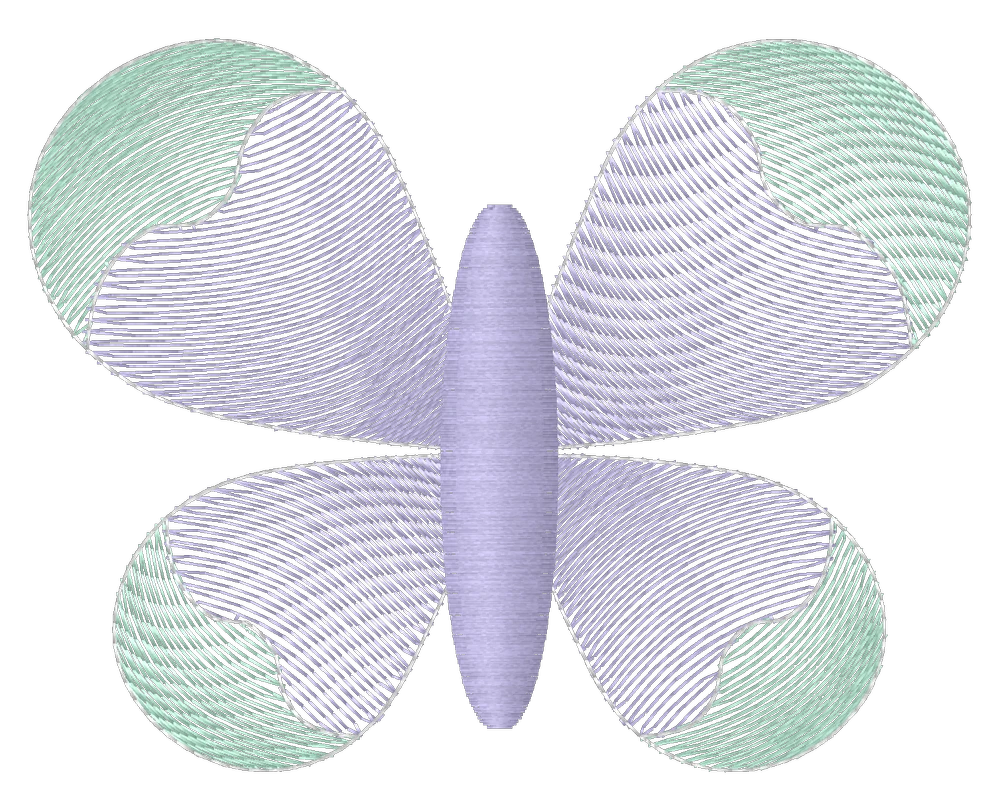
The veins are drawn using the Digitize tool directly over the wing shapes. Each section of a vein is connected by right-clicking once between segments, which keeps it as a single object rather than multiple separate lines. Where you need a sharper direction change, hold Shift to add a Cusp Node. When the last segment is done, right-click twice to finish the shape.
After drawing the veins for the upper wing, repeat the process for the lower wing. Set the outline color to white throughout. If any of the lines need adjusting, the Node Editor is your best tool for refining them without having to redraw from scratch.
The veins serve two purposes in the finished design. Functionally, they add structure that breaks up the fill area. Visually, running stitches along the vein lines create a fine, linear contrast against the broader step fill — which is one of the things that gives the wing its depth.
Mirroring to Complete the Butterfly
With one full side done — wings and veins — select everything, duplicate it, and use the Mirror X option to flip it to the opposite side. Move the mirrored group into position. Then select all objects, right-click, and ungroup them. Ungrouping is necessary before applying individual fill settings in the next stage.
The Gradient Step Fill
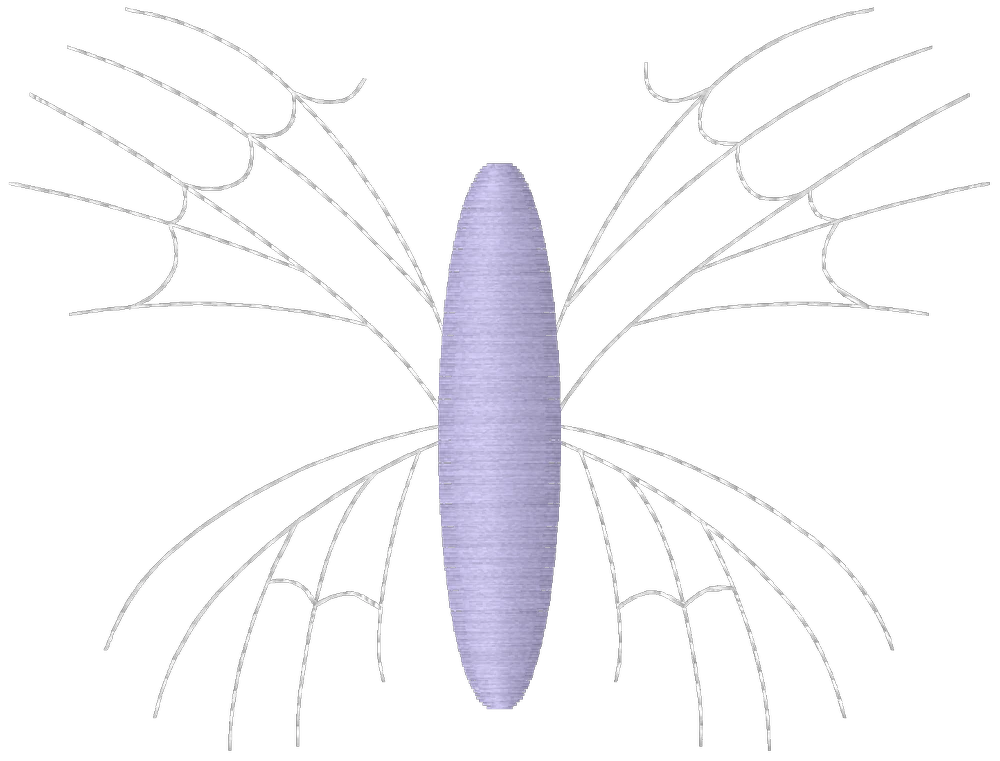
This is the part that defines the look of the design. Select all the lilac sections using the “Select by fill color” option in the Colors bar (right-clicking on the fill color), then go to Fill Properties and set the Gradient to 250%. Follow that by setting the Density to 0.60 mm.
Then do the same for the pale green sections, but use a Density of 0.50 mm so those areas stitch a little tighter.
The reason for the different densities is that a lower density (more space between stitch rows) allows more of the fabric to show through, which creates lighter areas within the fill. The gradient value controls how much the stitch direction shifts across the shape. Together, these settings create a fill where some areas catch the light differently than others — giving the impression of depth without adding extra layers.
On felt or any other contrasting fabric, the gaps in the stitch lines let the background color show through subtly, which is what produces that translucent, wing-like quality.
Controlling the Stitch Direction
Once the fills are set, use the Stitch Flow tool to adjust how the stitches follow the shape of each wing section. Adding curved directions to each section individually — and making the gradient denser closer to the butterfly’s body — is what completes the dimensional effect.
This is where embroidery digitizing stops being mechanical and becomes more about reading the shape. The curve of the stitch direction should follow the natural contours of the wing. There’s no single right answer here; experimenting with different curves will give you different results. The goal is for the stitches to feel like they’re flowing outward from the body, not running parallel to an arbitrary angle.
One useful thing to know at this stage: if the gradient direction doesn’t look right, you don’t need to redo anything. Just go to the Properties bar and change the Gradient percentage value to the same number as a negative — that flips the direction instantly.
The Body and Outlines
For the body, center the wings in the hoop first, then draw a long oval with the Ellipse tool. Set the X axis to 0mm so the body sits exactly between the two wing pairs. Change the fill to Satin in Fill Properties, and set the Stitches style to Wide Satin. Long satin bar stitches can become loose, cause thread trims, and slow down the machine — Wide Satin avoids all of that and produces a cleaner result on this kind of narrow, elongated form. Then remove the outline via the Used Colors bar and assign a fill color from the lower row.
For the outlines, right-click on the white outline color in the Colors bar and select all objects by outline color. Set the Passes to 3 in Outline Properties. Multiple passes make running stitch outlines appear bolder without changing the object type — it’s a simple way to give the veins and wing edges more definition.
Antennas and Movement Lines
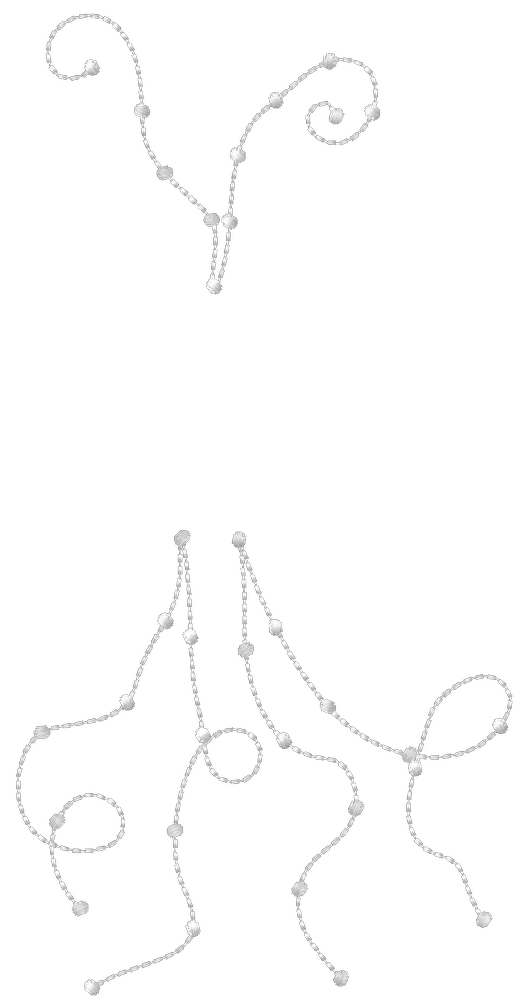
The antennas are drawn with the Freehand Digitizer tool. Holding Shift while drawing produces smoother curves. If a node ends up in the wrong place, Backspace removes the last point. Assign the antennas the same thread color as the veins to keep the design visually unified.
After the antennas, draw a few additional freehand lines at the bottom of the design. These aren’t structural — they’re there to create a sense of movement, as if the butterfly has just landed or is about to lift off. Select the antennas and these extra lines, then go to Outline Properties and search for “Bean” in the Stitches list. Choose the Bean Gap Stitch. It has a light, intermittent quality that works well for delicate decorative lines.
To finish the antenna tips, draw a small ellipse (around 3mm) and remove its outline via the Used Colors bar. Then duplicate the antenna lines and use the “Create Outline out of shapes” option from the Array menu to place the ellipse along the line at 10mm spacing. For the movement lines at the bottom, use 15mm spacing. The spacing difference keeps the antenna tips visually distinct from the freehand detail lines.
Finalizing the Stitch Sequence
With the design complete, switch to Manual mode to sort the embroidery sequence. Group objects by color first, then drag the Gradient Fill layers to the beginning, followed by the wing outlines. Switch the view to Separate Items to work within same-color groups. Select the butterfly body, scroll through the Sequence Manager, right-click the first dotted line and choose Move Before.
Then select the antennas and freehand lines together (using Ctrl), scroll to the body in the Sequence Manager, right-click it and choose Move After. For the veins, click the first one in the sequence list, then Shift-click the last to select them all, and use Move After on the last Gradient Fill object. Finally, make sure each freehand line sits just before its corresponding dotted line — this keeps the two aligned when stitched out.
A well-organized sequence reduces jump stitches, minimizes thread changes, and helps the machine complete the design cleanly from one area to the next.
Stitching It Out
For this kind of design, felt works well as a base fabric — it has enough texture to complement the open stitch areas without adding visual noise. Use a tear-away stabilizer, hoop both together, and stitch in the sequence order: gradient fills first, then veins, then outlines, the satin body, and finally the freehand and dotted lines on top.

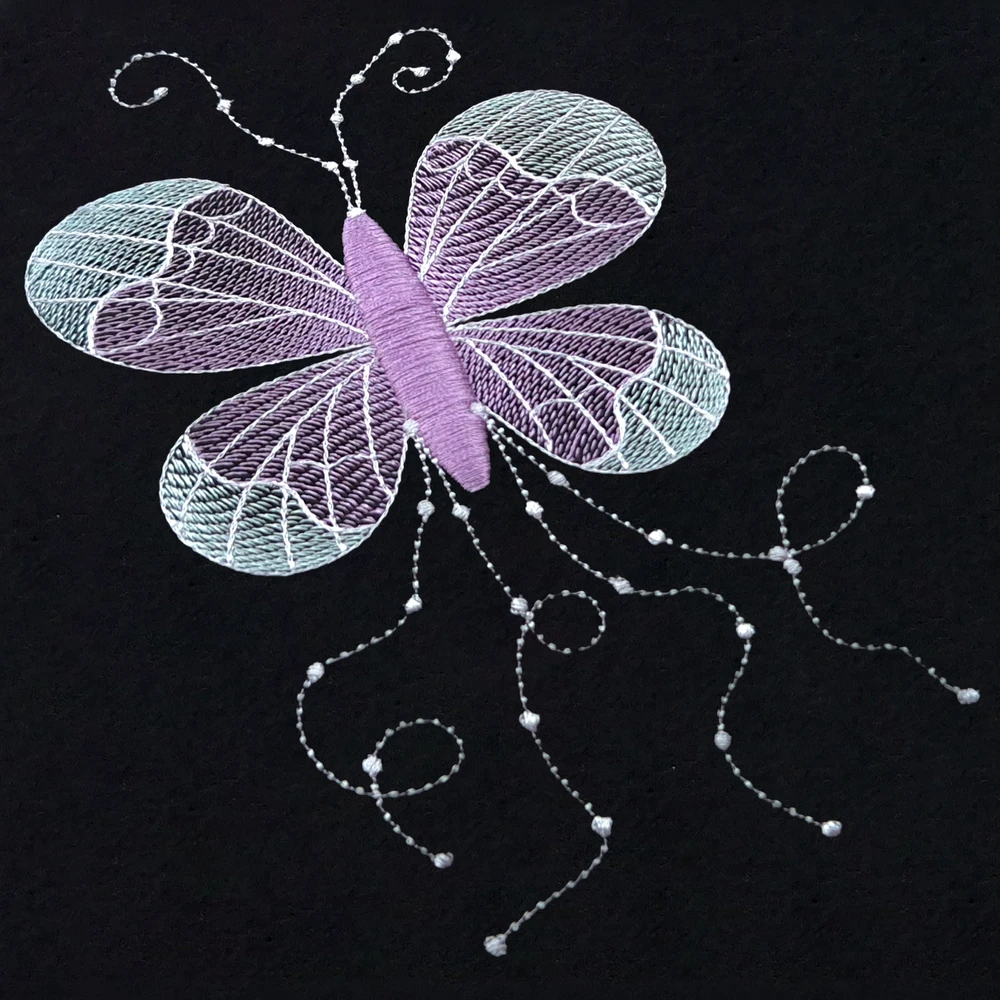
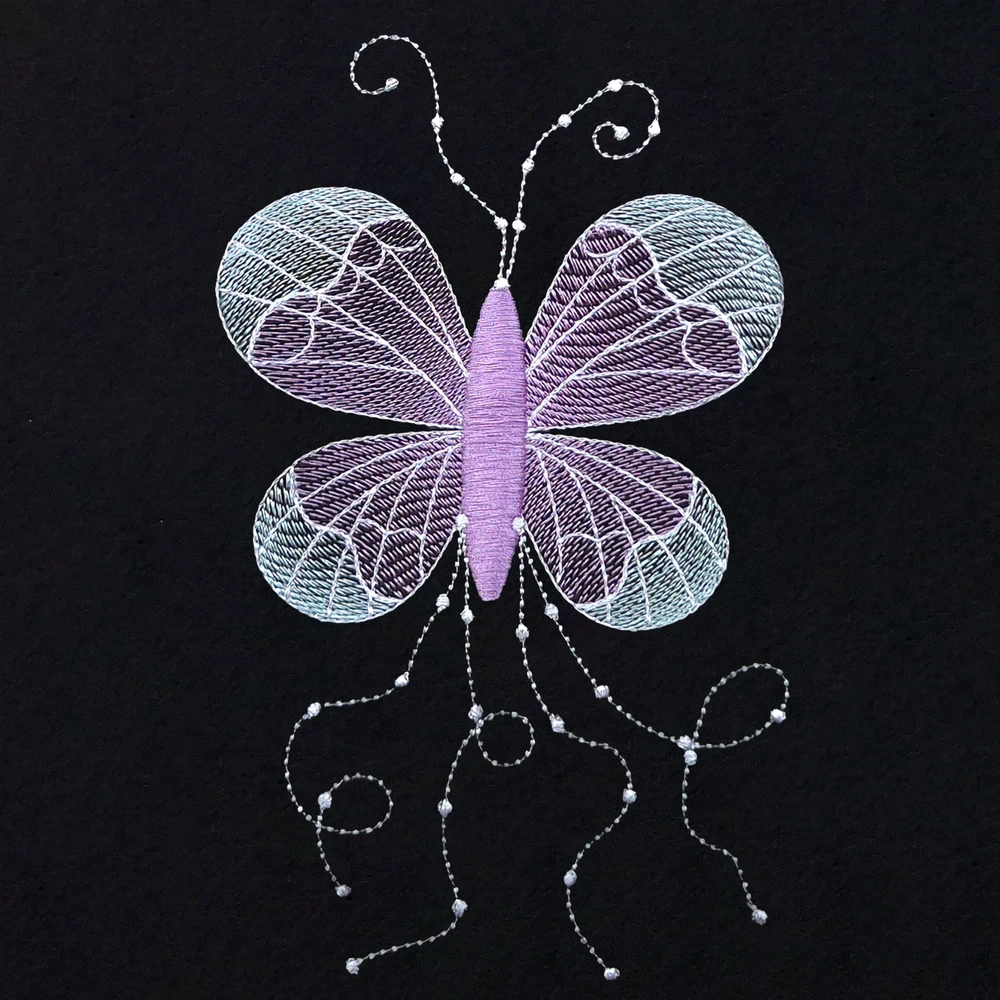
The finished piece holds up well as a standalone design or as an embellishment. The combination of the gradient step fill and the open stitch density gives it a lightness that’s harder to achieve with denser fill techniques — and that’s precisely what makes it worth understanding how each setting contributes to the result.



Happy crafting and don’t forget to share your creations with us in the
DRAWings PRO Help Group!
You can download the .DRAW file of the project and the image used, for free, from the link below:
- Project’s .DRAW file: How to Digitize an Elegant Butterfly Design with Gradient Step Fills
It can open only with the XII and later versions of DRAWings embroidery software
Share your experiences in our Facebook group, and don’t forget to subscribe to our blog for more innovative embroidery techniques and inspiration.