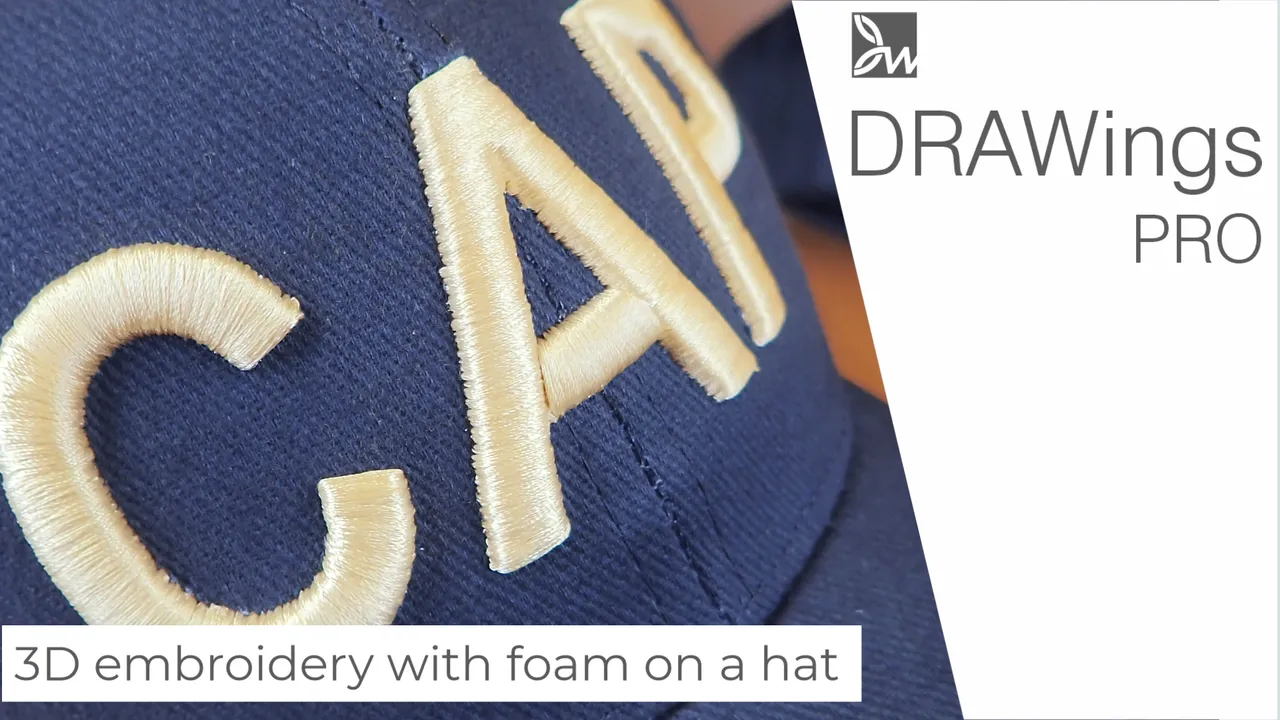
Puff Foam embroidery: Mastering 3D Embroidery on Hats
Mastering 3D Embroidery on Hats with puff foam! Embroidery isn’t just about flat designs anymore; it’s about bringing your creations to life, quite literally! With the advent of advanced techniques like puff foam embroidery, your designs can now pop off the fabric, giving them a remarkable 3D effect. In this blog post, we’ll explore how you can achieve stunning 3D embroidery on hats using DRAWings PRO Embroidery software.

Understanding the Concept
Before delving into the intricacies of creating 3D embroidery, let’s grasp the fundamental concept. Puff foam embroidery involves adding a special foam layer beneath the embroidery to elevate certain areas, creating a three-dimensional effect. When the embroidery needle pierces through the foam, it not only stitches the design but also cuts the foam, shaping it according to the design.
Choosing the Right Design
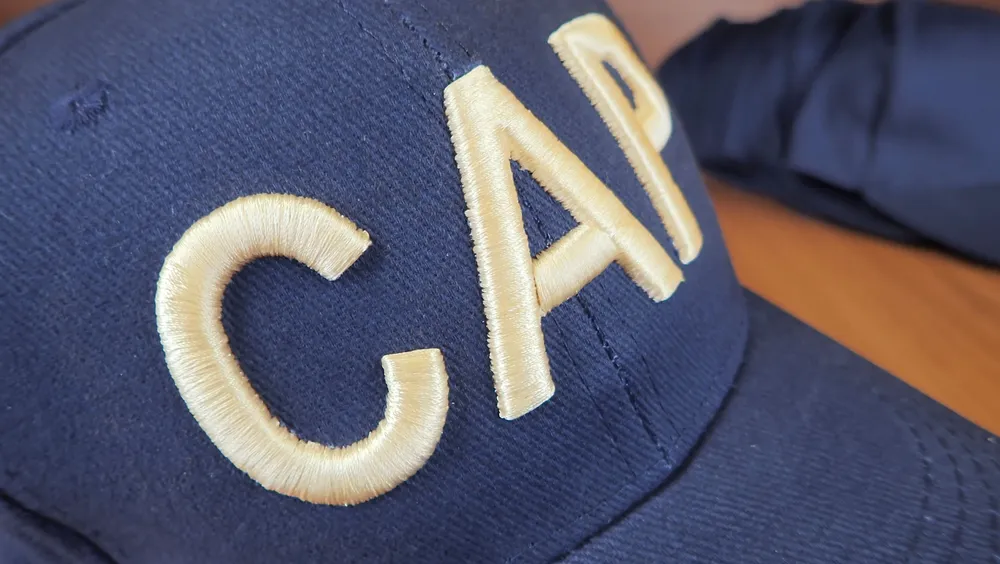
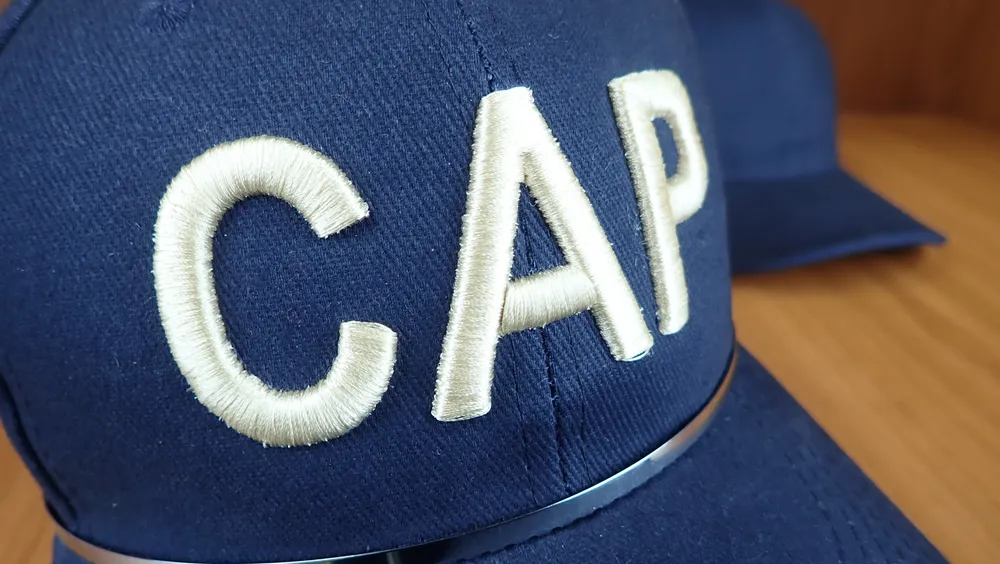
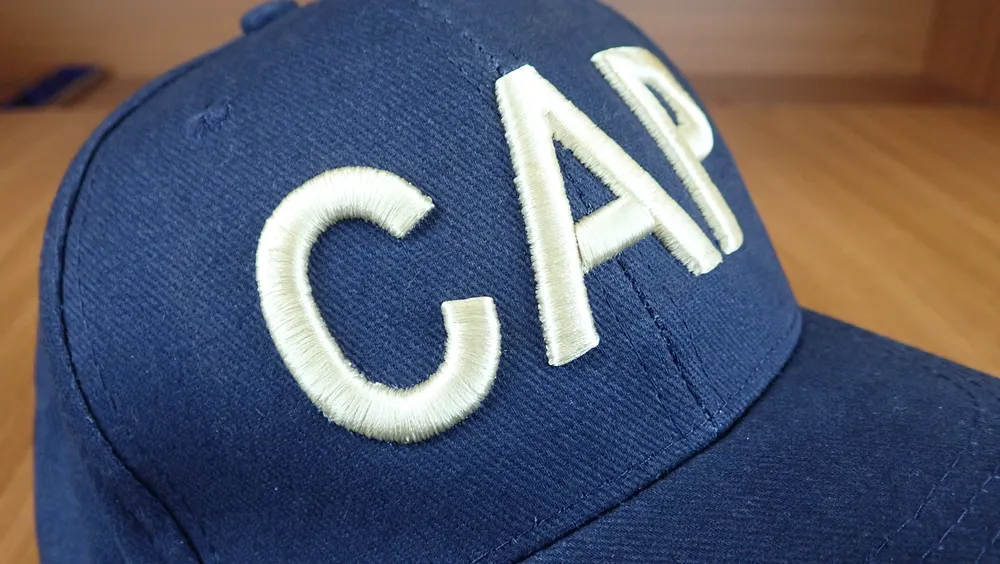
When embarking on a 3D embroidery project, it’s crucial to select a design that complements the medium. Capital letters are commonly preferred for their bold appearance, making them ideal for hats. Consider the size constraints of the hat, typically around 10cm in width and 5cm in height, ensuring your design fits perfectly.
Crafting the Design in DRAWings PRO
In DRAWings PRO, start by selecting a suitable font like Arial and adjusting the size to 45mm for added height. Opt for a satin fill type with high density (0.2mm) to ensure comprehensive coverage of the foam. To prevent stitches within the lettering area, utilize Tacking underlay and disable short/long stitches.
Enhancing Edges for Maximum Impact
To ensure the foam is fully covered and cut along the edges of the design, utilize the outline shapes tool to create trapezoid-like shapes at each edge. Set the density to high, compensation to 0mm, and underlay to Tacking. Rearrange the sequence so that the letters are embroidered over the edge covers, optimizing the 3D effect.
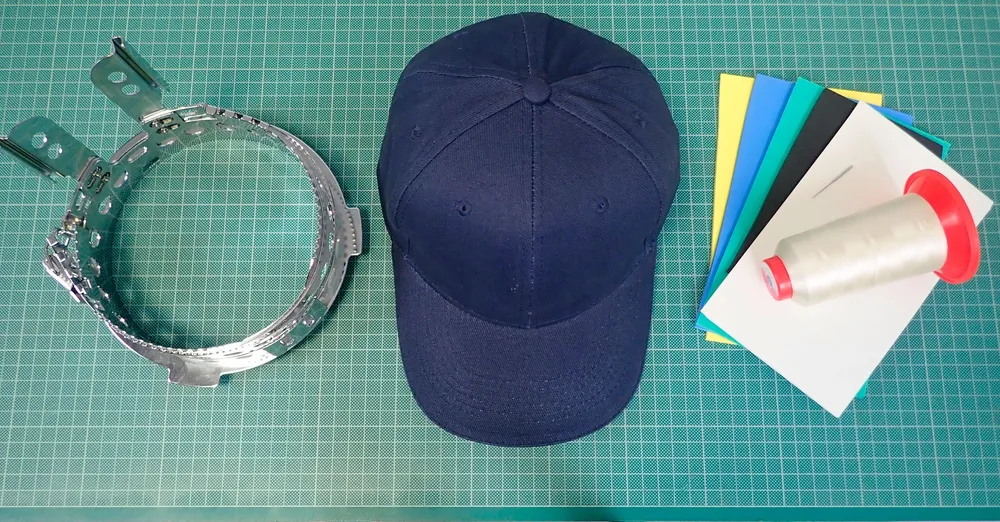
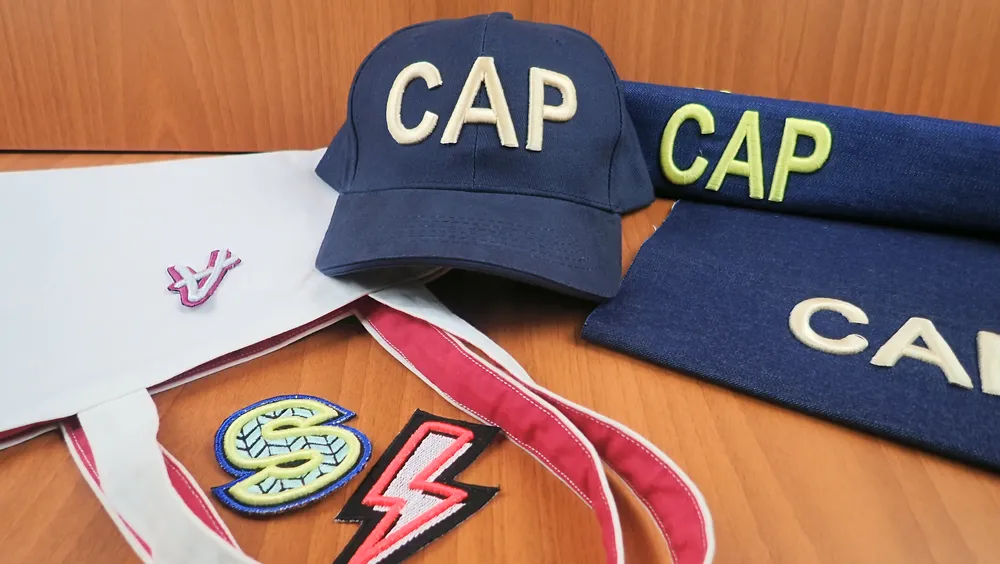
Materials Needed
- Hat – Cap
- Tear-away stabilizer
- Embroidery threads (matching the colors you want to use)
- Hat Hoop
- Embroidery machine
- Needle 80/12 or 90/14
- Puff Foam similar with the thread color
- Heatgun
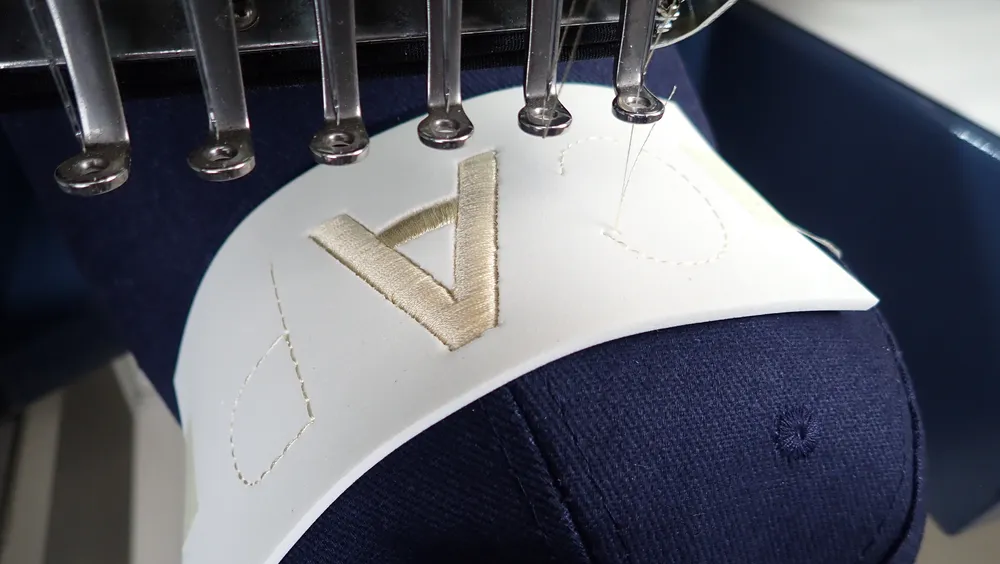
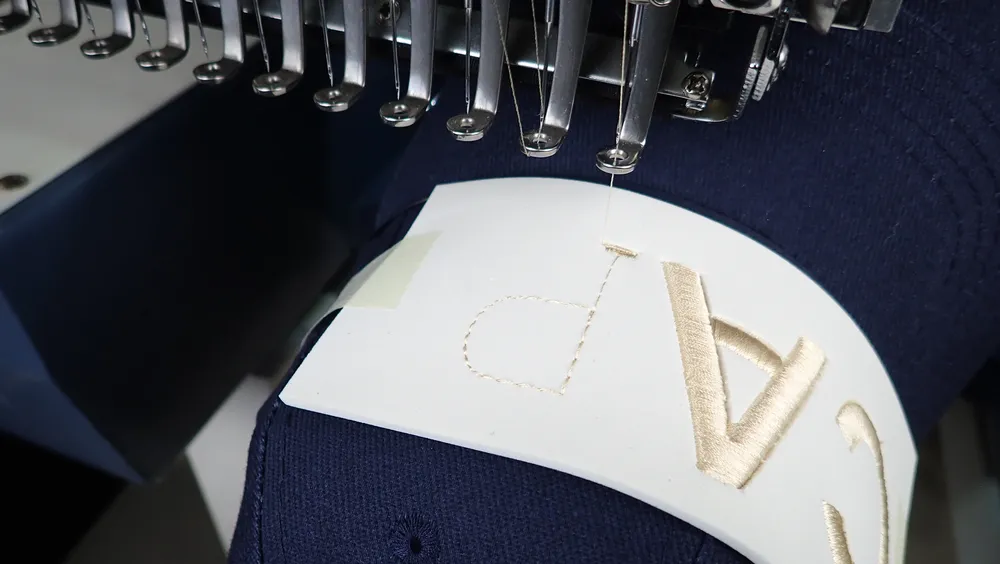
Preparing for Embroidery
Securing the hat on a suitable hoop, add stabilizer to the inside to provide support. Attach the hoop to the embroidery machine and place the foam on top, securing it with masking tape. Commence embroidery with a running stitch to affix the foam to the hat, followed by embroidering the design in the desired sequence.
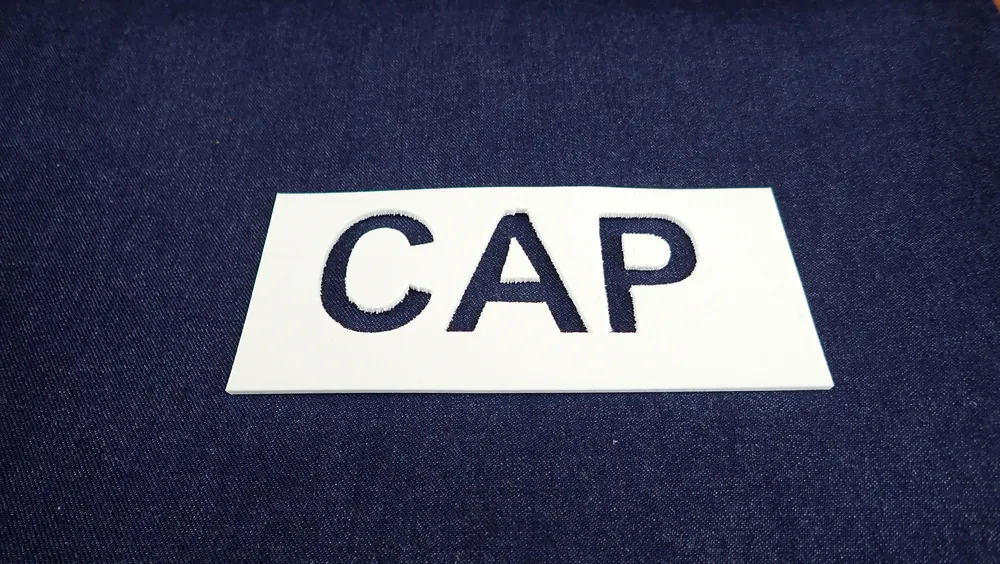
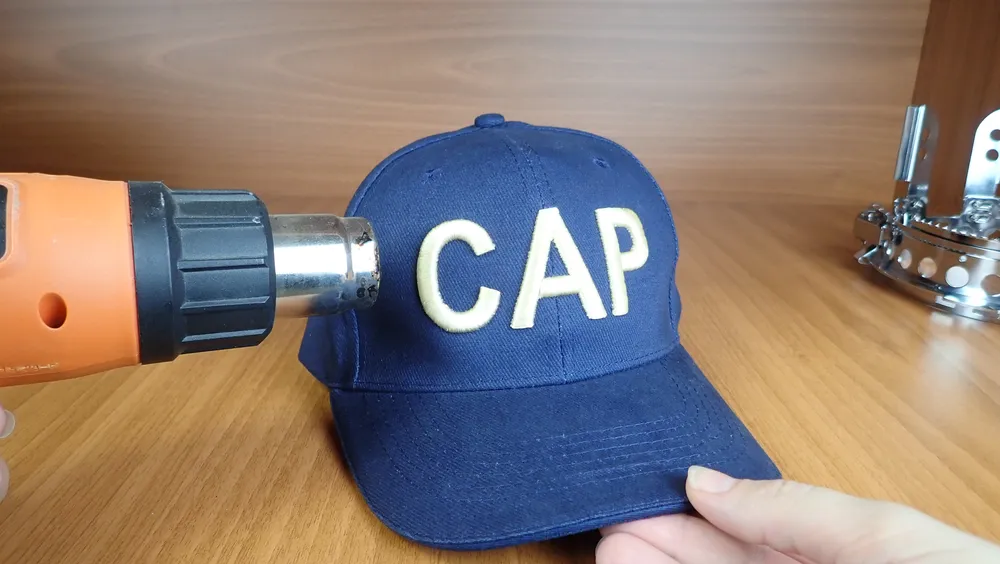
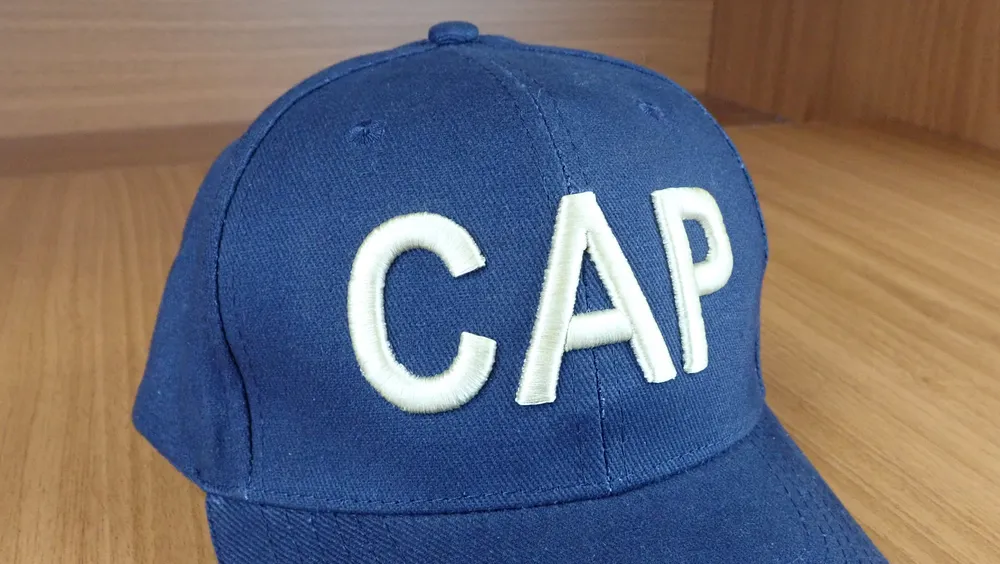
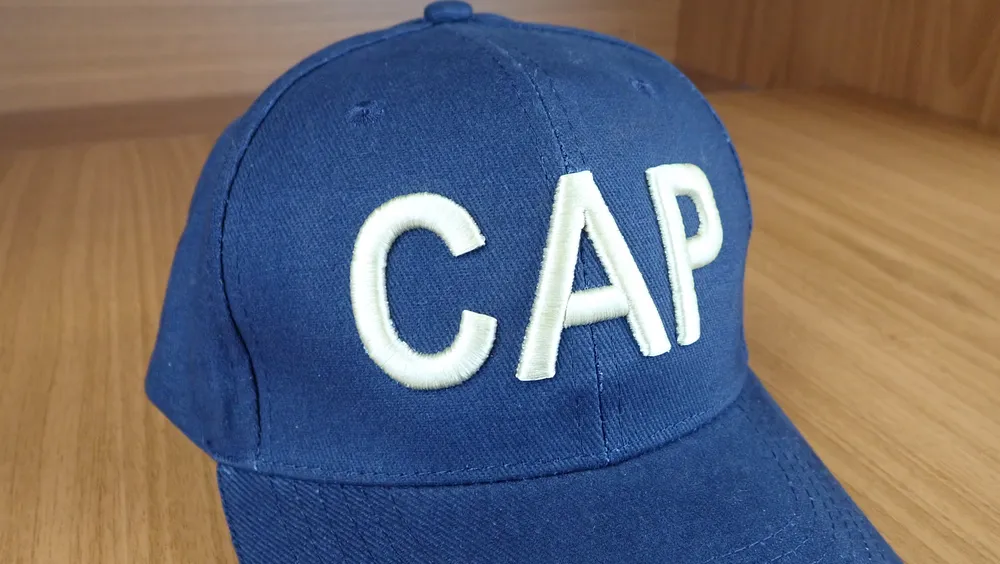
Final Touches and Quality Assurance
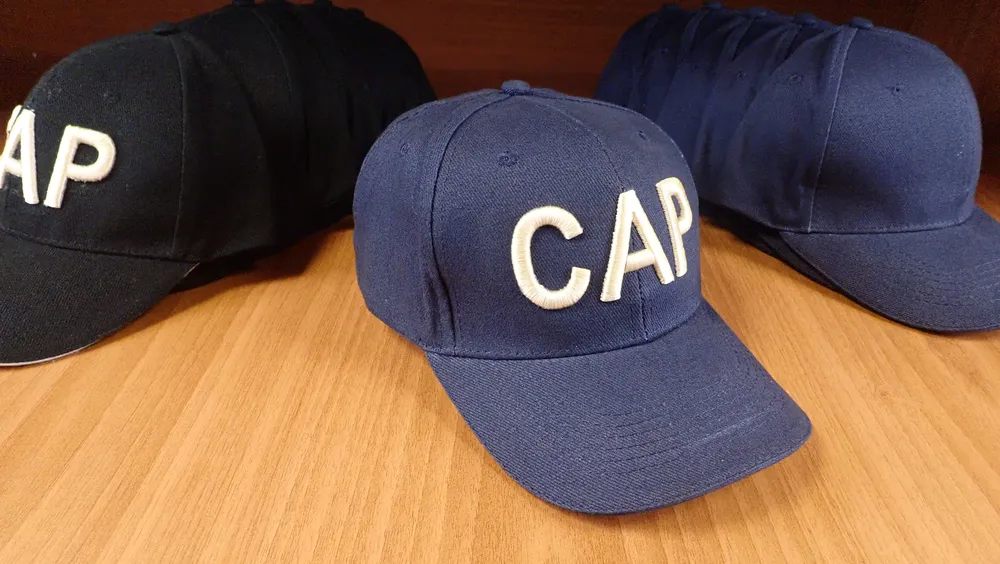
Upon completing the embroidery, carefully remove the hoop from the machine and detach the foam. Trim any protruding foam edges and smooth them using a heat gun if necessary. The end result should be a flawless, 3D-like embroidered hat ready to impress.
Conclusion of 3D embroidery on hats project
With DRAWings PRO Embroidery software at your disposal, creating mesmerizing 3D embroidery on hats has never been easier. By understanding the techniques involved and leveraging the software’s features, you can bring your designs to life with unparalleled depth and dimensionality. So, go ahead, unleash your creativity, and craft personalized hats that stand out from the crowd!

Happy crafting!
You can download the .DRAW file of the project, for free, from the link below:
- Project’s .DRAW file: Puff Foam embroidery: Mastering 3D Embroidery on Hats with DRAWings PRO
It can open only with the XII and later versions of DRAWings embroidery software
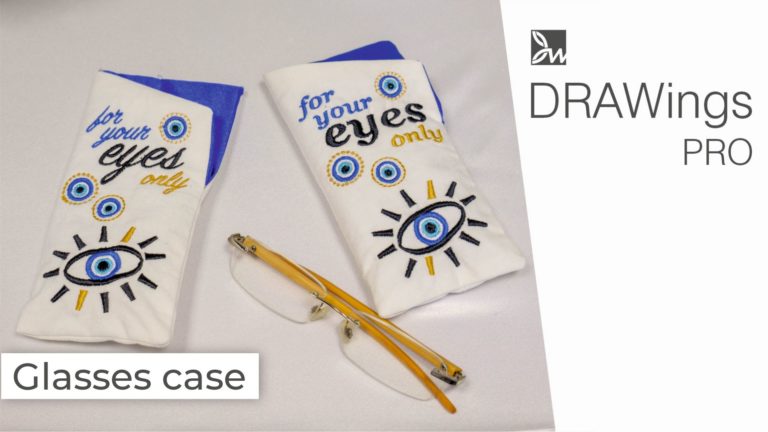
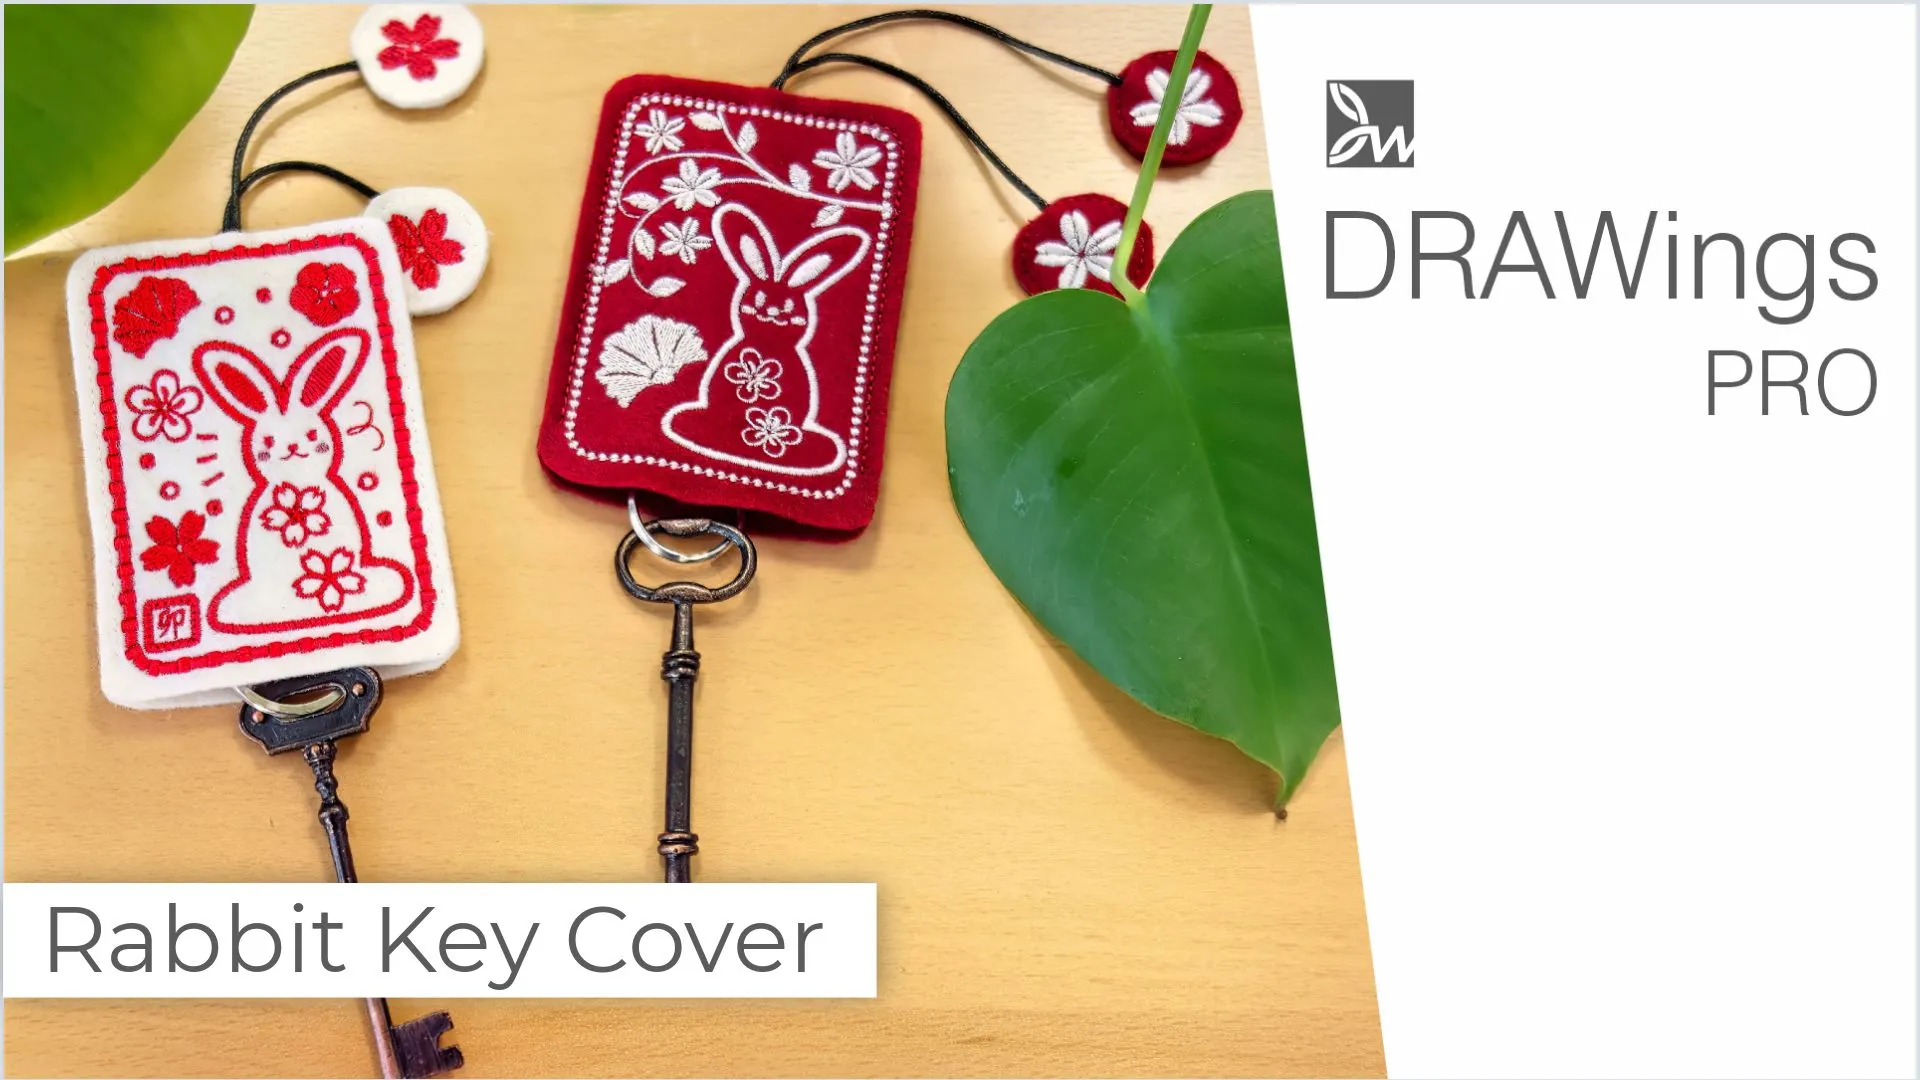
Check also, our related projects “Christmas Free-Standing Lace Tree“, “DIY Drawstring Backpack with Applique Decoration“, “How to Make a Detachable Collar with an Embroidered Monogram” & “HOW TO MAKE A BEAUTIFUL RABBIT KEY COVER FROM SCRATCH” & “DIY: HOW TO MAKE A CUSTOM GLASSES CASE WITH YOUR OWN DESIGN“
Remember, DIY projects are all about creativity and adaptability, so don’t hesitate to experiment and make the drawstring backpack truly your own. Happy crafting!