How to start your Journey in Machine Embroidery
Machine embroidery is an automated way to create embroidery designs and requires an embroidery machine. It is not very difficult to get started because most embroidery machines include sample embroidery designs that you can try to sew out on any fabric you like. If you decide to create your own custom embroidery designs you need an embroidery software like DRAWings that gives you this ability.
1. What you’ll need to start embroidering
To start embroidering, you will need the following items:
- Embroidery machine: Any modern embroidery machine that can load embroidery files will do. There are many brands and each brand has many embroidery machines with different features and prices. You have to select the one that fits your needs and of course the budget you have. An important factor when choosing an embroidery machine is the hoop sizes that it supports. Larger hoop sizes allow you to create larger designs.
- Embroidery hoops: The embroidery machine that you will buy will come with one or more hoops. You can purchase more or you can use those that came with the machine. The hoop is used for holding the fabric taut during the embroidering process. The hoop consists of two parts. You put the fabric in between the two hoop parts and try to taut it as much as you can.
- Scissors: Small and large scissors are needed for cutting fabrics and threads. There are specialized embroidery scissors available in the market, that are used to cut the fabric.
- Threads: There are many thread brands from where you can select the threads you need for your embroideries. You must make sure that you have selected from machine embroidery and not from hand embroidery threads. The machine embroidery threads are in general heavier in comparison with the all-purpose threads. Although, you can use all-purpose threads for winding the bobbins.
The threads are made from synthetic or natural fibers, or from both materials and give different look and feel on the embroidery. The available threads that you can choose from are the following:
- Polyester threads
- Rayon threads
- Cotton threads
- Silk threads
- Metallic threads
- Mylar threads
- Special threads
Rayon, Polyester are the most commonly used threads and they suggested for the most embroidery projects.
- Needles: A proper needle is required to avoid thread and needle breaks. It is suggested to use the needle that the machine manufacturer suggests for each fabric(weight). A size 70-80 needle is the best choice for most of them. Just remember to use ballpoint needles for stretchy fabrics.
- Fabrics – clothes: There are various fabrics from where you can choose to use. Usually the selection is made based on where you want to embroider or what you want to create. If you are willing to use a lightweight fabric you need to sew out light embroidery on it, to avoid fabric pulls and stretches. For example, high
density designs does not fit on lightweight fabrics because they will be thick and will not look nice.
The fabric should be able to support the weight of the thread that you are using. Therefore, you have to use light fabric. - Fabric stabilizers: Fabric stabilizers are very important on creating good quality sew outs. It stabilizes the fabric and neutralizes any pulls and stretches that can destroy your embroidery design. Unless you are willing to sew on a very heavy fabric you will need to use one. There are various fabric stabilizers to choose from. Most common stabilizers are the Cut-away which stabilize the fabric quite well and it is not visible from the front side of the embroidery design.
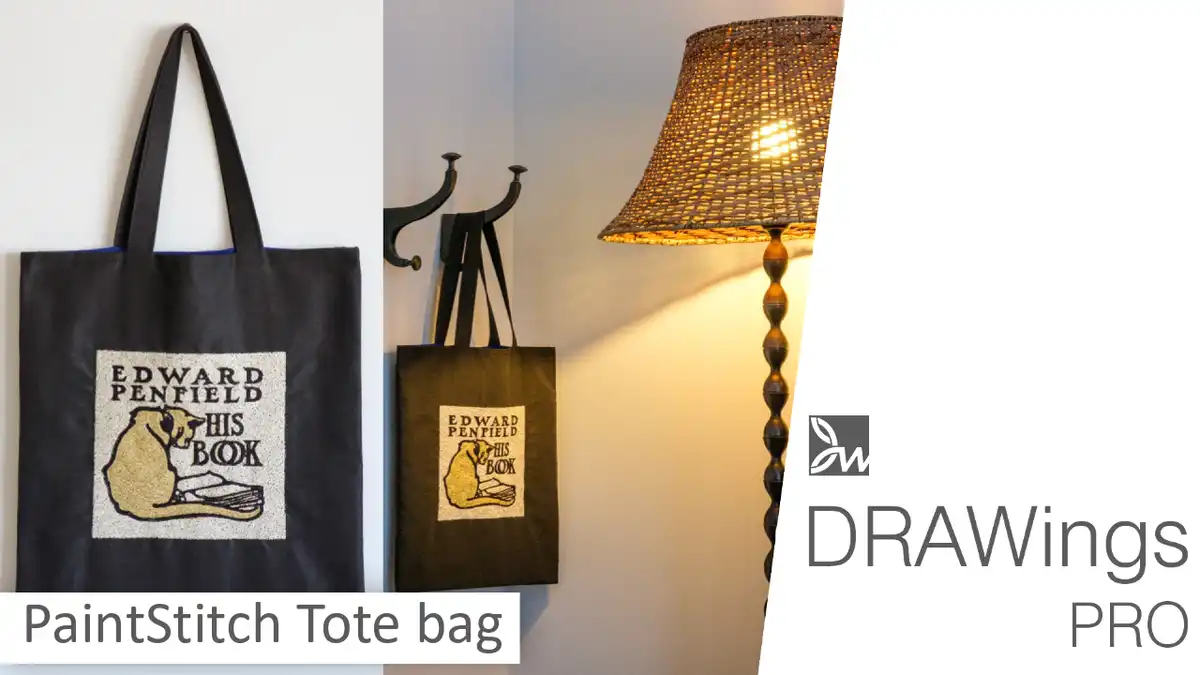
The Cut-away stabilizer is permanent and it is visible from the back side of the fabric. In cases where the stabilizer needs to be invisible from every side of the fabric, other stabilizers are used such as tear-away, wash-away, or heat sensitive stabilizer. All three have the ability to be removed completely after sewing out a design on it. - Embroidery software: The embroidery software is needed to create custom embroidery designs. You can create designs from scratch or edit existing/purchased designs. In both cases you can add lettering, change colors, adjust the design’s dimensions and do many more customizations. DRAWings PRO embroidery software covers all the machine embroidery needs and allows you to create high quality, beautiful embroidery designs easily and quickly.
2. How to use an embroidery hoop
To use an embroidery hoop is very easy. First, you must separate the outer hoop frame from the inner hoop frame. Loosen the screws from the outer hoop. Place the stabilizer under the fabric (if you use a stabilizer) and place them on the outer hoop frame. Then place the inner hoop frame on top of the fabric, and align it with the outer hoop. Apply some pressure on the outer hoop, to make it cover the fabric and the inner hoop. Tighten the hoop screws to hold the fabric and the stabilizer in place. Drag the fabric towards all directions, to stretch it. You are ready to place it on the Embroidery machine and start sewing out the design you want.
3. Threading the needle
Some embroidery machines can thread needles automatically by following some simple steps that vary based on the manufacturer. Usually there are thorough instructions on how to thread the needle in the manual of the embroidery machine. If your embroidery machine does not have such abilities you will have to do the threading manually. There are various techniques to do that. The traditional way is to pass the thread directly through the needle eye with your hands. The other methods include relevant threading tools that can be attached on the needle eye and help you pass the thread easily.
4. To the embroidery machine
- Save the design: Each embroidery machine supports specific file formats. Therefore, you have to export the design you have created inside your embroidery software to the appropriate file format, that your machine supports. You can find, which file format your embroidery machine supports in the machine’s instructions manual. After exporting the design to the appropriate file format, you are ready to load it into the machine.
- Load the design in the machine: The latest embroidery machines have many connectivity options with the computers, such as direct USB connection,
Wireless connection, load files from a USB stick or other memory units(SD, micro SD, CF etc.). Select the method that the embroidery machine supports and
load the design. - Prepare the hoop: Prepare the hoop that was suggested from the software, or you used inside the software to create the design. It is important to prepare the
correct hoop because otherwise the embroidery machine will throw an error or will not allow you to sew it. If the embroidery machine does not have such
protection mechanisms, please make sure that design you will sew out, fits inside the hoop.
Fit the fabric and the stabilizer (if needed) on the hoop and tighten its screws. Once you are ready secure the hoop on the embroidery machine - Load the thread(s): If the embroidery machine has only one thread, place the first thread color of the design in its place and thread the needle. If it has more than one, place the threads in their respective positions with the order that is required from the design to be sewn out properly.
- Load the design: To load the design from an SD, CF or a USB stick, use the machine’s menu and navigate to the exact location you have stored it. Select the design and it will automatically open in the screen. If you have direct connection with the PC and you sent the design through the
software, the design will immediately appear in machine’s screen. Now you are
ready to start the process by clicking the respective button.